

PARTNER DASHBOARD LOGIN
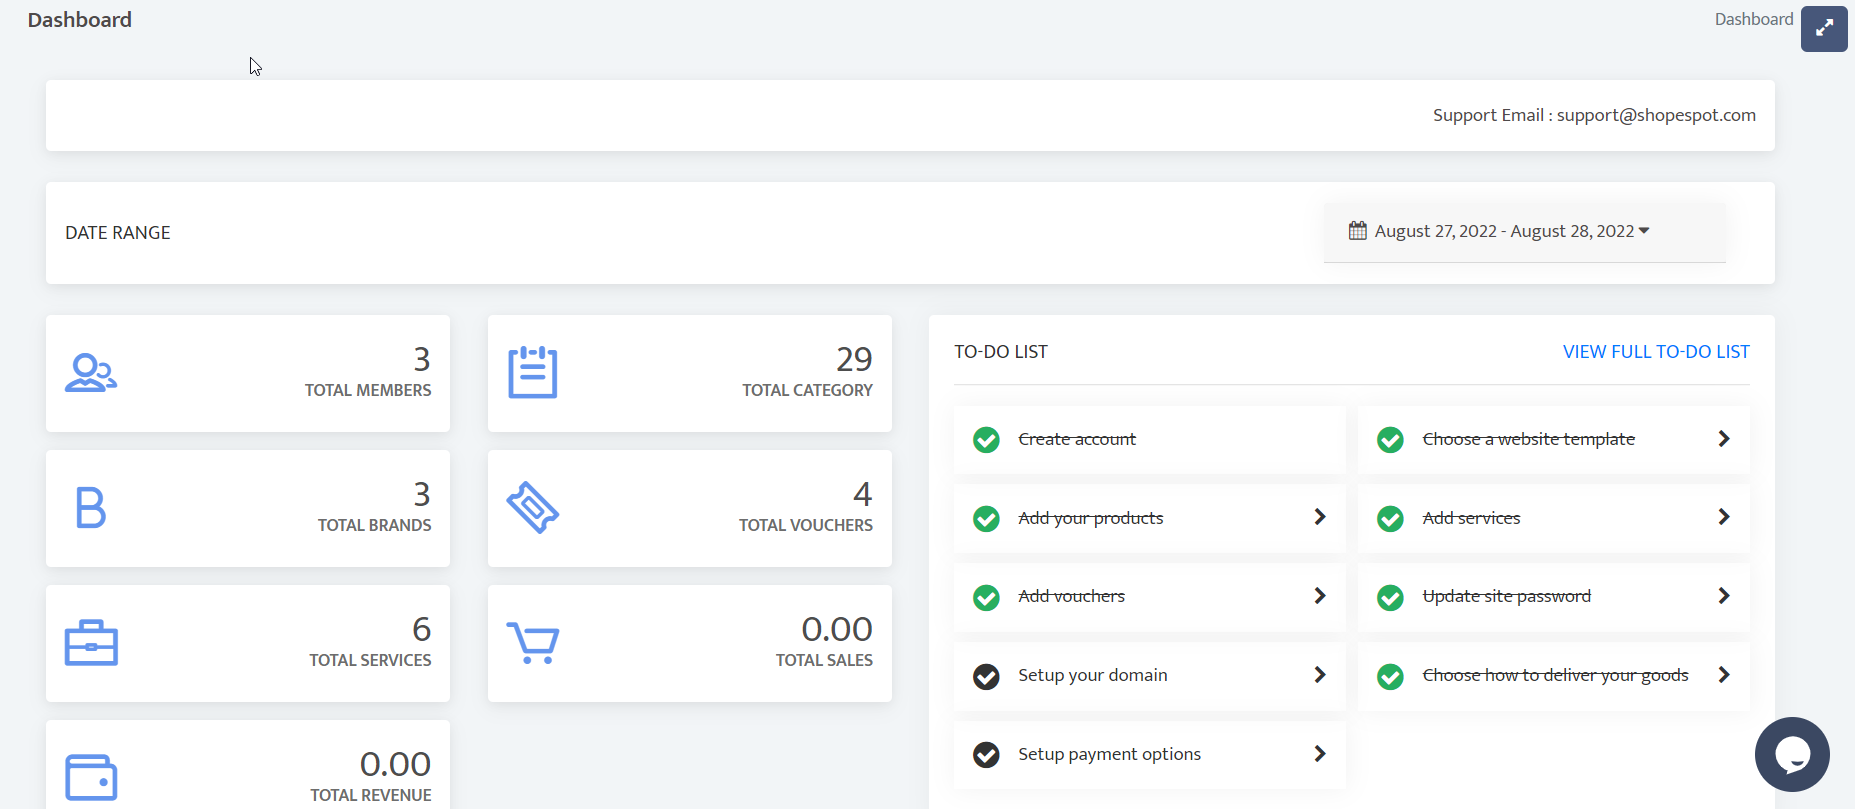
Log in to your partner dashboard with the login username and password credentials created in the Admin Dashboard when Partner was set up.
UPDATING SITE AND LOGO INFORMATION
Under the Configuration tab on Settings.
Select Site Settings.
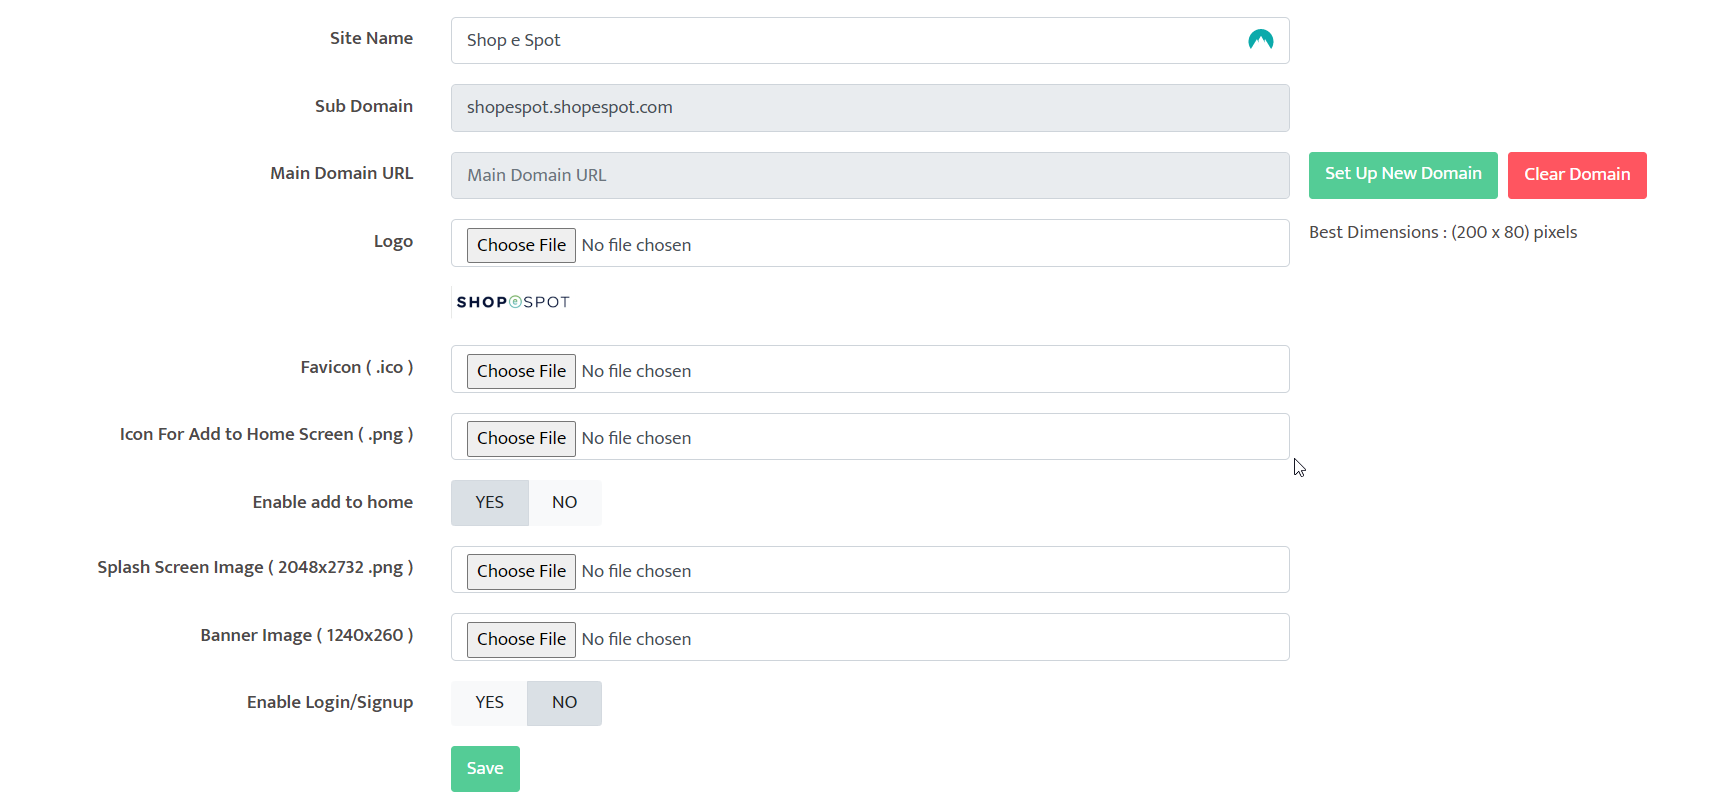
In this area, you will be able to edit or update your site name.
Add Website Name
Add a Sub Domain
Add the Main Domain URL
There is the option to redirect Sub Domain to Main Domain (Yes/No)
To change your logo (PNG file required), favicon (ICO file required), and the icon on the home screen (PNG file required) select the dropdown menu under each and choose the file that you want to use.
Once completed press the green Save button at the bottom to record your changes.
UPDATING THE STYLE OF YOUR WEBSITE
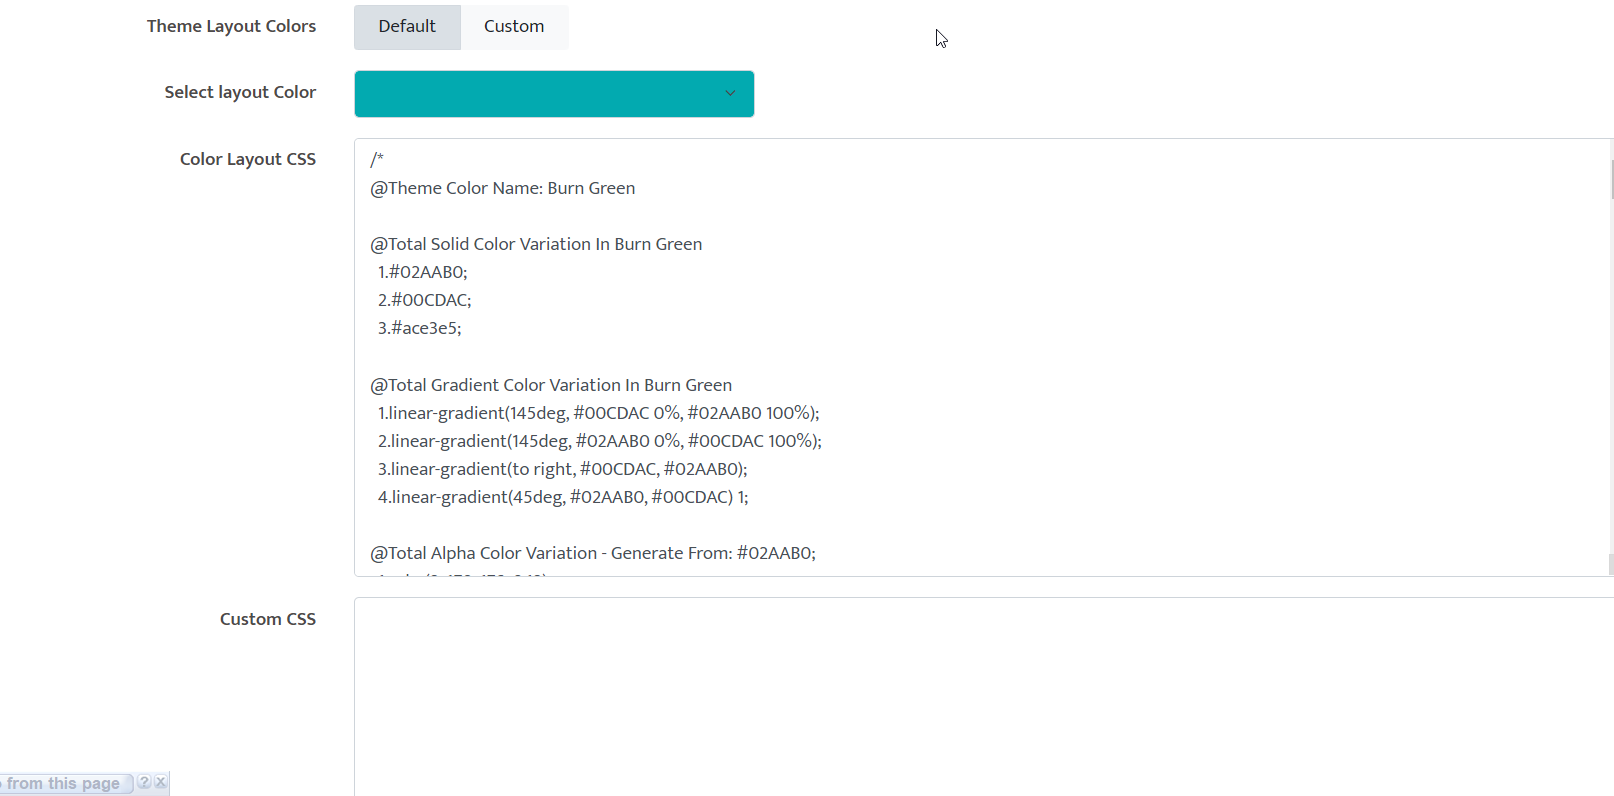
Under the Configuration Tab, select the Style Tab
In this area, you will be able to edit the theme of your website, select a layout colour and update the colour layout CSS
To add a custom colour, click on the custom tab.
Here you will be able to toggle the colour bar, to find the exact colour you are looking for.
Click the green button, to save your changes.
Refresh the website page, to view the colour changes to the front end of your website.
Refresh the page again, to view the custom colour you selected.
CHANGING THE HEADER AND FOOTER INFORMATION
FOOTER
Under the Content tab on Navigation Menu.
Choose Footer from the dropdown menu,
Click on the Add Menu button on the top left of the page,
Scroll down to the empty, added blocks and insert the information that you want to appear on the website footer.
You can also add a custom URL link in the custom link block.
To add a subcategory to any page, you follow the same steps as with the header and click on the green plus sign to the left of where the main page is listed.
Input the relevant information for the page as required.
Click the Save button at the bottom to update your changes.
When viewing this on the website the subcategories will appear as a dropdown menu from the main page title.
The social media icons, will appear on the bottom footer of the website.
Click on each social media icon, to go to the relevant social media links attached.
HEADER
Under the Content tab on Navigation Menu.
Choose Header from the dropdown menu,
Click on the Add Menu button on the top left of the page,
Scroll down to the empty, added blocks and insert the information that you want to appear on the website.
You can also add a custom URL link in the custom link block.
To add a subcategory to any of the pages, click the green plus sign to the left of where that page is listed.
Input the relevant information for the page as required.
Click the Save button at the bottom to update your changes
Go on the website and refresh the page to view the navigation menu on the front end of the website.
Hover over each page name on the header to see the drop down subcategories added.
..............................................................................................................................................................
ADDING CONTENT TO YOUR WEBSITE
HOME PAGE
Under the Content tab
Select Page Content.
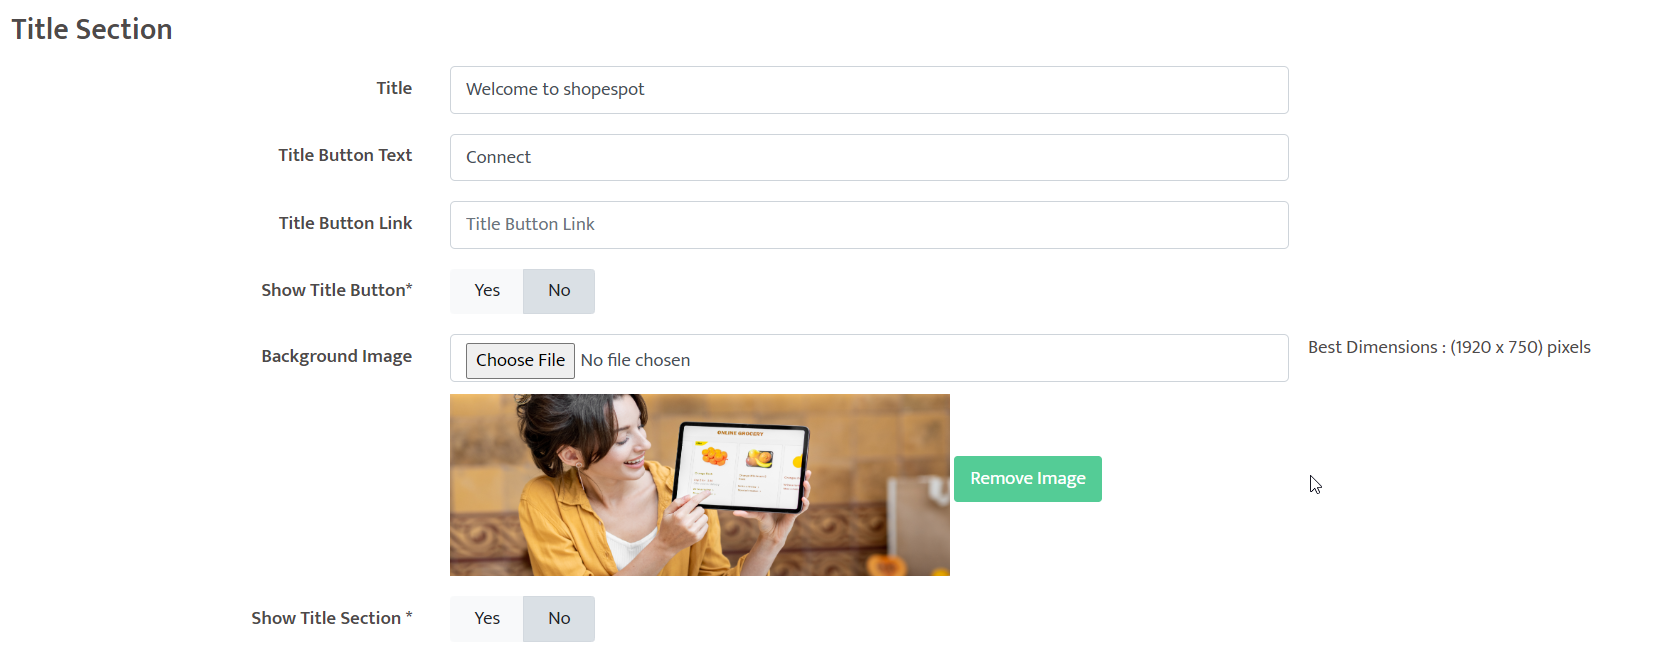
Choose Home from the dropdown menu,
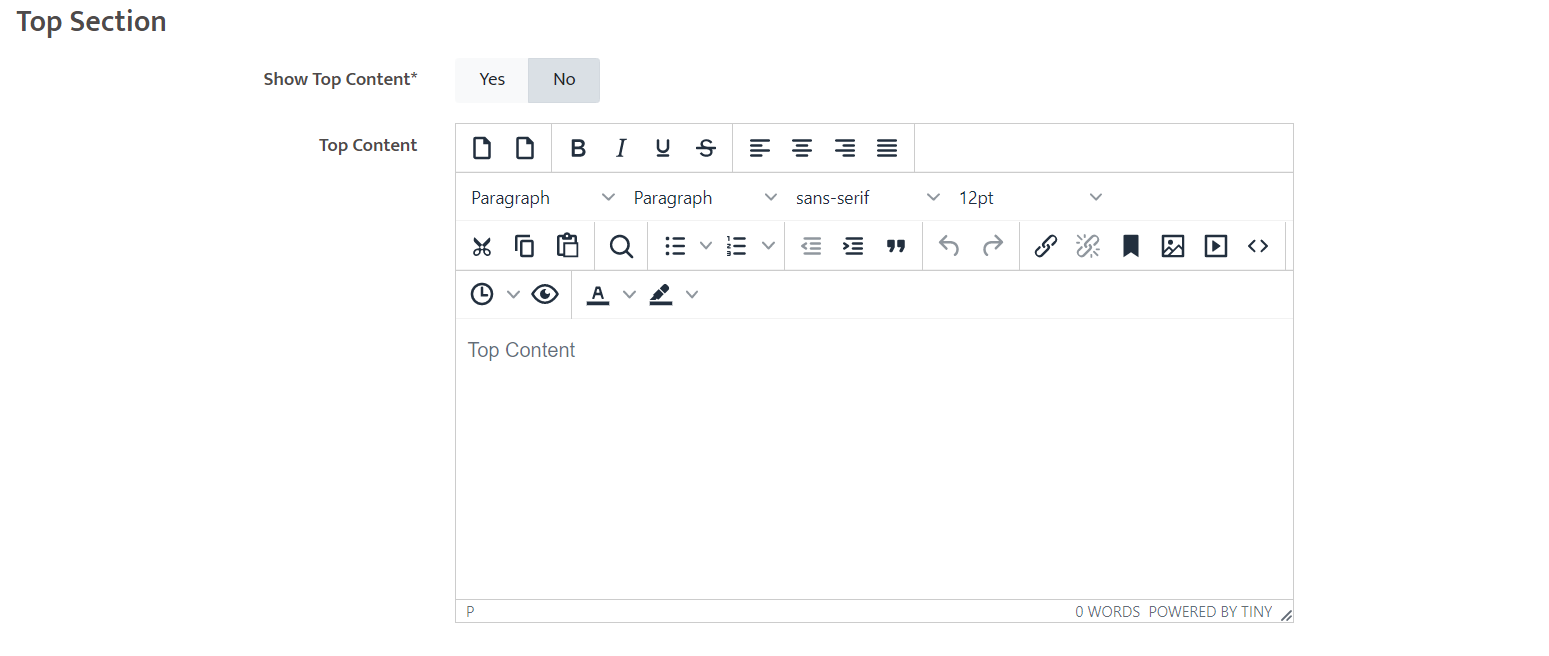
Add a title for the top banner of your website.
You can also add a Link Button under the title to link to any another website or page you choose.
You will add that link in the field below called Title Button Link.
You can choose whether to show the title button by selection YES or NO.
You add the top banner image here, by clicking choose file, then select an image you have saved.
For the best possible resolution and size of the image, to fit well on desktop, tablet and mobile platforms make sure the dimensions are 1920 x 750 pixels.
You can choose to show the title section or not , by selecting YES or No.
CREATING A CUSTOM PAGE ON YOUR WEBSITE
Click on the Plus sign on the right side of the page to add a new page
Here you will be able to name your page, choose an image, and update the content you require on that page. Input your meta-description and keywords that are relevant to that page.
You can add and modify the content on your custom page by using our custom page builder.
Click on the green submit button to save your changes.
Click on the Content Tab,
ect the Navigation Menu Tab,
Select Header from the dropdown menu,
Click on the Add Menu button on the top left of the page,
Scroll to the bottom and add the information to of your custom page.
Remember to click on the Save button at the bottom to update the page.
You can now go to the website and you will be able to see the page listed across the top. Click on the new tab and view the page.
REQUEST CALL BACK BUTTON
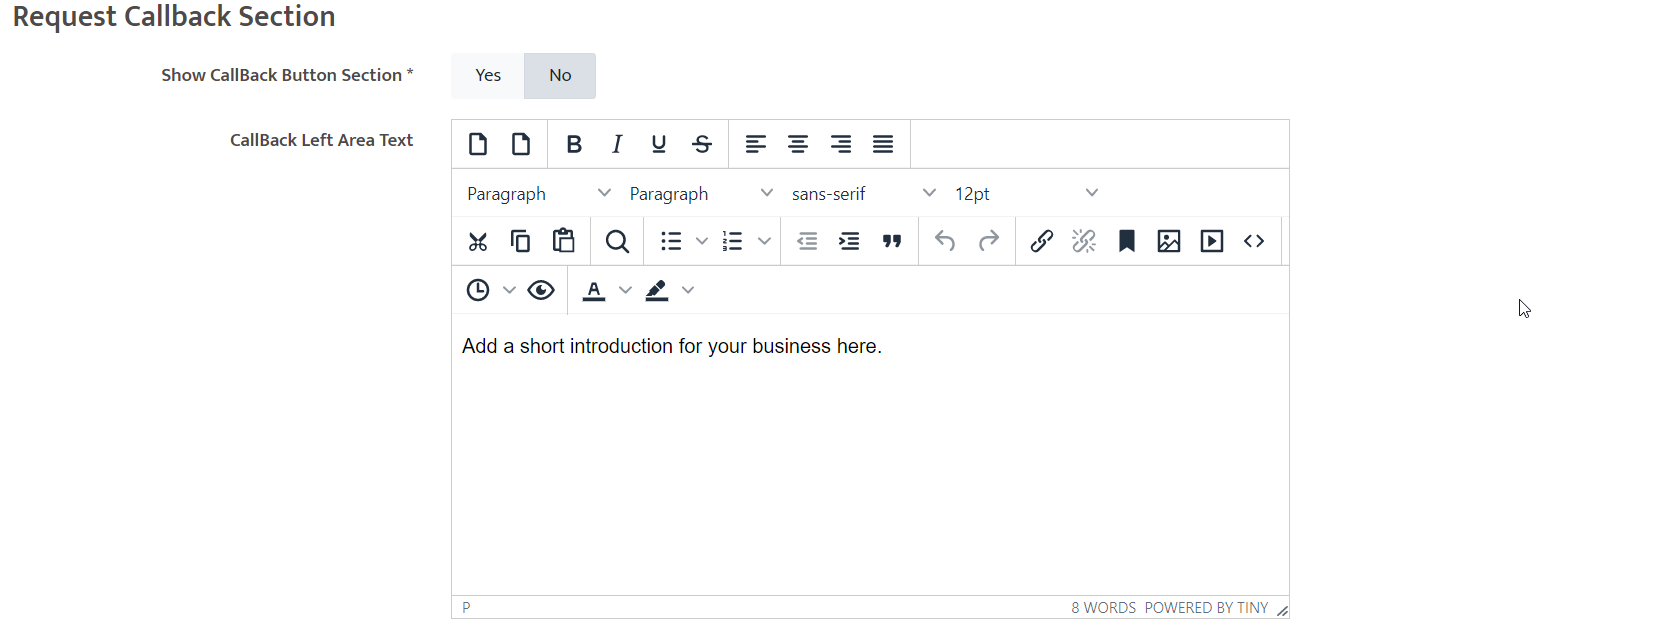
Here you can add a Request a Call back Button. Choose to show it by clicking YES or No.
You can add a short introduction caption of your business here on the left and a short description of the business on the right.
You can also choose whether to show this text section by clicking YES or NO.
META TAGS

Meta tags will provide information about your website, and it will help your web ranking adding keywords will help people find your site more easily in search engines on Google.
You can choose the title and short description.
ABOUT US PAGE
Under the Content tab Select Page Content.
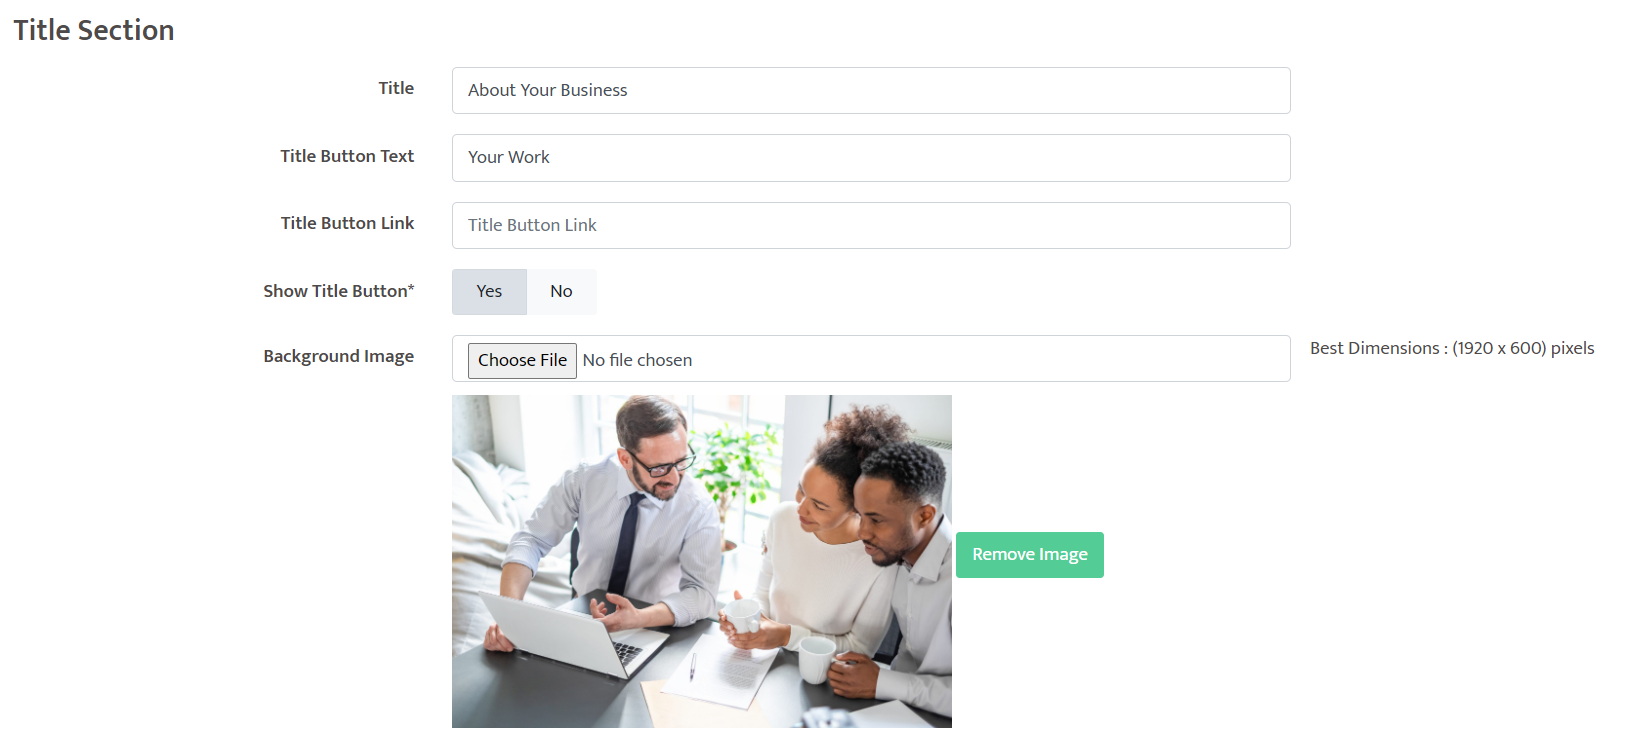
Choose About Us from the dropdown menu,
Add a title for the top banner of your website.
You can also add a Link Button under the title to link to any another website or page you choose.
You will add that link in the field below called Title Button Link.
You can choose whether to show the title button by selection YES or NO.
You add the top banner image here, by clicking choose file, then select an image you have saved.
For the best possible resolution and size of the image, to fit well on desktop, tablet and mobile platforms make sure the dimensions are 1920 x 600 pixels.
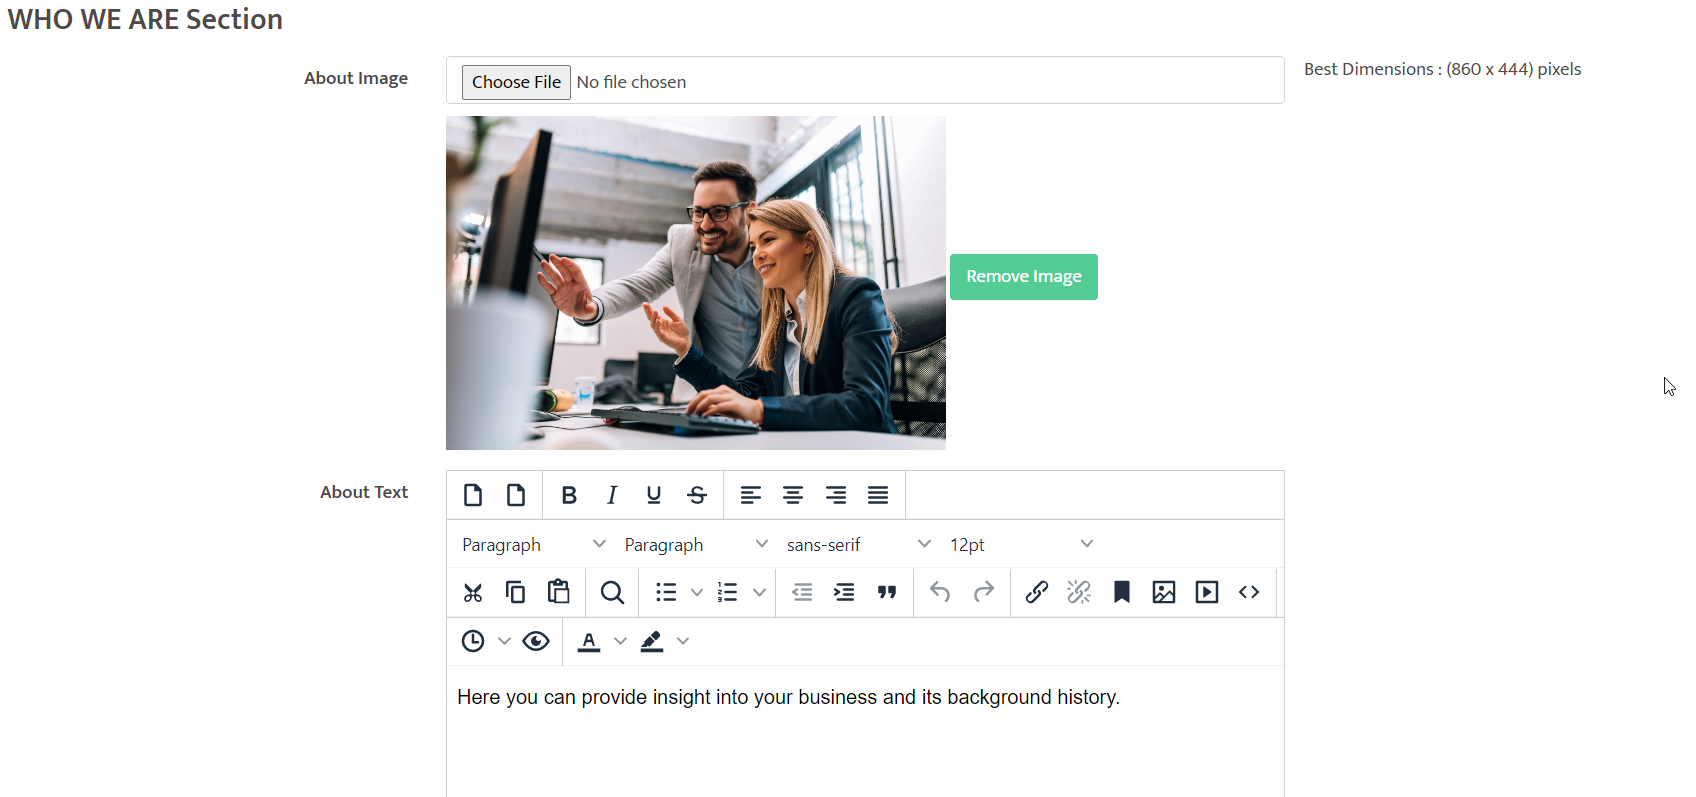
You can also add a second banner image and a description about your business on the right side. Make sure the dimensions are 860 x 444 pixels for the best display.
A third banner option is available as well, and you can add a heading caption onto it. Make sure the dimensions are 1920 x 960 pixels for the best display.
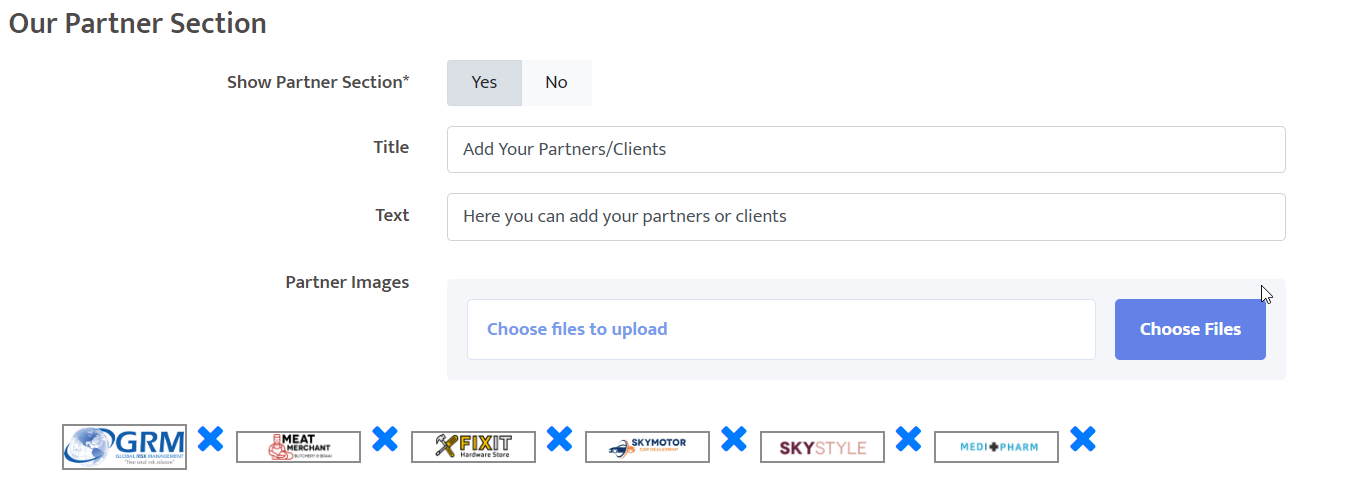
You can add a Partner/Clients section, by clicking YES or No.
Add a title and short description here.
To add the images or logos of your partners or clients either drag the Image onto upload field or click on choose files and select the files to upload.
They will display on the site as follows.
Add the relevant Meta tags and keywords for this section to further improve web ranking and on search engines on Google.
CONTACT US PAGE
Choose Contact us from the dropdown menu,
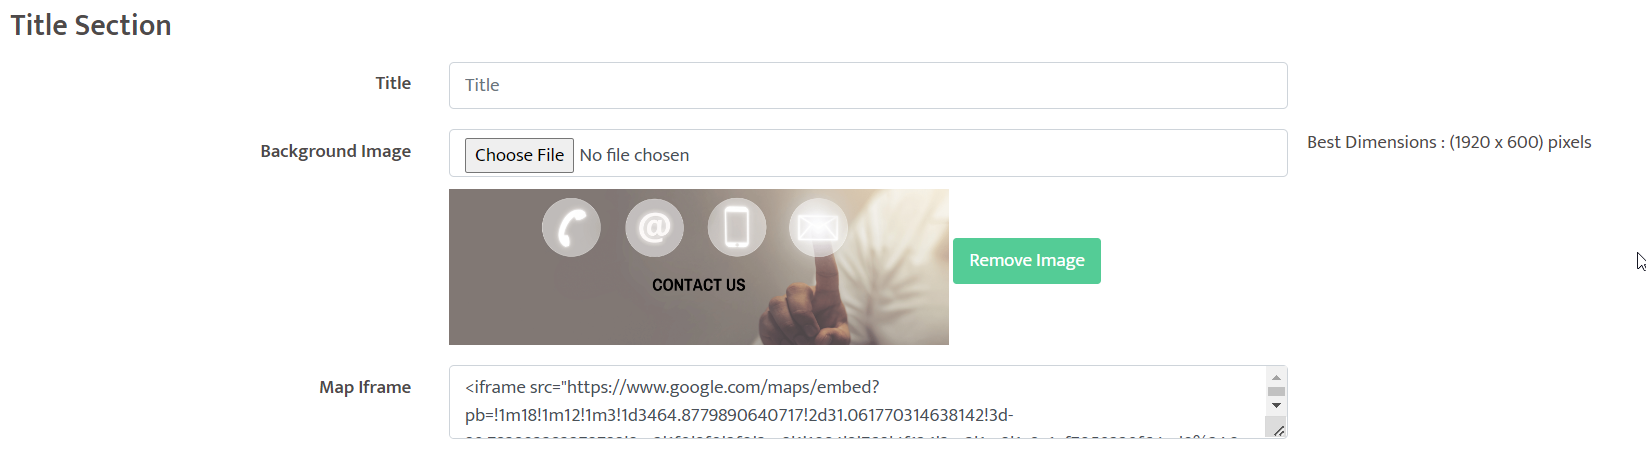
Add a title for the top banner of your website.
You add the top banner image here, by clicking choose file, then select an image you have saved.
For the best possible resolution and size of the image, to fit well on desktop, tablet and mobile platforms make sure the dimensions are 1920 x 600 pixels.
Add the Map Iframe here, this will show the exact Google map location on the map.
Add the relevant Meta tags and keywords for this section to further improve web ranking and on search engines on Google.
CALLBACK PAGE
Choose Call back from the dropdown menu,
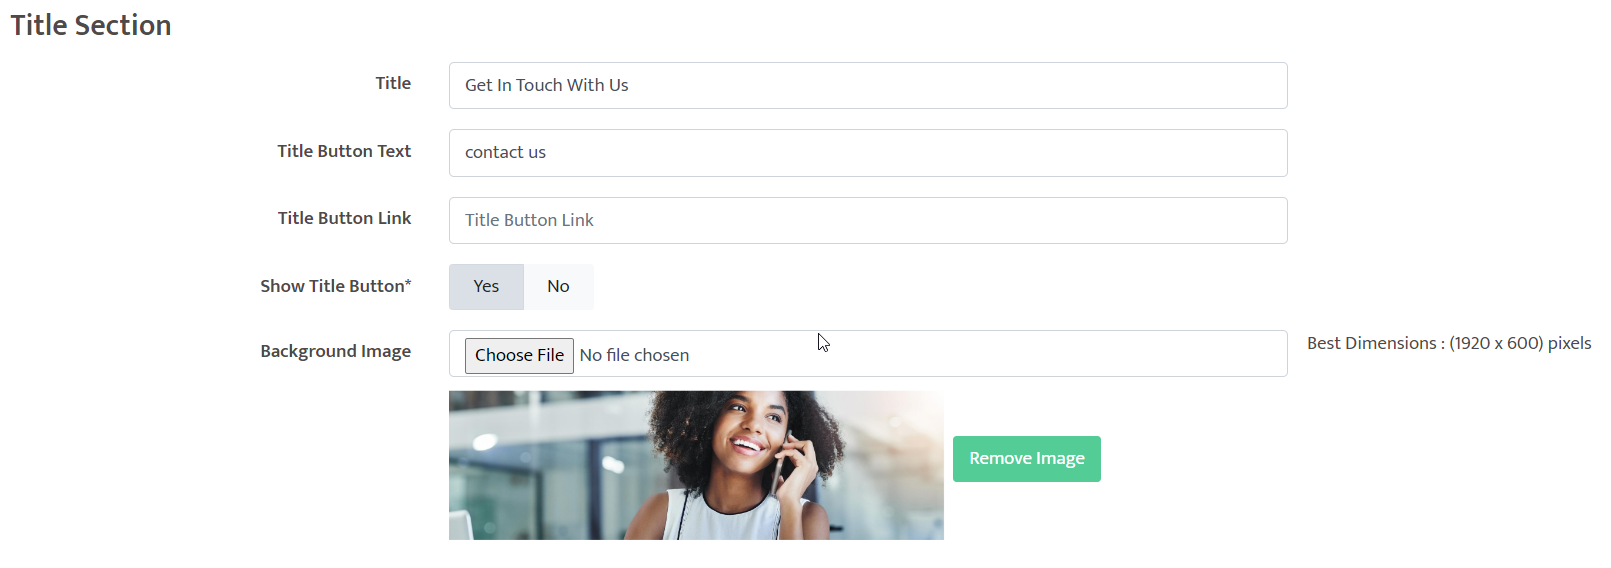
Add a title for the top banner of your website.
You can also add a Link Button under the title to link to any another website or page you choose.
You will add that link in the field below called Title Button Link.
You can choose whether to show the title button by selection YES or NO.
You add the top banner image here, by clicking choose file, then select an image you have saved.
For the best possible resolution and size of the image, to fit well on desktop, tablet and mobile platforms make sure the dimensions are 1920 x 600 pixels.
Add the relevant Meta tags and keywords for this section to further improve web ranking and on search engines on Google.
PRIVACY POLICY & TERMS AND CONDITIONS
PRIVACY POLICY PAGE
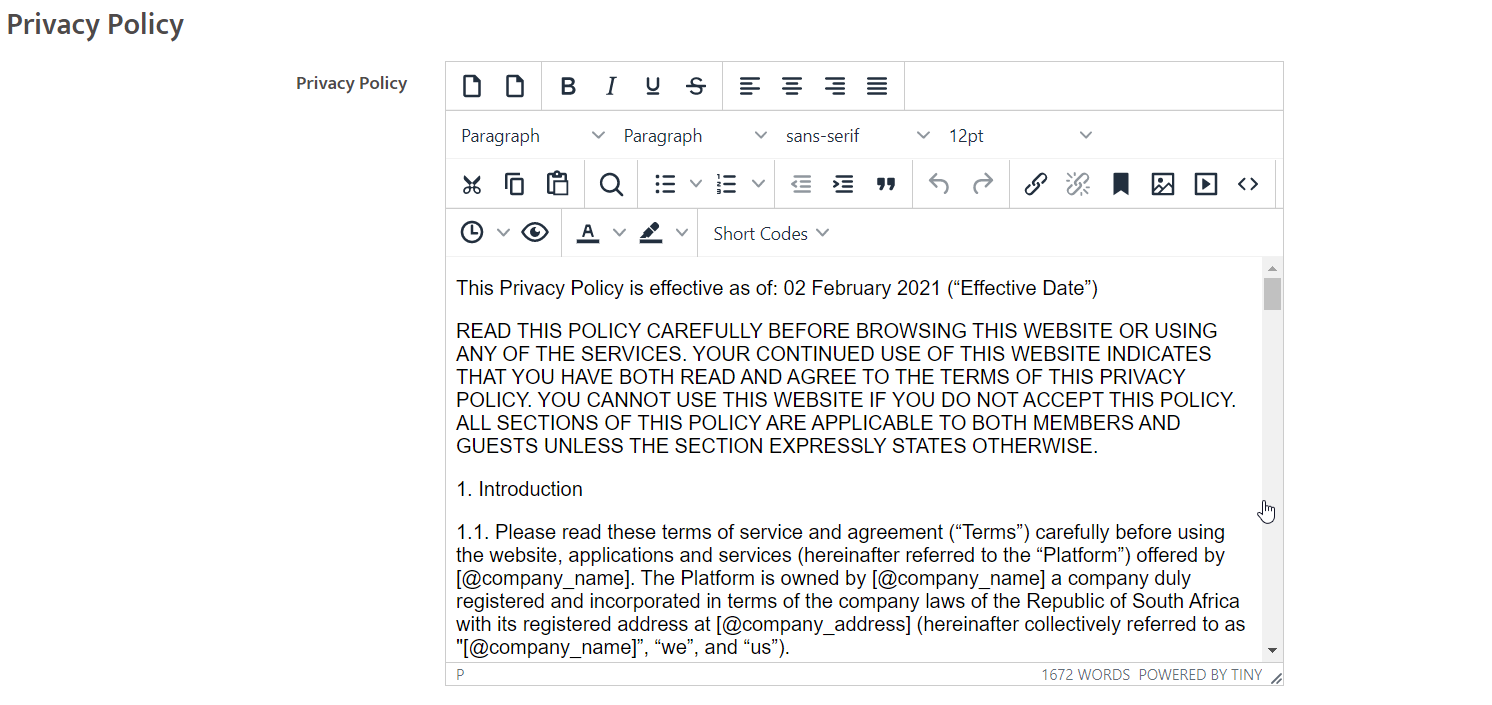
Choose Privacy Policy from the dropdown menu,
Add a title for the top banner of your website.
You add the background image here, by clicking choose file, then select an image you have saved.
Here there is default privacy policy content, to assist you with creating your own privacy policy content, or you could replace it if you already have a Privacy Policy.
.
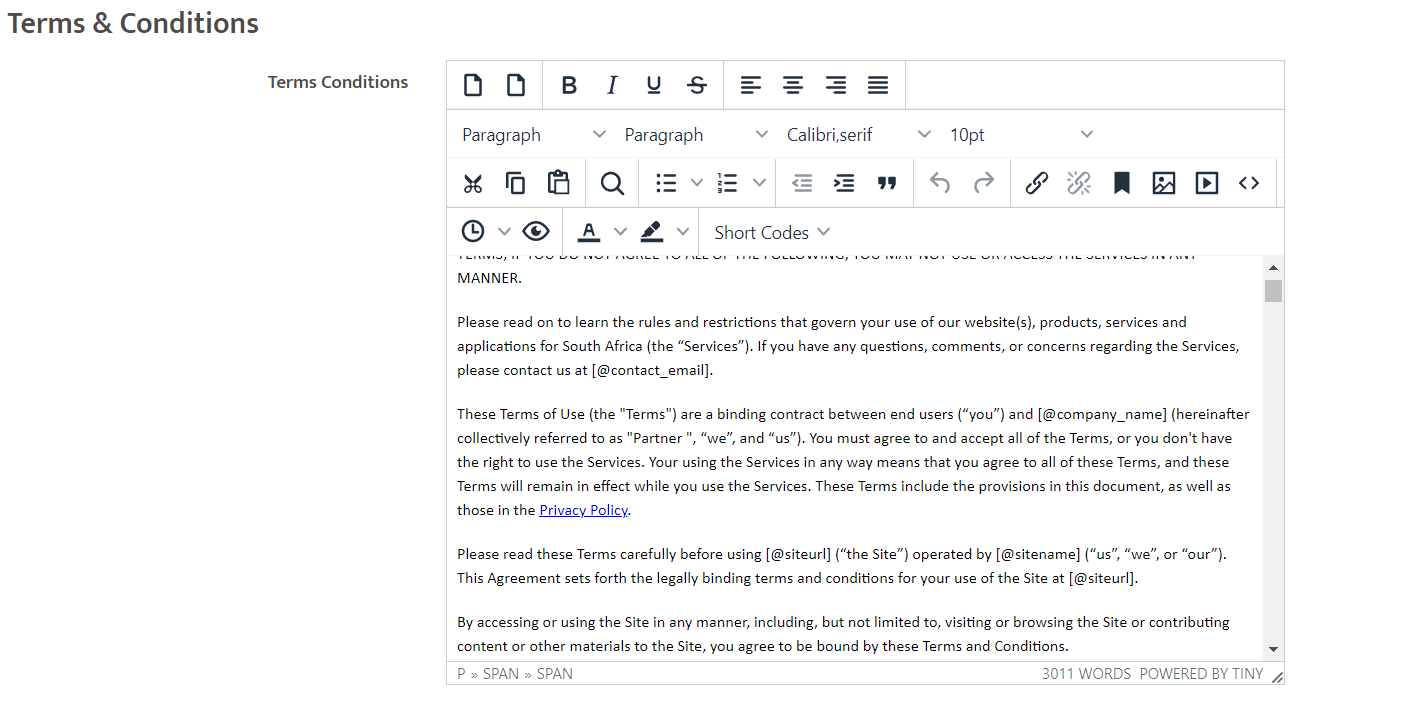
TERMS AND CONDITIONS PAGE
Choose terms and conditions from the dropdown menu,
Add a title for the top banner of your website.
You add the background image here, by clicking choose file, then select an image you have saved.
Here there is default terms and conditions content, to assist you with creating your own terms and conditions content, or you could replace it if you already have a terms and conditions.
CUSTOMER REVIEW SECTION
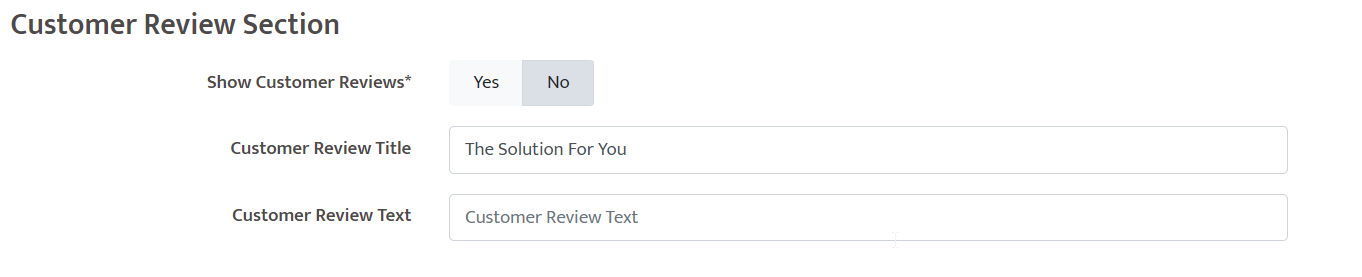
Under Content select Page Content, Home and scroll down to the Customer Review section
Here you can create a customer review tab or use this section to showcase your business.
You can choose whether the customer reviews section will show (Yes/No)
You can add the main Title and the text description to show on Homepage.
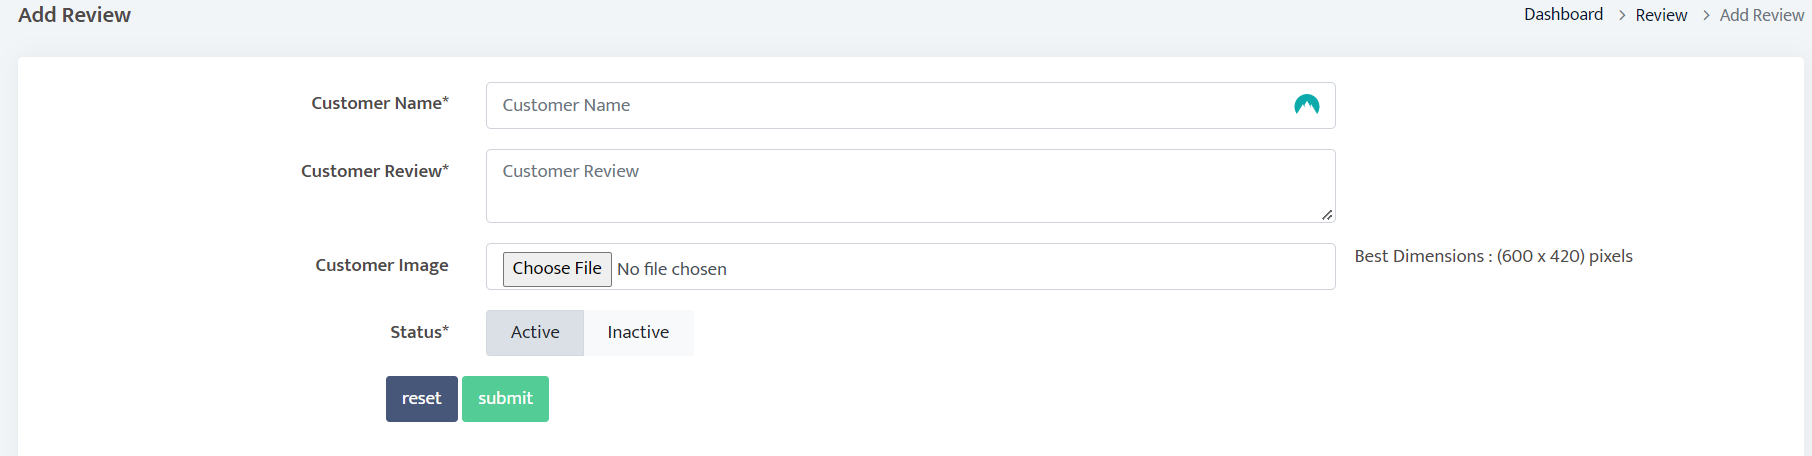
ADD CUSTOMER REVIEW
Under Components, on Reviews you can Add a Review or View current Reviews.
Select Add Review.
You can add the Name, Description/Review, a supporting image of the customer/ or a showcase image and you can set the status to active or inactive.
Set relevant meta tags.
RECENT NEWS / BLOG
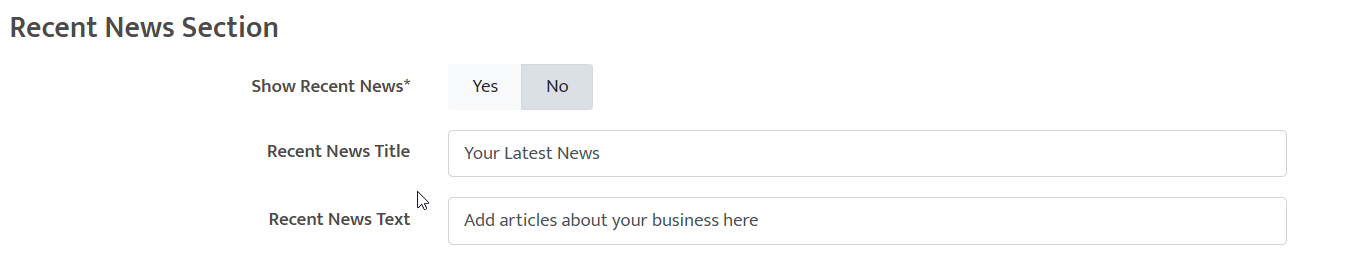
Under Configuration select Recent News
Here you can control your News/Blog section.
You can choose whether the News/Blog section will show (Yes/No)
You can add the main Title and the text description to show on Homepage.
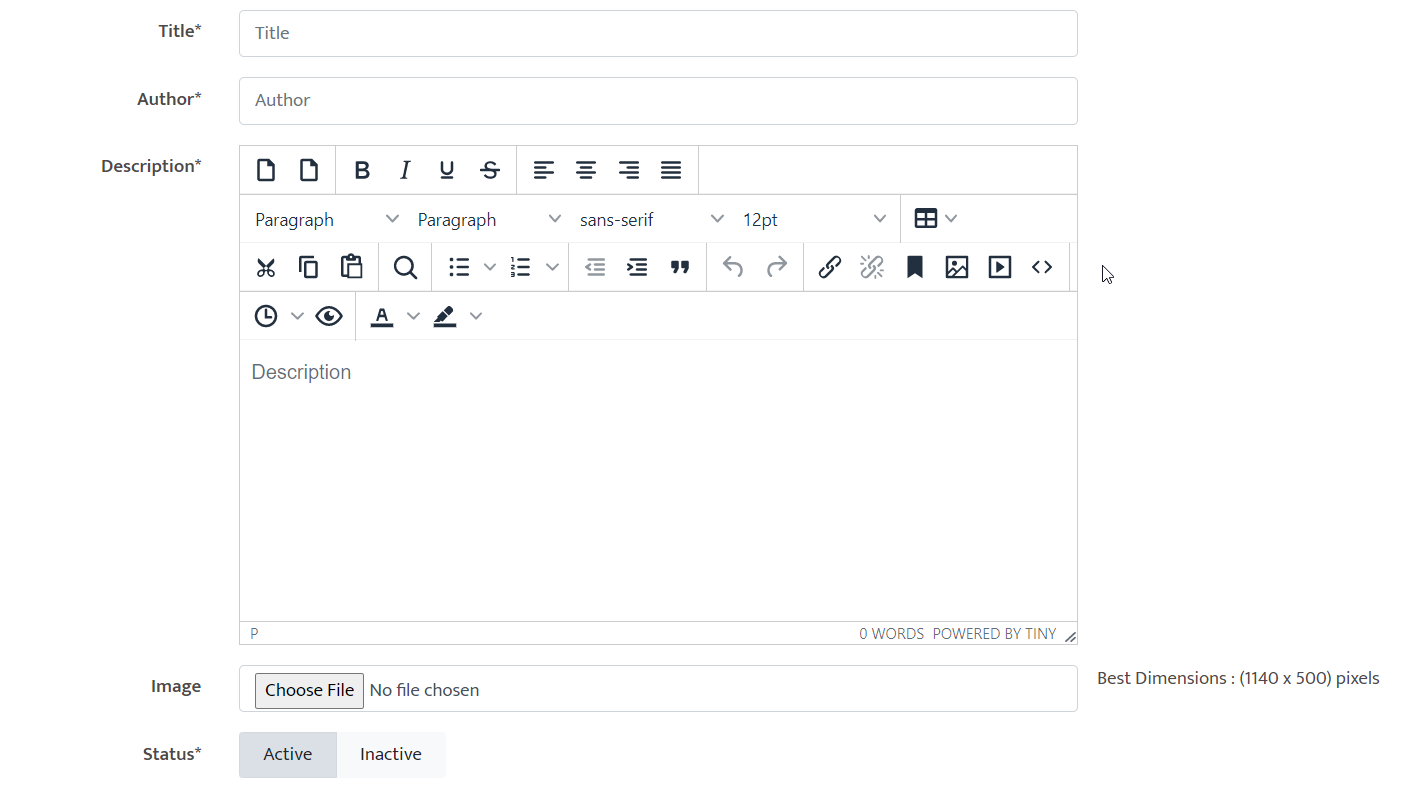
ADD NEWS / BLOG
Under Components, on News/Blogs you can Add a News/Blog or View current News/Blogs.
Select Add News/Blog.
You can add a title, Author, news/blog article, a supporting image for the news/blog and you can set the status to active or inactive.
Set relevant meta tags.
EMAIL TEMPLATES
USER EMAIL TEMPLATE - SIGN UP EMAIL AND FORGET PASSWORD EMAIL
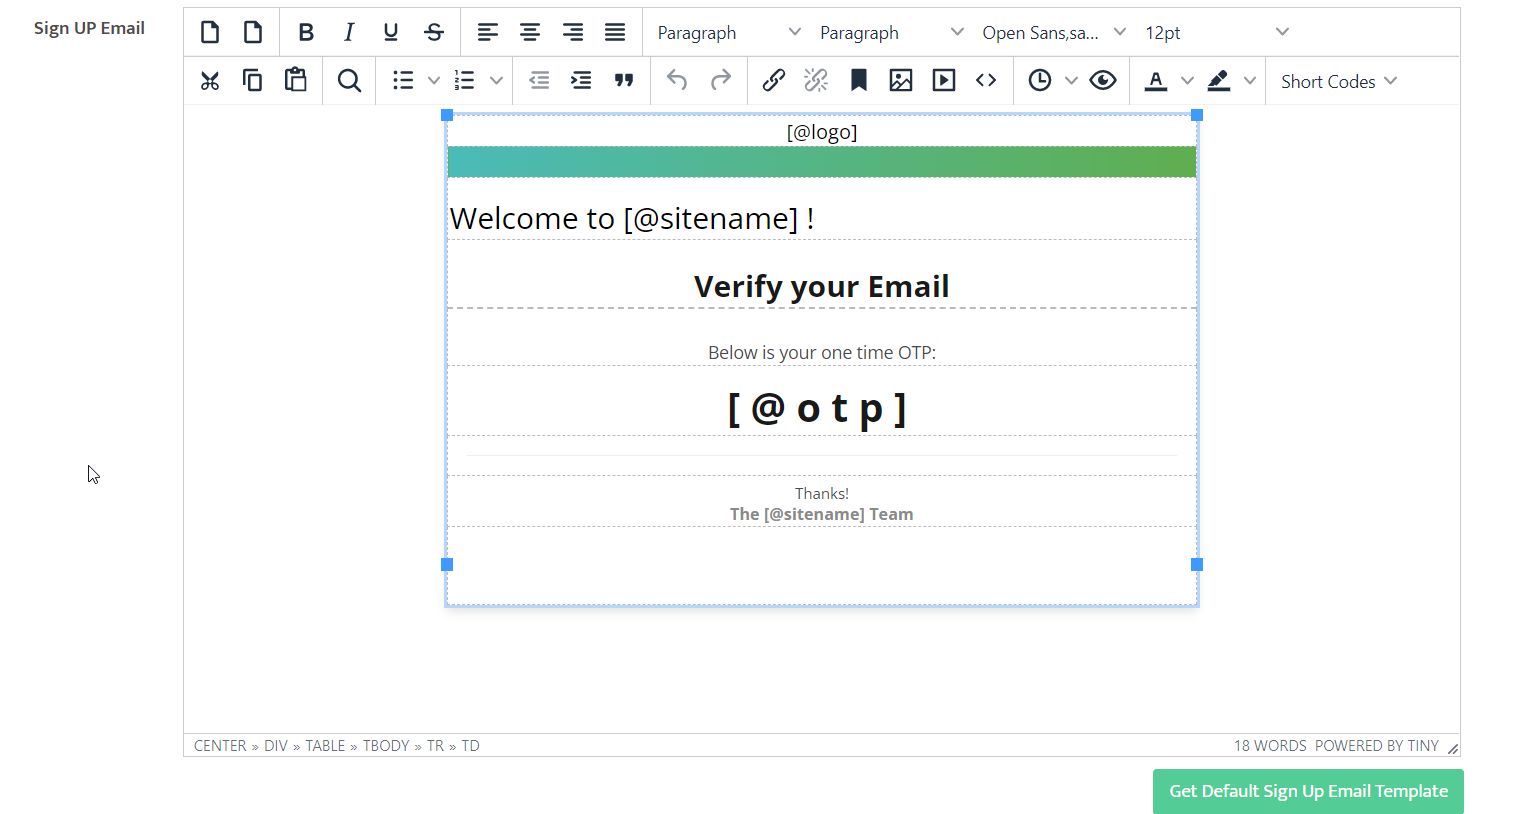
You can add and edit the Sign Up Email to be sent to a customer upon signup for the OTP.
Click Get Default Sign Up Email Template for a default Sign up email, that is editable.
You can add and edit the Forgot Password Email, after a customer clicks on Forgot Password upon the Login Page to set a recovery password.
Click Get Default Forgot Password Email Template for a default Forgot Email template email, that is editable.
Click update button on bottom left to update.
ORDER EMAIL TEMPLATE - ORDER EMAIL AND CUSTOM ORDER EMAIL
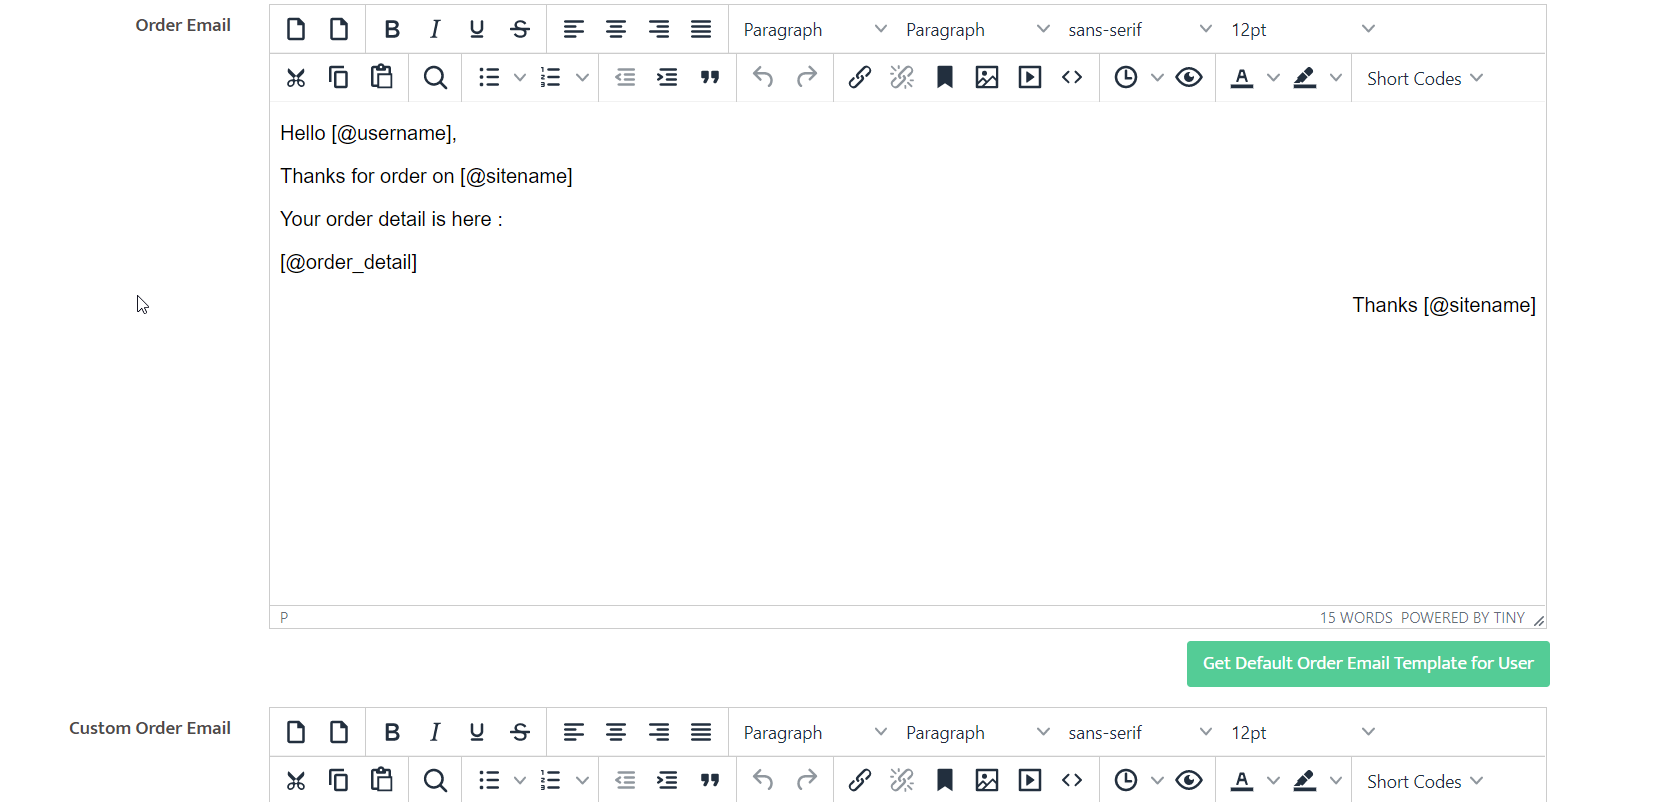
You can add and edit the Order Email to be sent to a customer upon making an order.
Click Get Default Order Email Template for User, for a default Order email.
You can add and edit the Custom Order Email to be sent to a customer upon making an order.
Click Get Default Custom Order Email Template for User, for a default Order email, that is editable.
Click update button on bottom left to update.
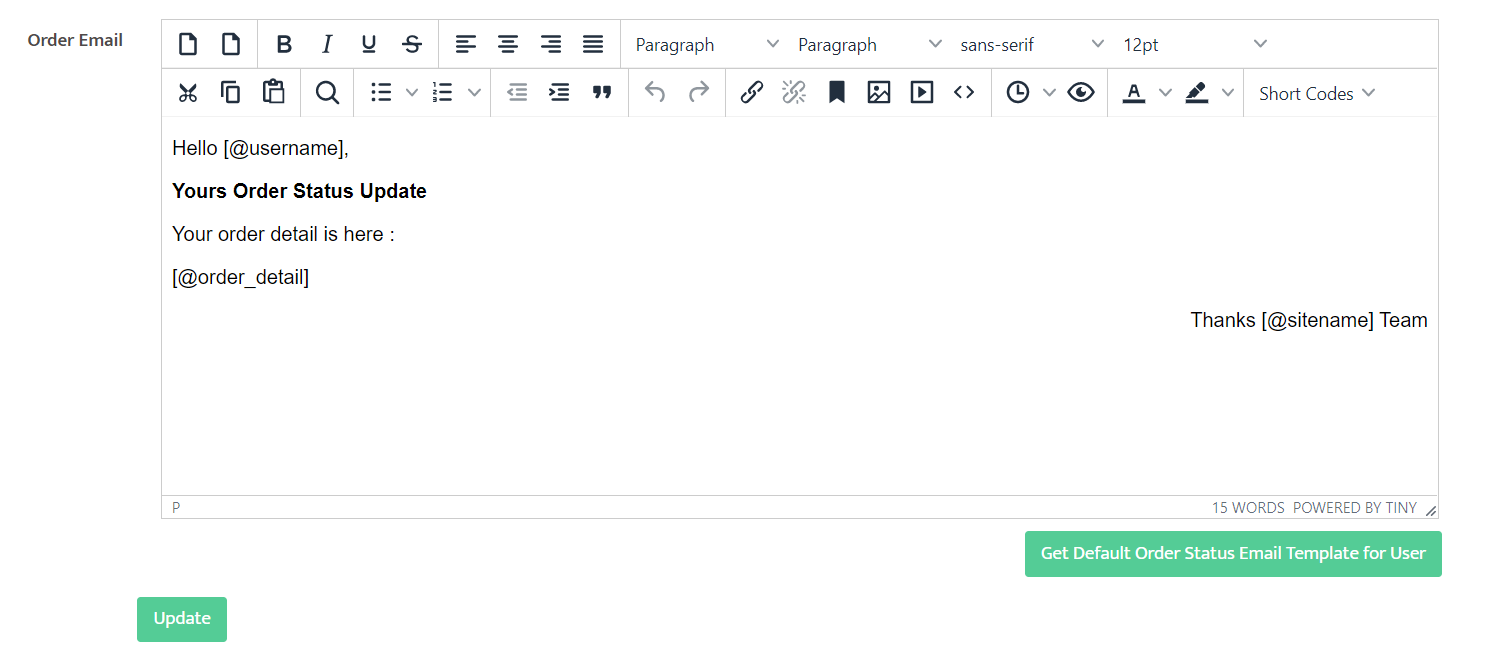
ORDER STATUS EMAIL TEMPLATE FOR USER
You can add and edit the Order Status update Email to be sent to a customer once they check their Order Status.
Click Get Default Order Status Email Template for User, for a default Order Status email, that is editable.
Click update button on bottom left to update.
SERVICE SALE EMAIL TEMPLATE FOR USER
You can add and edit the Service Sale Email to be sent to a customer once a customer purchases a service.
Click Get Default Service Sale Email Template for User, for a default Service Sale email, that is editable.
Click update button on bottom left to update.
STAFF REGISTRATION EMAIL TEMPLATE
You can add and edit the Staff Registration Email for staff member registration. ...................
Click Get Default Staff Registration Email Template for User, for a default Staff Registration Email, that is editable.
Click update button on bottom left to update.
SET UP SMS SETTINGS
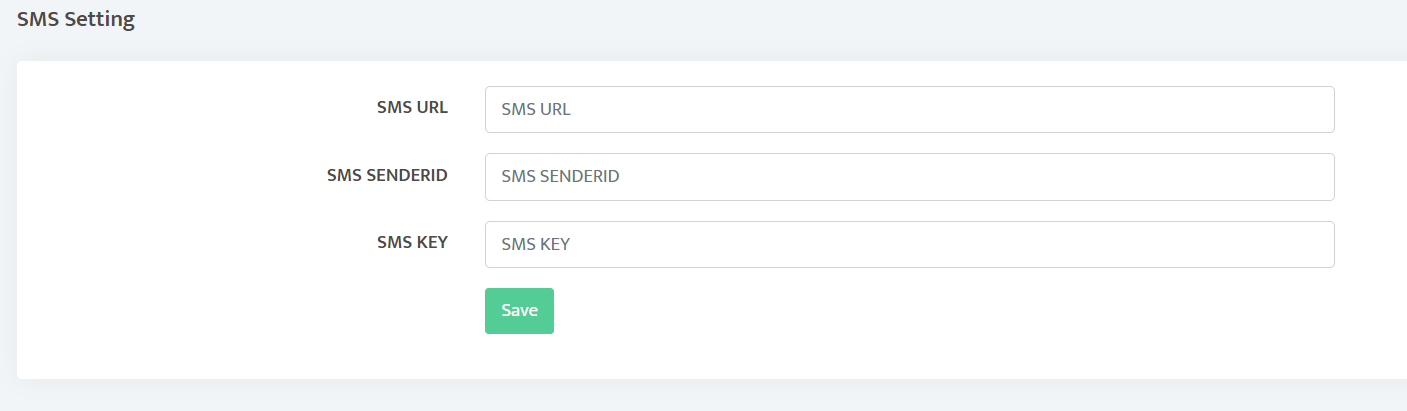
Here you are able to setup SMS option for your website.
Add the SMS code URL
Add the SMS SENDER ID
Add the SMS Key
WEBSITE TEMPLATES
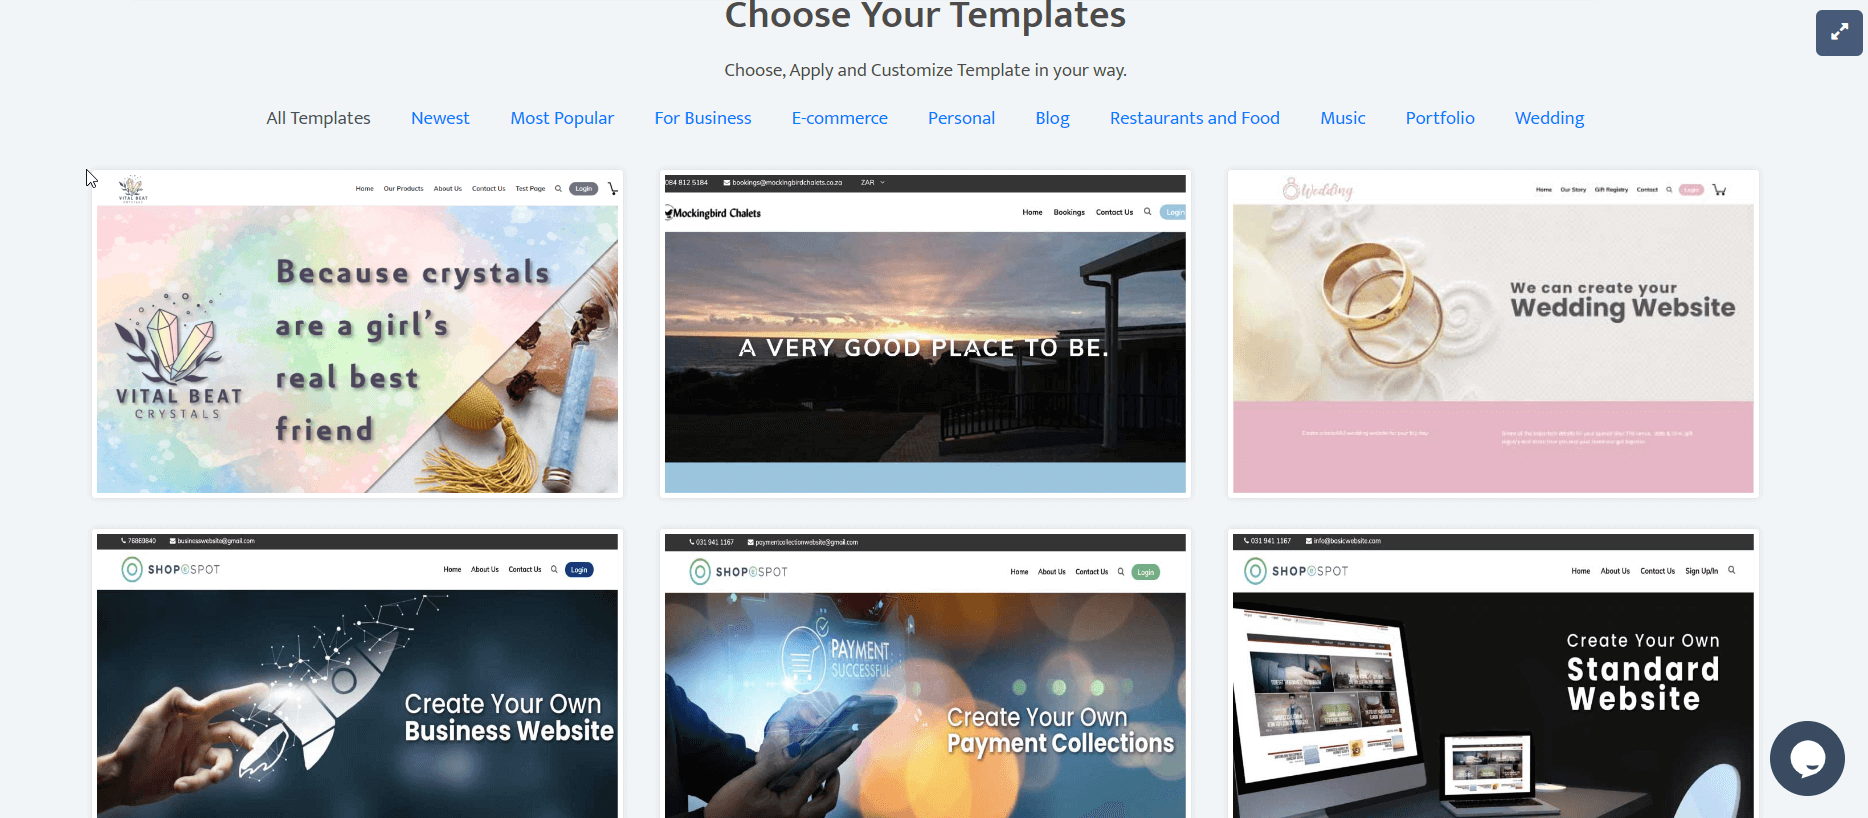
Under configuration select Website Templates.
Here you can view all the demo Templates for each business Type.
On a Business Type click View Template
Here you can view the template by clicking the preview template or choose the template.
Click choose template, you will be able to set which parts of the chosen template you want to import onto your website by clicking yes/No.
You can also choose to add to or replace the previous contents on your site.
Click import template to save all the changes.
GOOGLE MAPS

Option to add your Google Maps API Key to sync with Google maps.
SITE PASSWORD SETTINGS
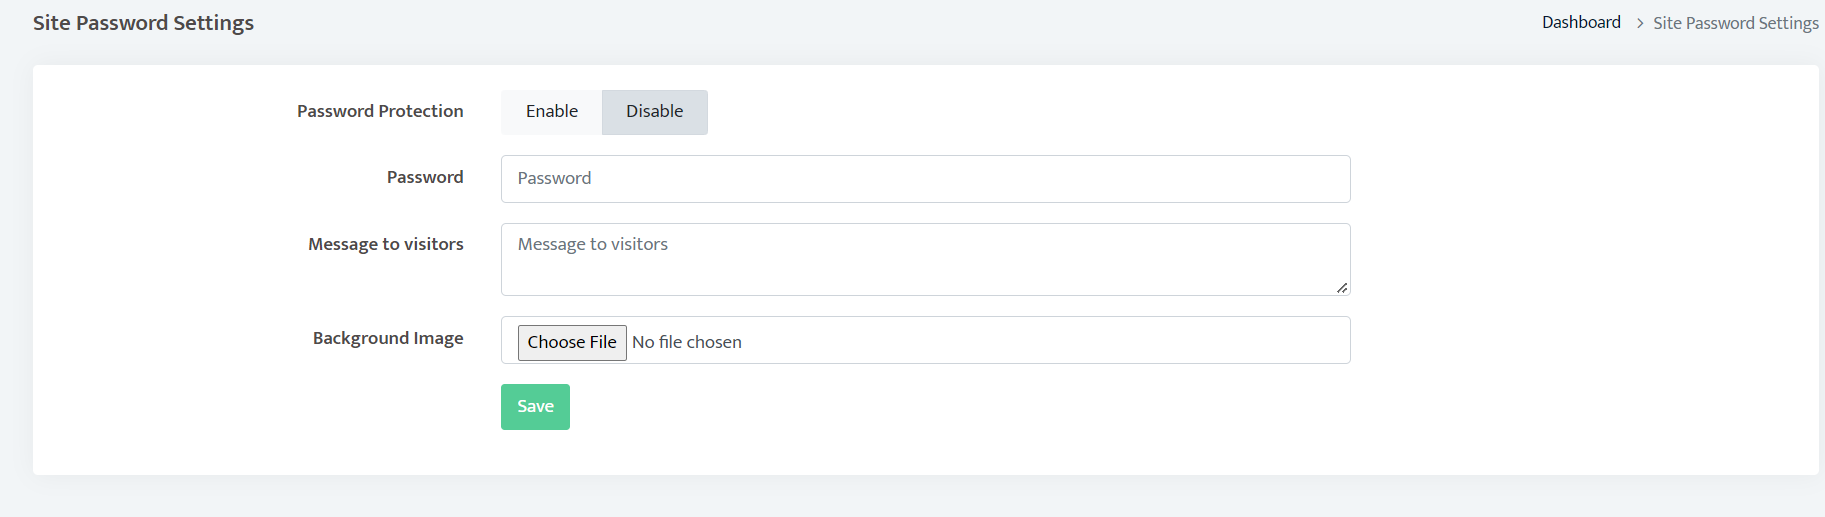
Here you be able to set up the password settings.
Enable or Disable the Password Protection
Add your password
Add a message for visitors
Add a background image
SEO
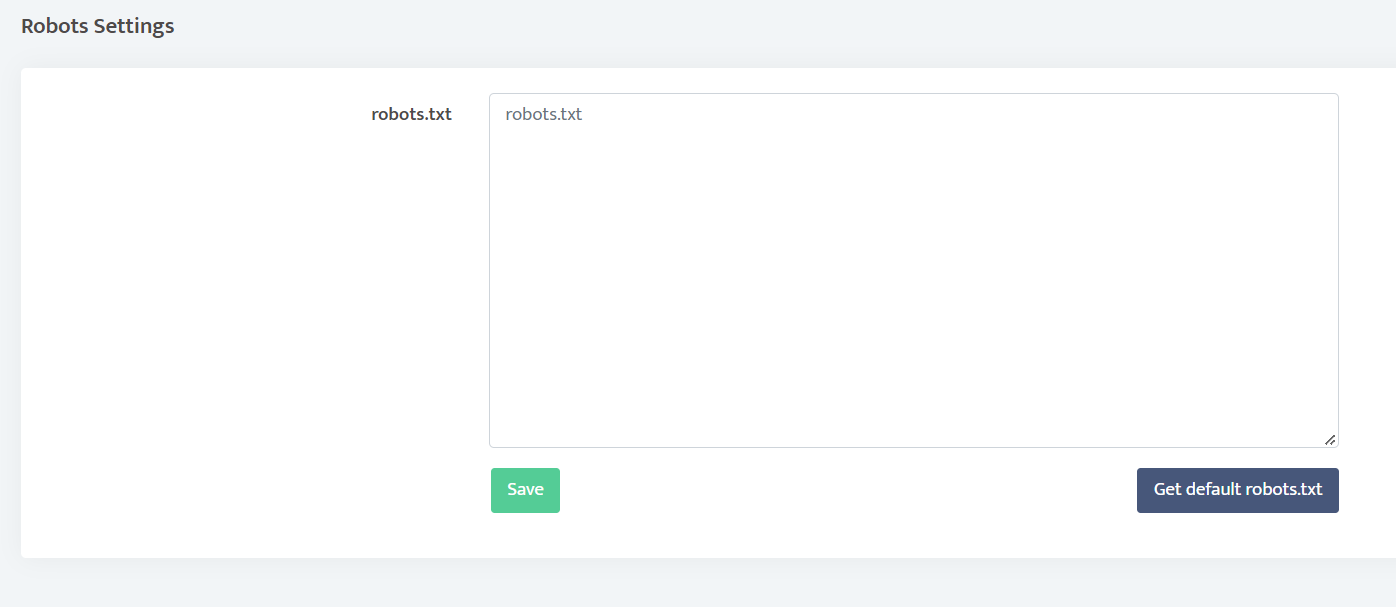
ROBOTS
Click default to set default robots.txt or add your own.
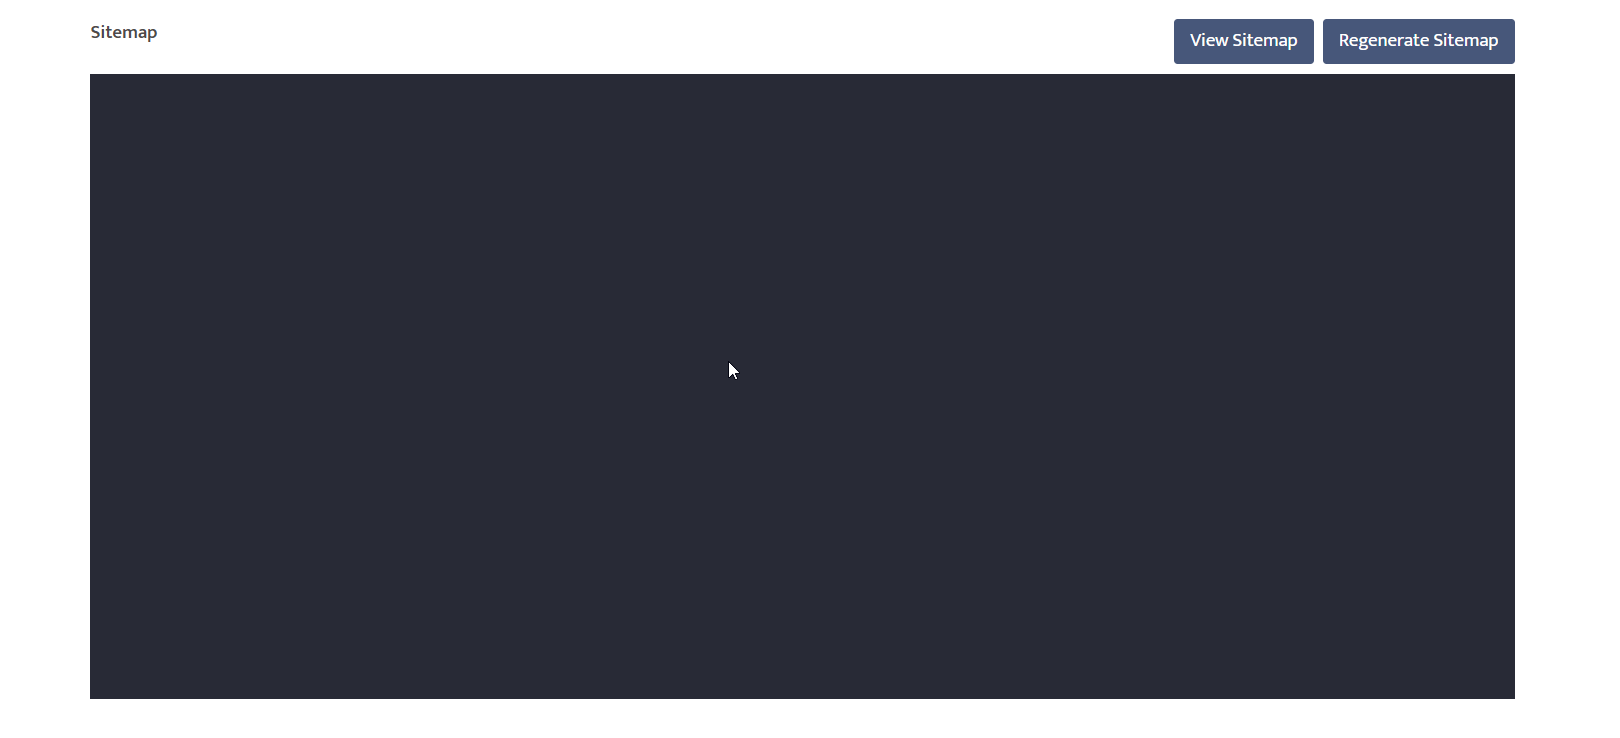
SITEMAP
Click Regenerate Sitemap, to view the sitemap information of the website
FACEBOOK PIXELS
You can add your own Facebook Pixels here.
GOOGLE ANALYTICS
Click default to set default Google Analytics or add your own
META TAGS SETTINGS
Here you can set the Meta Tag Settings:
Choose what the meta tags will apply to.
Add a Prefix
Add a Suffix
See an example of the meta tag
See a preview of the meta tag
....................................................................................................................................................................
DEFAULT META TAGS
Here you can set your default Meta Tags, to show on every Meta Tag section.
You can set the general:
Meta Tag title
Meta Tag description
Author
Meta Keywords
OG Image
Add a Custom Tag
META TITLE GENERATOR
Here you can choose whether Meta Tag Titles are generated only if not set or whether to generate/regenerate all meta titles.
META DESCRIPTION GENERATOR
Here you can choose whether Meta Tag descriptions are generated only if not set or whether to generate/regenerate all meta descriptions.
DOCUMENTS
Here you are able to add documents, to your website.
Click Add Document
You will be able to add a title, upload your document and be able to turn the document status to active or inactive.
SET UP YOUR DOMAIN
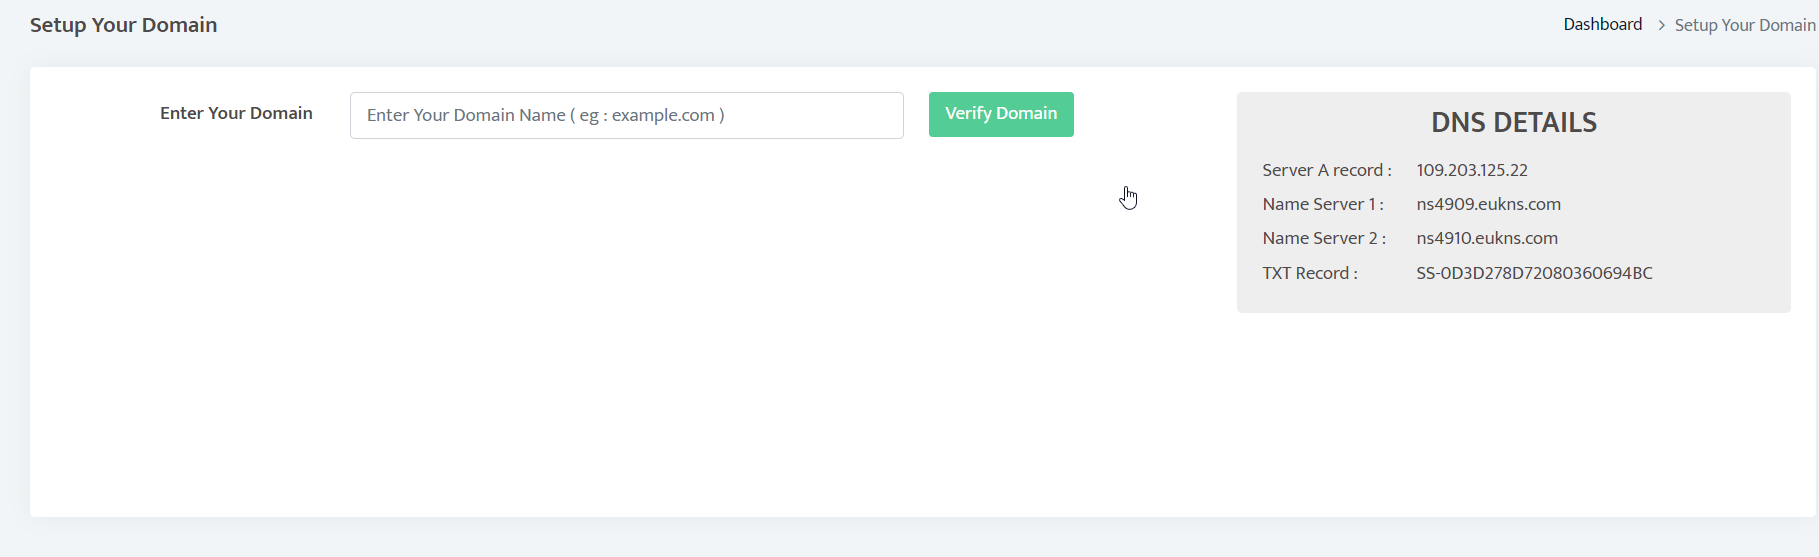
Here you are able to setup your Main Domain.
Enter your Domain Name (e.g.: example.com)
Click the green button to verify the Domain.
On the right of the page, it has the DNS Details :
Server A record
Name Server 1
Name Server 2
TXT Record
REFUND POLICY PAGE
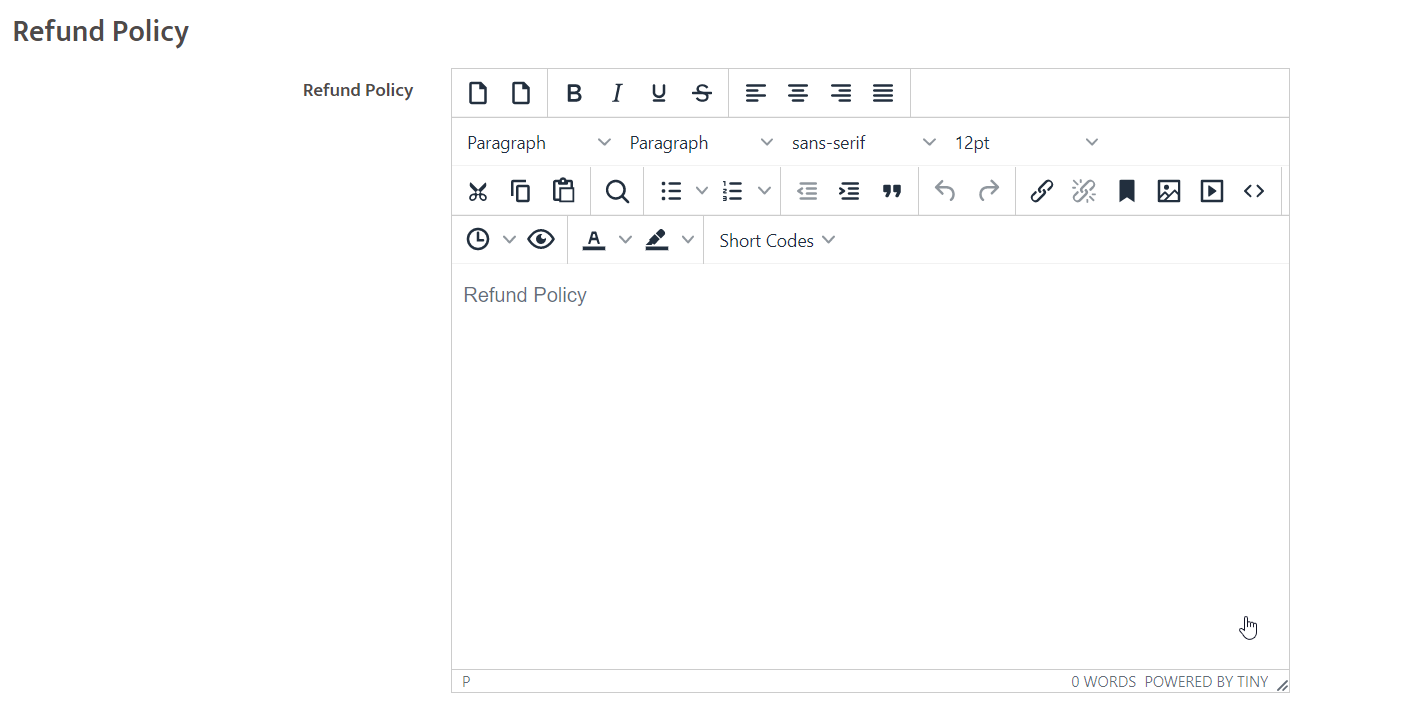
Here you can create a Refund Policy page.
You will be able to add a title, upload background image for a top banner and be able to add your Refund Policy below in the tab.
You can also add relevant meta tags information.
ORDER INVOICE PDF
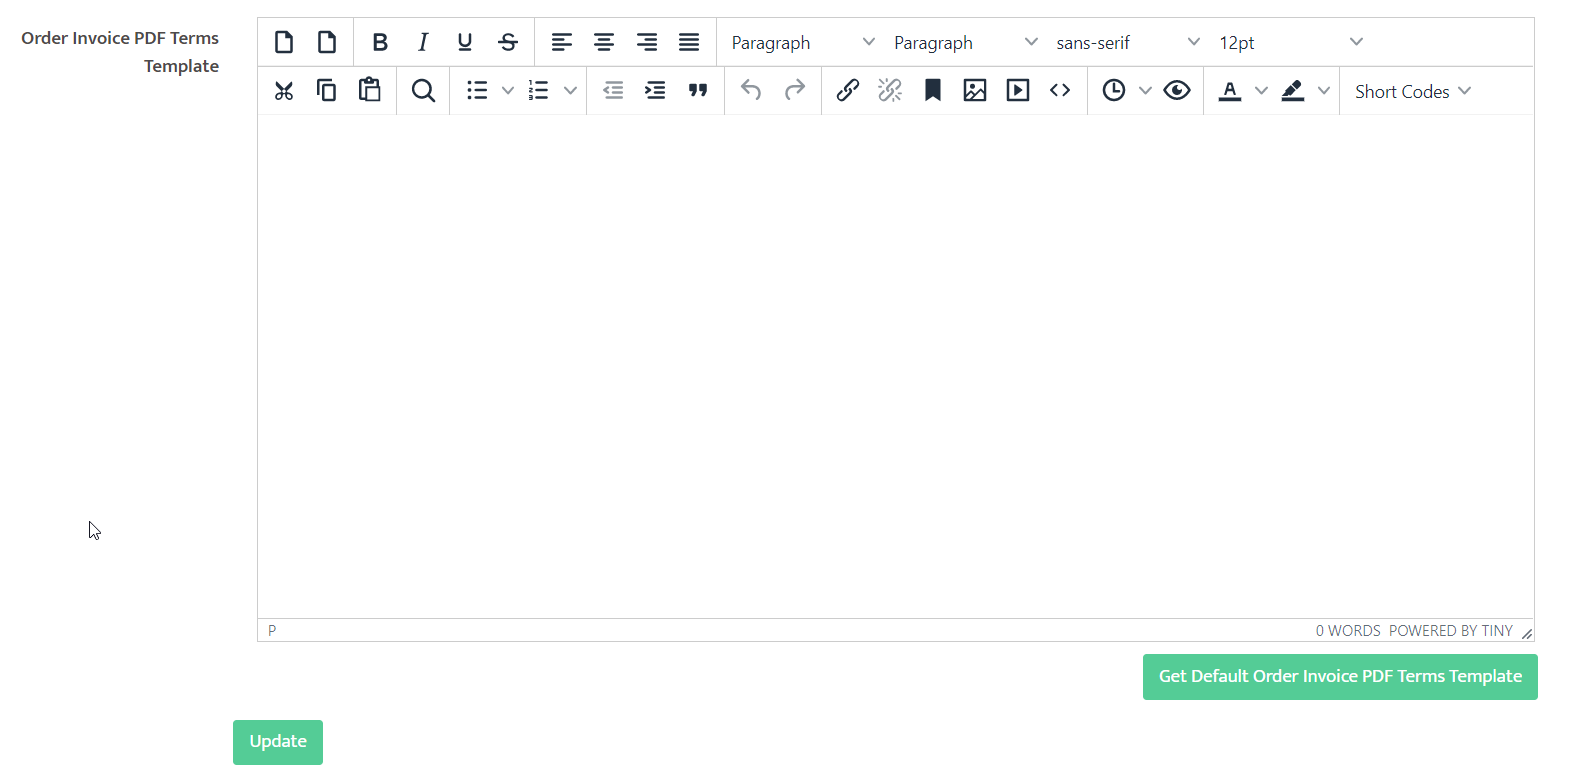
Under Configuration click on Order Invoice PDF
You can add and edit the Order Invoice PDF Terms Template for order invoices.
Click Get Default Order Invoice PDF Terms Template to add the default order invoice terms template, that can be edited.
Click update button on bottom left to update
WALLET
Here you can view your Wallet Balance and Add Money to your online wallet, you can see the:
Transaction type
Pre-Transaction Balance
Transaction Amount
Closing Balance
Relation of transaction
Transaction reference
Transaction Date
REPORTS
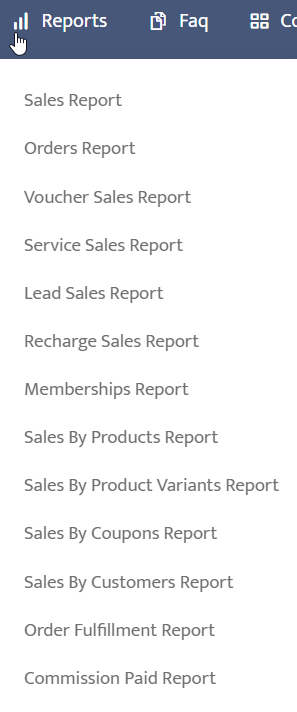
Here you can view all the report data statistics for:
Sales Reports
Orders Reports
Vouchers Sales Reports
Service Sales Reports
Leads Sales Reports
Recharge Sales Reports
Membership Reports
Sales By Products Reports
Sales By Product Variants Reports
CUSTOM LEAD FORMS
Here you will have you own Form Builder where you can create you own Customized Lead generation forms:
View your Custom Lead Forms
Add Custom Lead Forms with various options.
STAFF
Here you can manage your staff information like:
Add, view and manage Staff Members
Add, view and manage Staff Roles
EMAIL CAMPAIGNS AND CONFIGURING SENDGRID
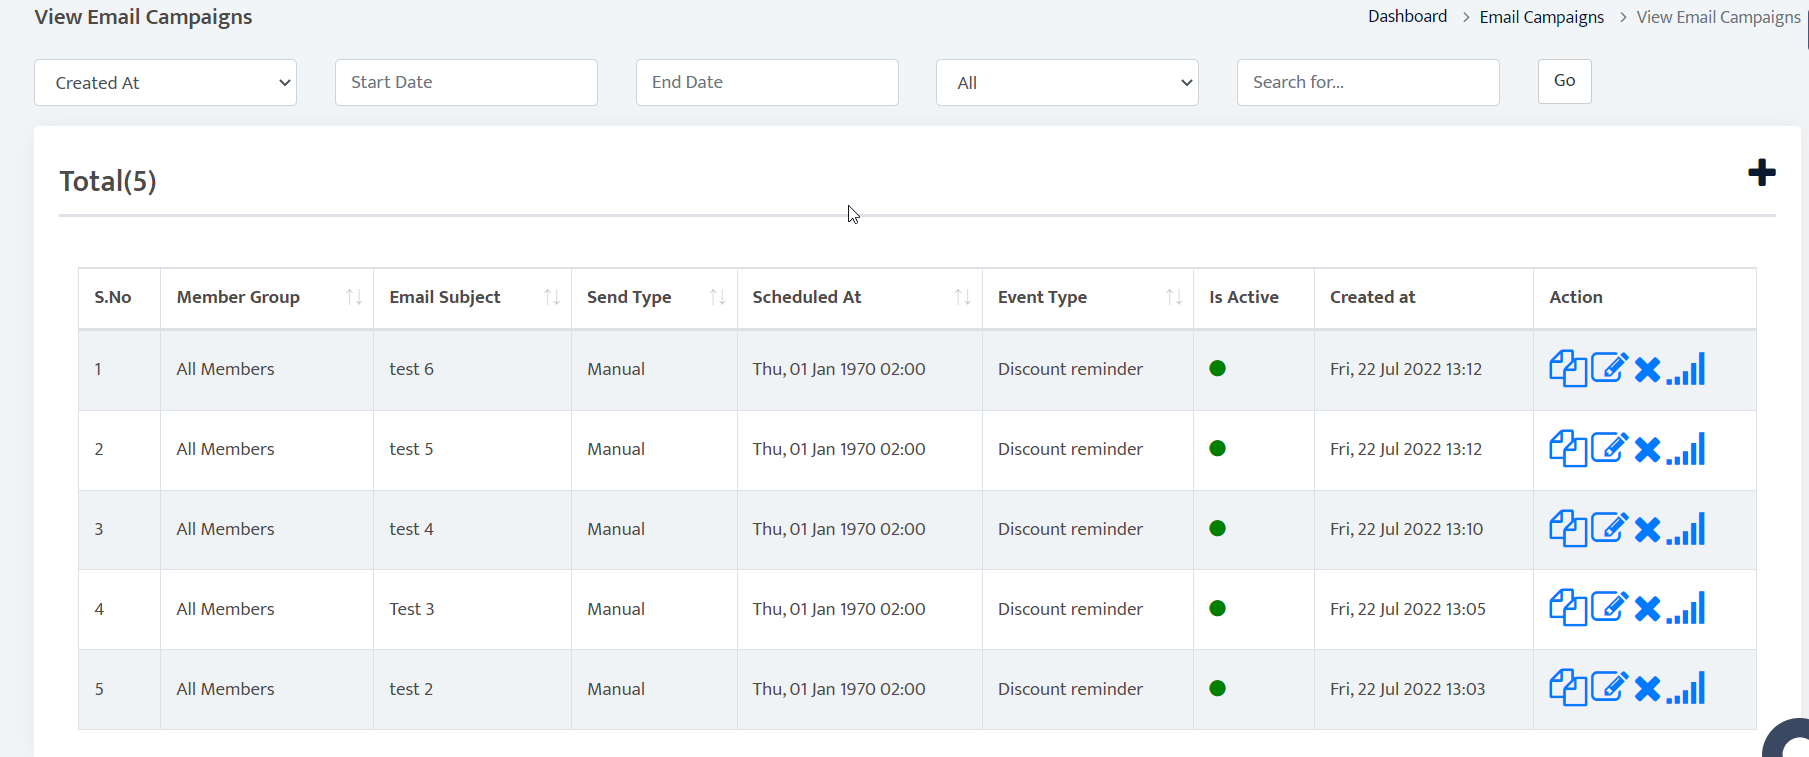
To view your email campaigns, go to Marketing and select Email Campaigns.
To add an email campaign, click on the plus sign on the right side of the page.
You can either select and use an existing template or create your own campaign by clicking on Blank.
In order to send marketing emails, you will have to configure SendGrid.
Click on Configure SendGrid and you will be taken to a screen that will ask for your SendGrid API Key.
You can also access this section by going to Configuration, Settings and then click on SendGrid Settings from the dropdown menu
To obtain your SendGrid API Key, go to https://sendgrid.com
Click on Sign In if you already have a SendGrid account.
When you log in for the first time, you will have to set up 2 Factor Authentication which will be done either via the Authy app or SMS. Choose your preferred option and enter the confirmation code received.
Every time you choose to log in (only applies if you log out of your account), you will have to enter a confirmation code that will be sent to you via your preferred method before being able to log in (for security purposes).
If you do not have an existing account, click on Start for Free to create one.
Fill in your email address and password (which should be 16 characters minimum), check the boxes that follow and then click on Create Account.
Thereafter you will be asked to fill out some information about your company before being able to proceed to the dashboard.
Once you are on the dashboard, click on the Create a Single Sender button to create a sender identity.
Fill in the required information on the following screen and click on Create in order to proceed.
A verification email will be sent to the sender email you provided.
Log in to the email account mentioned above, open the verification email and click on Verify Single Sender at the bottom.
This will take you back to the SendGrid website and your email's verification status will be updated.
To proceed to the next step, click on your name at the upper left side of the site, then select Setup Guide from the dropdown menu.
Once you return to the setup screen, click on the Start button below the Integrate using our Web API or SMTP Relay header.
Click on the Choose button under the Web API header.
Click on the Choose button next to PHP when asked to choose the language you want to use.
On the following screen, give your API Key a name before clicking on the Create Key button.
Under the Create an environment variable section, you will find your API Key between single quotes.
Copy the API Key ONLY and go back to your SendGrid settings on your ShopeSpot dashboard to paste it before clicking Save.
Save this key on your device as well as you can only view it ONCE after creating it on SendGrid. It will be inaccessible thereafter.
Go back to the SendGrid site, scroll to the bottom of the page and check the box next to I've integrated the code above.
Click on the Next: Verify Integration button to proceed.
Go back to your ShopeSpot dashboard, go to Marketing and select Email Campaigns from the dropdown menu.
Click the plus sign on the right side and select any template from the list.
Enter an email subject before scrolling to the bottom and click on the Submit button.
Go to Marketing and select Email Campaigns from the dropdown menu.
Click on the Edit option under the Action column for the campaign you just created.
Scroll to the bottom and click on the Test Email button.
Enter the email address you wish to send a test email to and click on Send Email.
A message will pop up to notify you that your email has successfully been sent.
Go back to the SendGrid site and click on Verify Integration.
Click on View Email Activity once the option appears.
Click on Show All Activity once the option appears.
Here you will be able to view the details of all the emails that were sent from your dashboard.
NOW YOU ARE A PRO DEVELOPER
FOLLOW, LIKE AND SHARE