

STAFF
Under the Components Tab, select Staff.
Here, you can view Staff Members and Staff Roles as well as add Staff Members and Staff Roles.
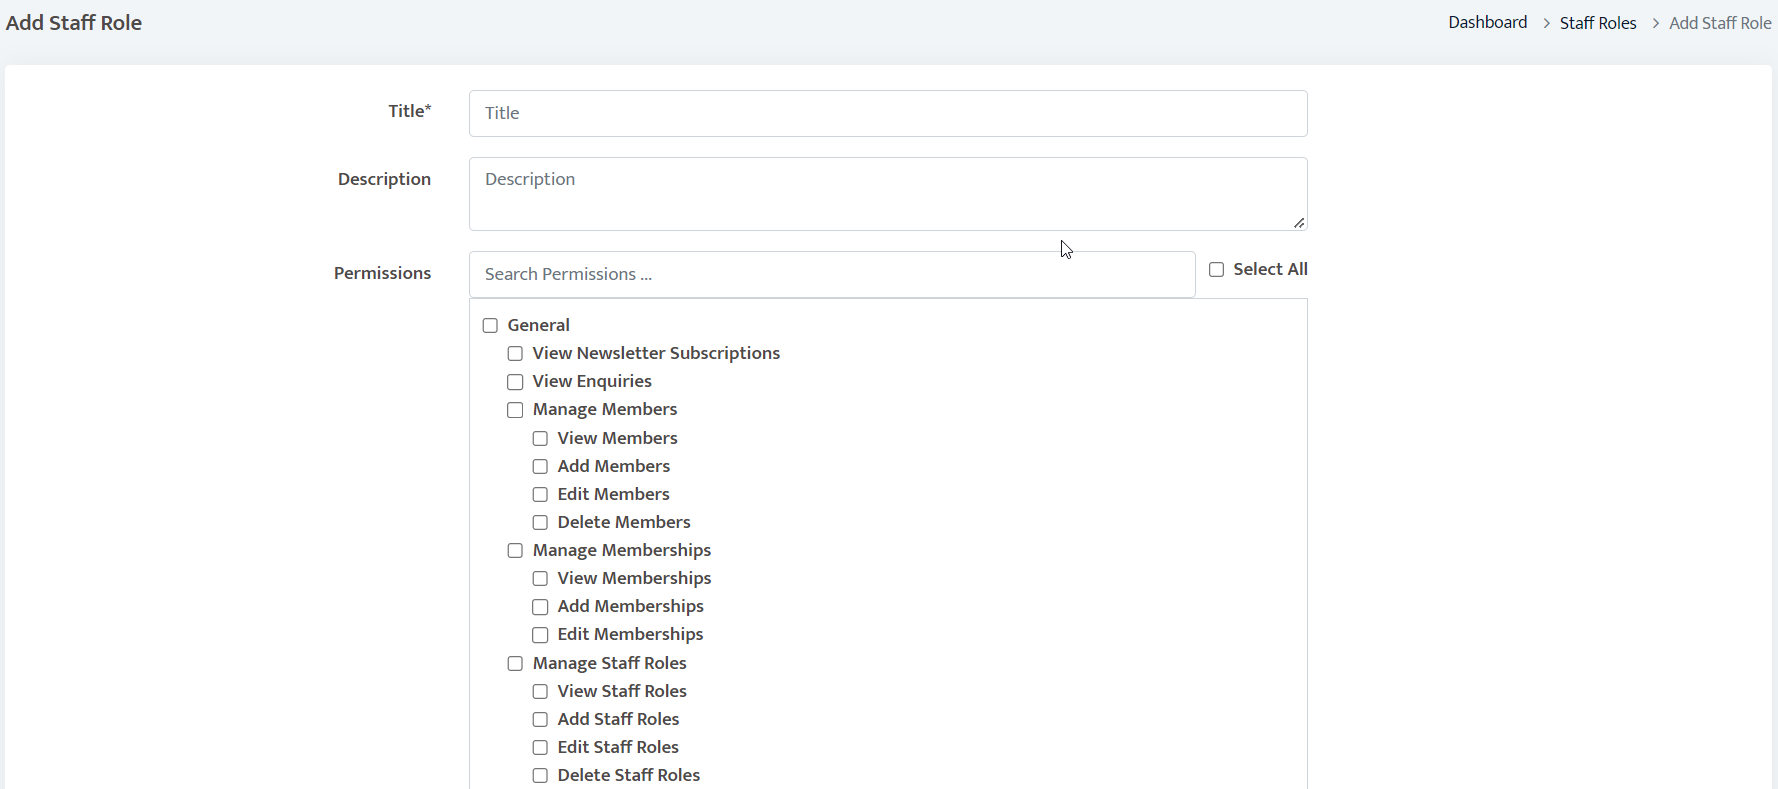
To add a staff role, choose Add Role from the dropdown menu.
Here you can set the Title of the role and provide a Description.
You can also assign permissions to the role from the list provided.
Any staff member assigned to the role will only be able to perform the tasks that fall under the chosen permissions.
Thereafter you can choose to set the status of the role as active or inactive.
Once completed press the green Submit button at the bottom to record your changes.
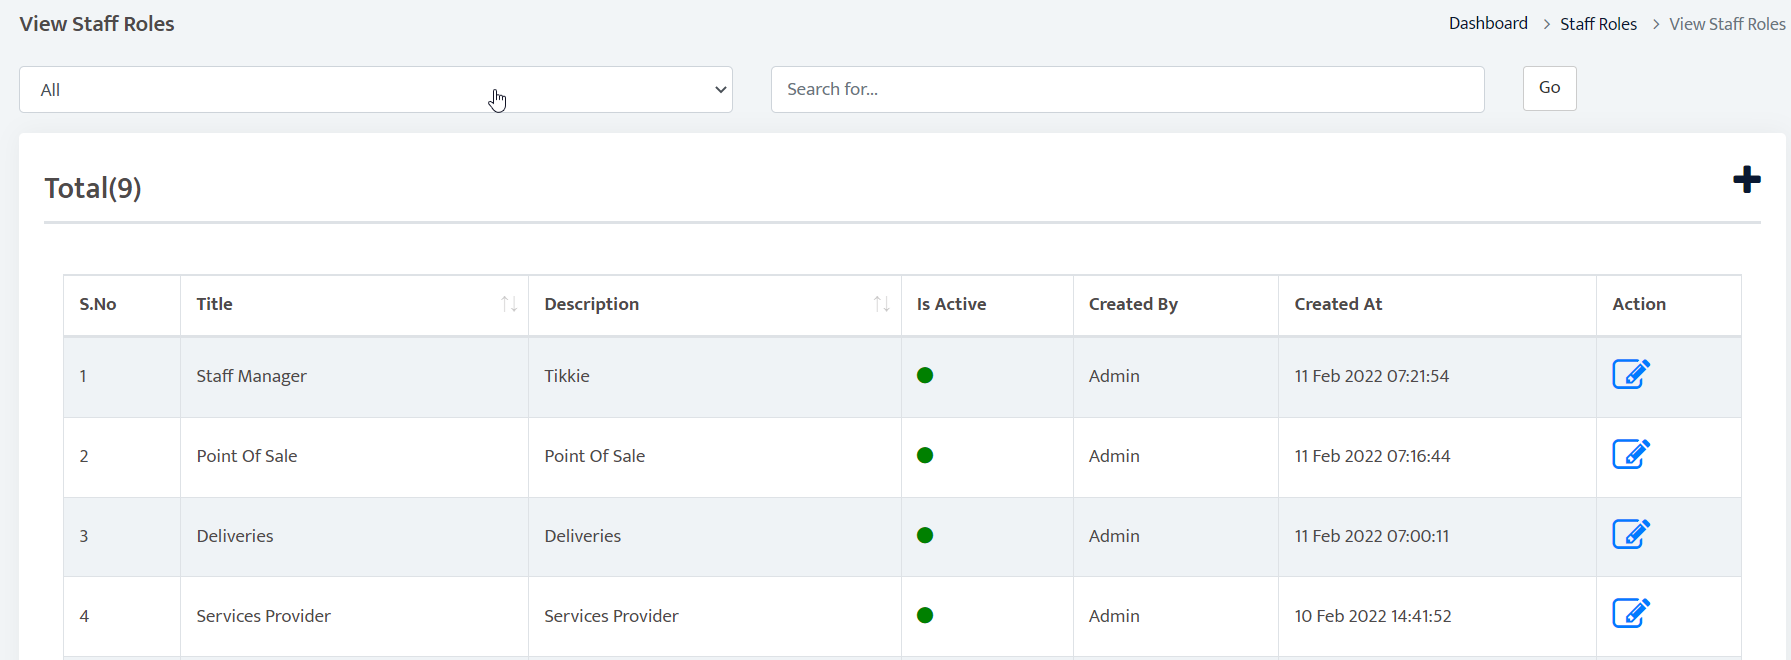
To view staff roles, choose View All Roles from the dropdown menu.
Here, you will be able to view all staff roles as well as edit and delete them.
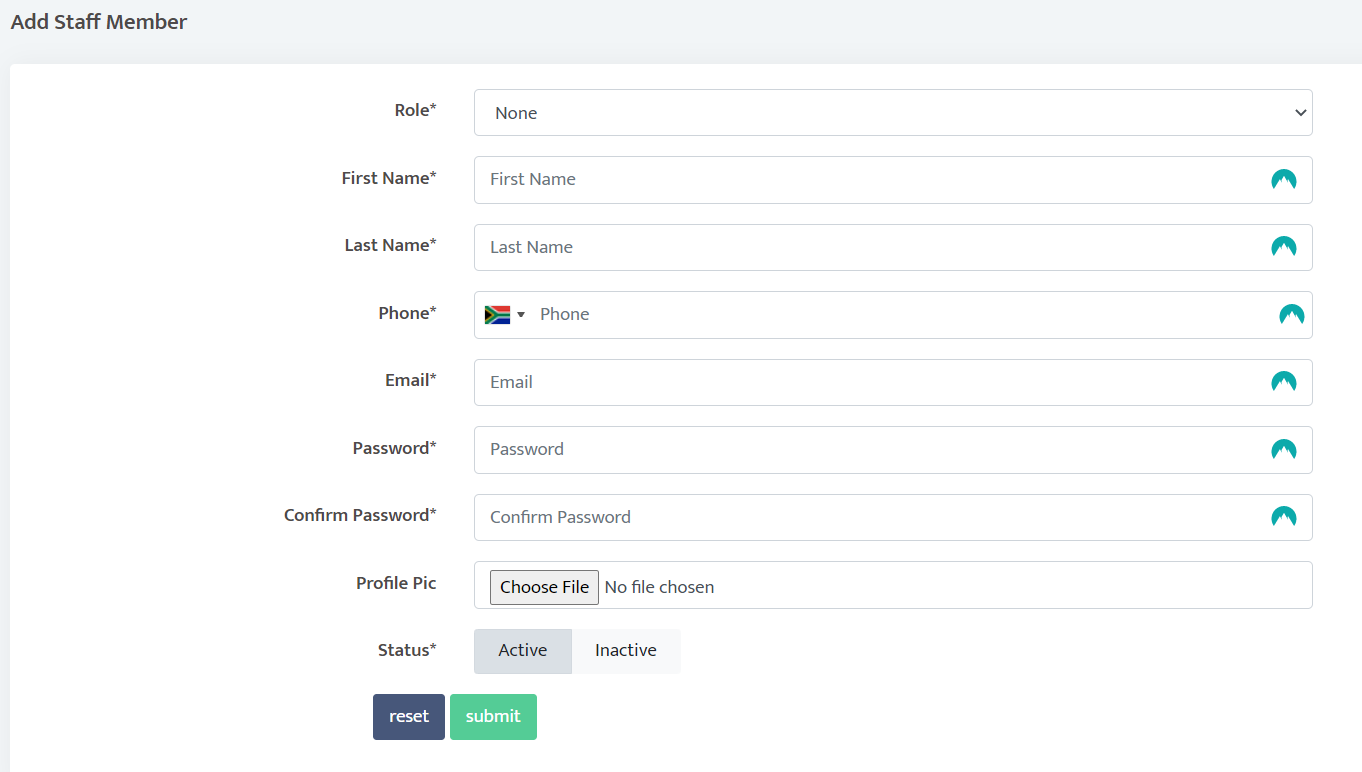
To add a staff member, choose Add Staff Member from the dropdown menu.
Here you can assign a role to the staff member.
Add their details and set their status.
Once completed press the green Submit button at the bottom to record your changes.
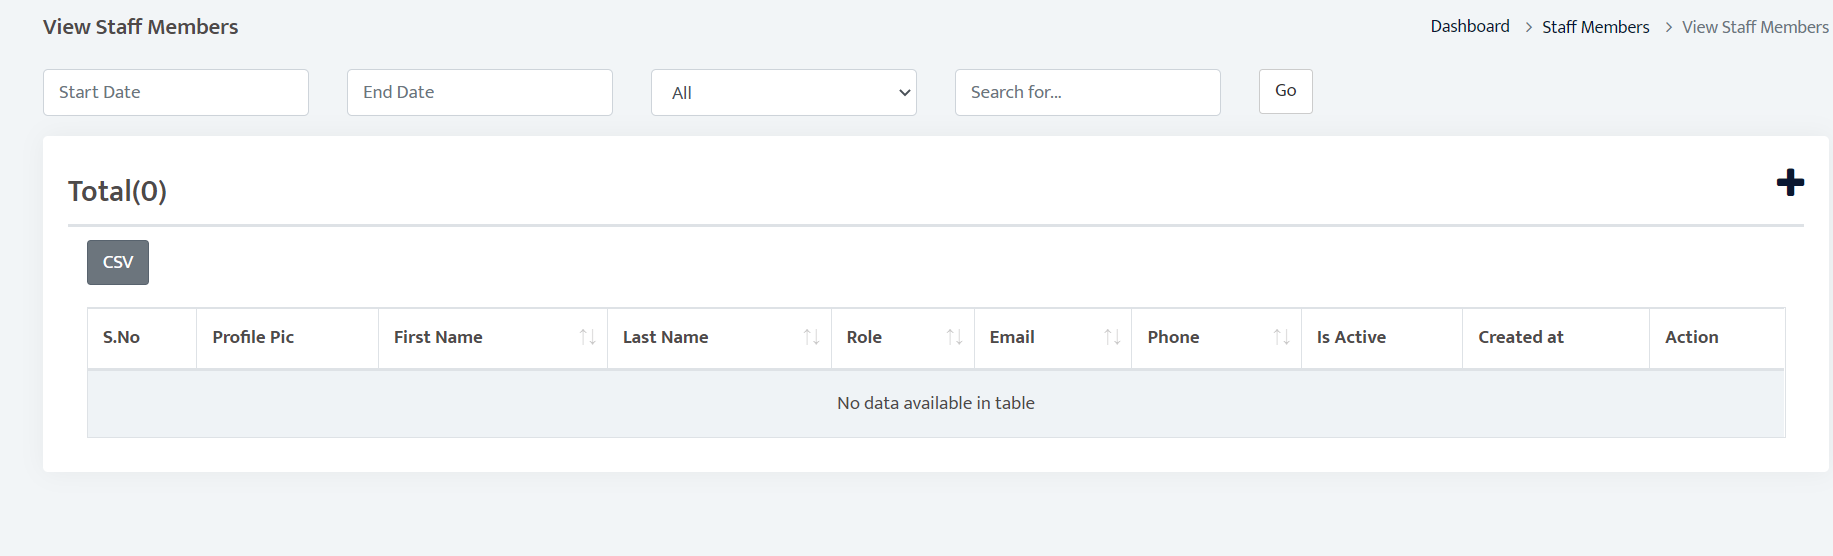
To view staff members, choose View All Staff Members from the dropdown menu.
Here, you will be able to view all staff members as well as edit and delete their records.
Each staff member will log in to the dashboard using their own credentials that were entered when adding them.
Staff members will only have access to the features and functions that fall under the role assigned to them.
POINT OF SALE
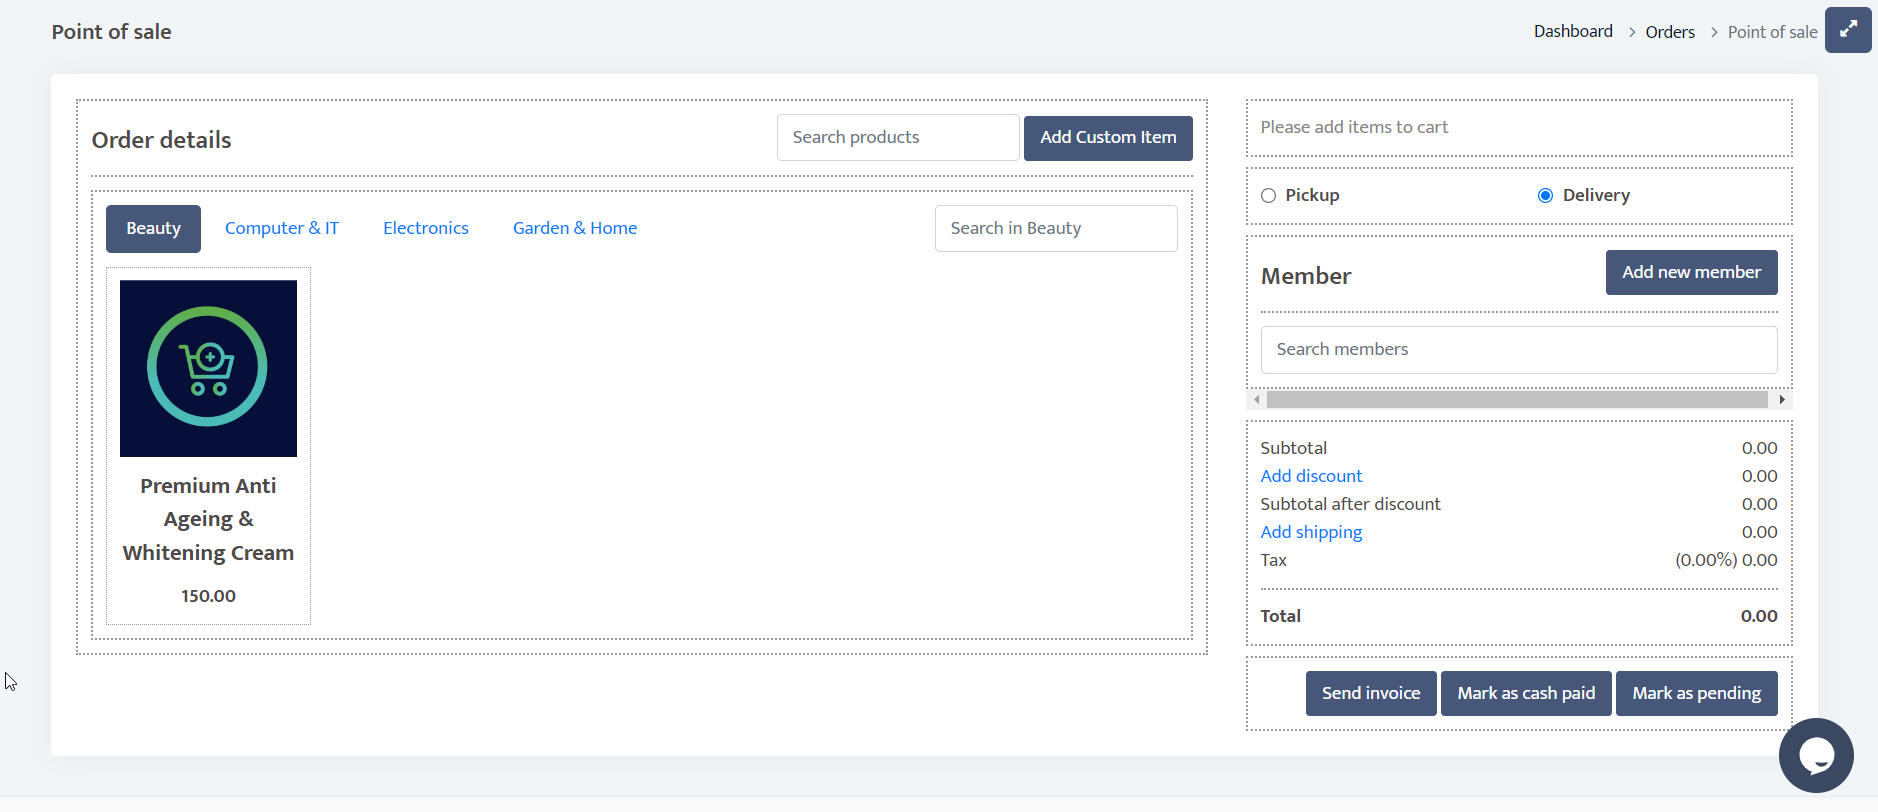
Under the components tab, select Orders and then Point of Sale
Here you can view your products and add them to the cart according to what the customer has ordered.
You can also search for a specific product and add a custom item by clicking on the Add Custom Item button, which will let you input the name, quantity and price of the custom item.
Select whether the order is meant for pickup or delivery.
If you chose delivery, click on the update button next to Delivery Address to fill in the delivery address details on the window that pops up and click on Update Address when completed.
Search for and select the member who placed the order from the member list or add them as a new member if they are not already on the list.
You can add a discount amount and shipping/delivery costs to the invoice if applicable.
You can mark the status of the order as paid or pending with the Mark As Cash Paid and Mark As Pending buttons.
After all the necessary information is filled in, click on the Send Invoice button to proceed.
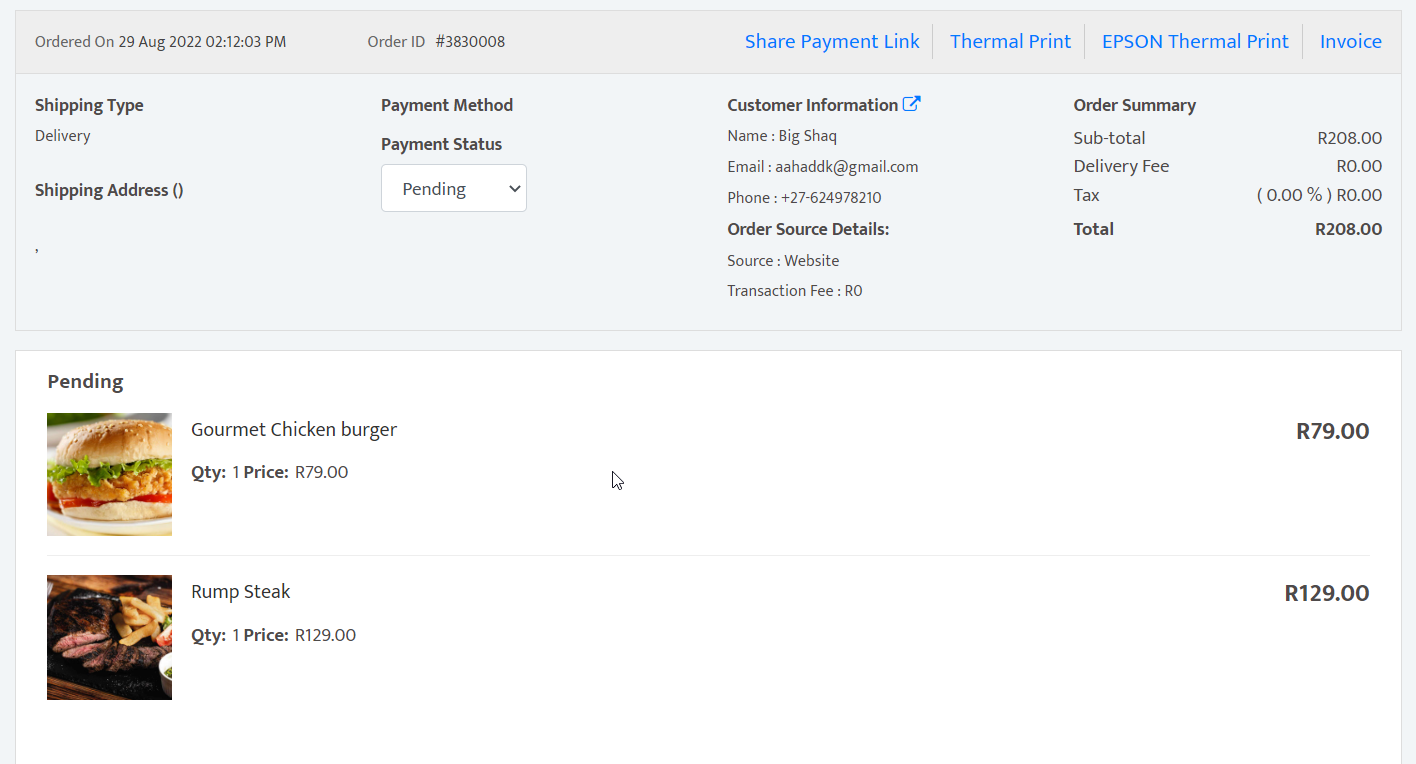
You will be taken to the Order Details screen, which displays all the information about the order and customer.
This screen can also be accessed at any time under the Components tab by going to Orders, clicking on View All Orders and selecting the order from the records present.
Here you can update the payment status, download the invoice in PDF format, share the payment link to Whatsapp or copy it to your clipboard and update customer info as well as the order status.
You can edit the customer's information by clicking the icon next to the Customer Information heading.
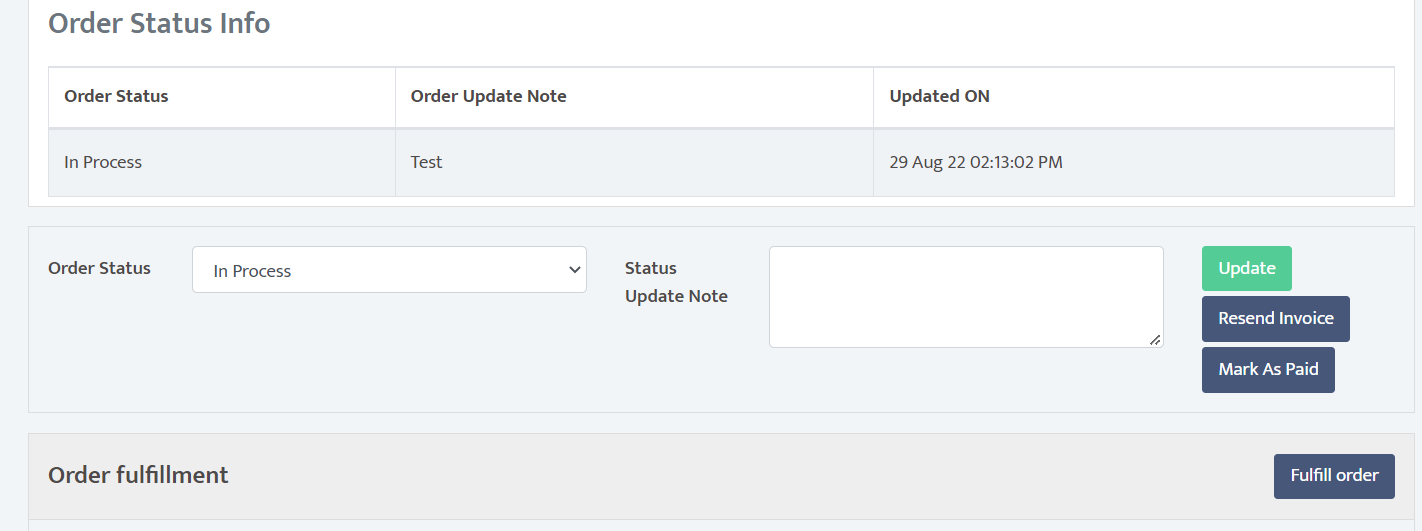
To update the order status, select the appropriate option from the list provided.
You can add a status update note by entering the description in the field provided before clicking the Update button.
The status update will be recorded and displayed in the table above along with the date and time of the update.
You can resend the invoice or mark the order as paid in this section as well by clicking on the respective buttons.
PRINTING
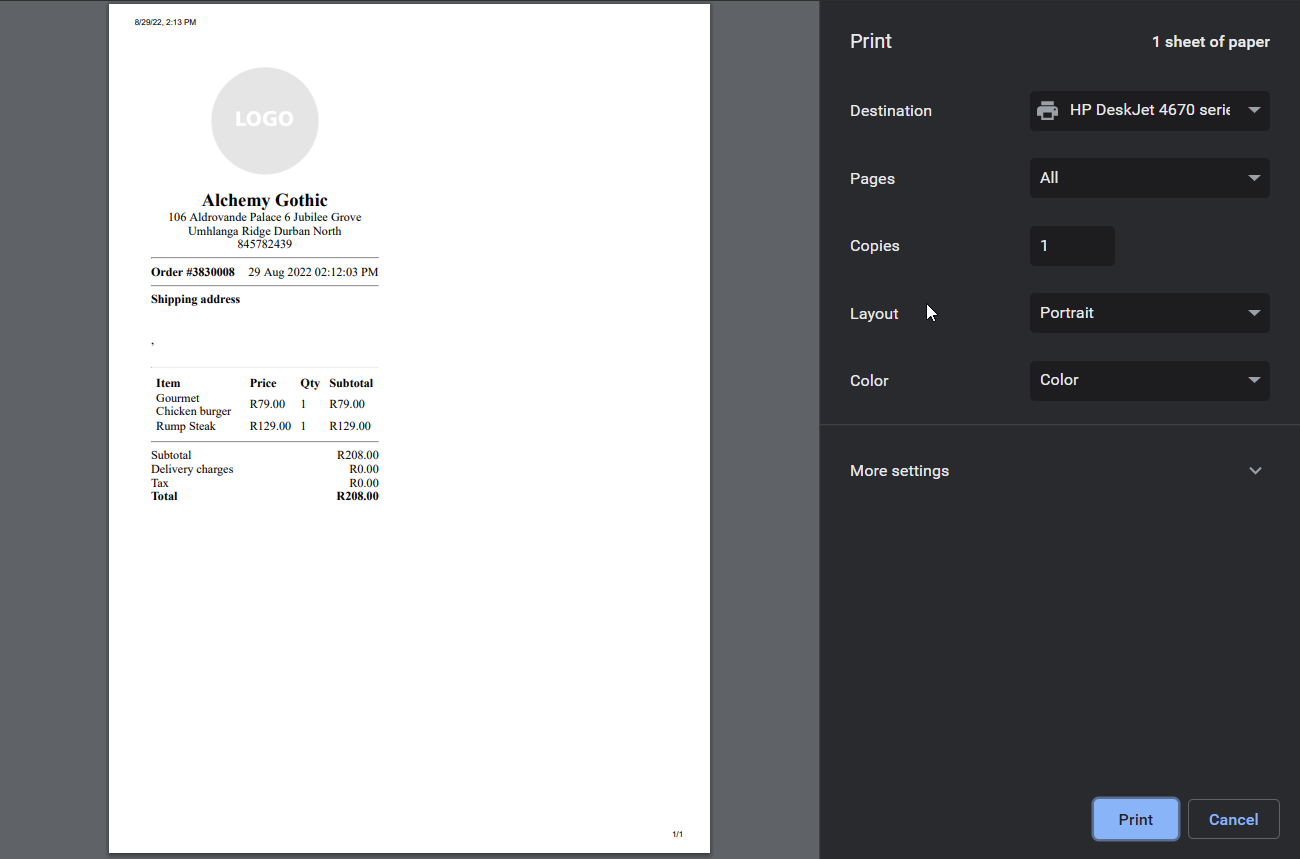
To print an invoice, click on Thermal Print.
Here you will be able to select the printer you want to print from (Supports both USB and wireless connectivity)
You can also make the necessary changes to your printing options such as number of copies, layout, colour, etc.
When you are done, click Print at the bottom to print the invoice.
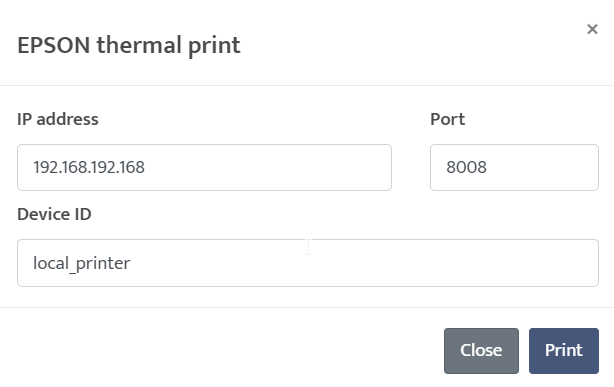
To print an invoice using the IP Address of the printer, click on EPSON Thermal Print.
Enter your printer's IP address, Port number and Device ID
Click on Print to print out the invoice.