

SERVICES SECTION
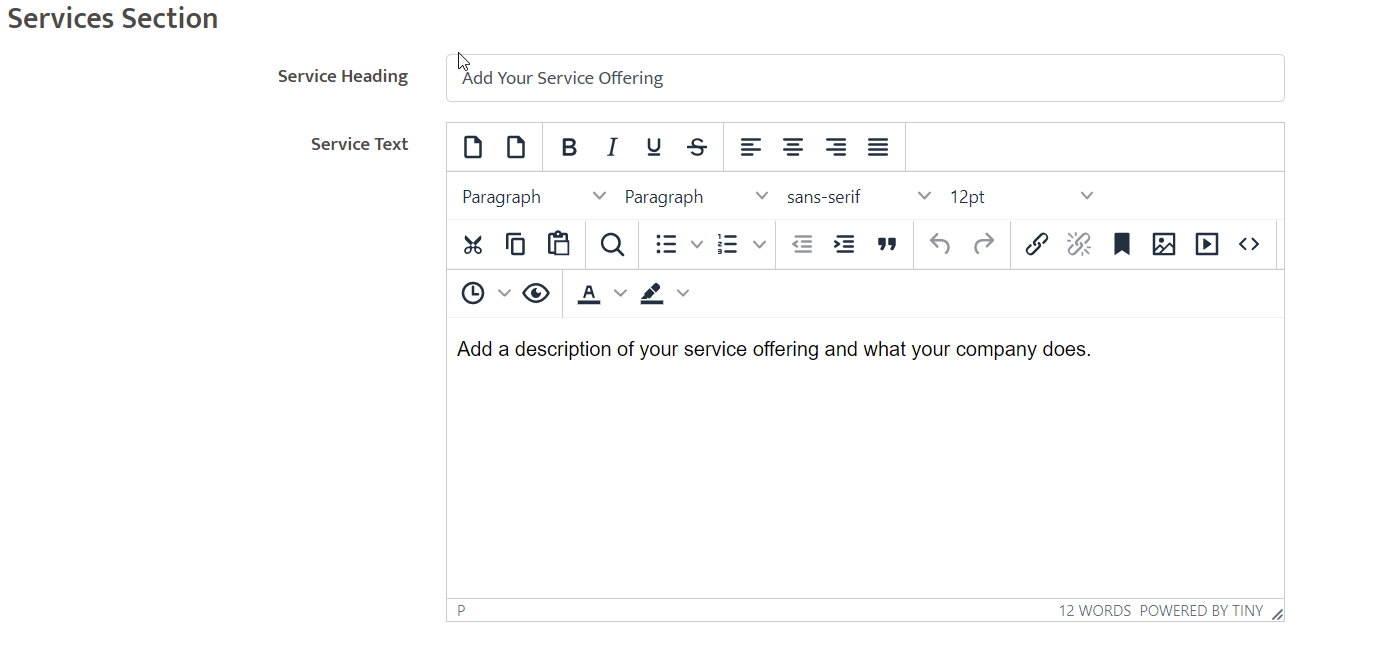
You can showcase your services here.
Add a title for your services and a short description about your services in the tab underneath.
Choose whether to show the services section by clicking YES or NO.
SERVICES PAGE
Choose Services from the dropdown menu,
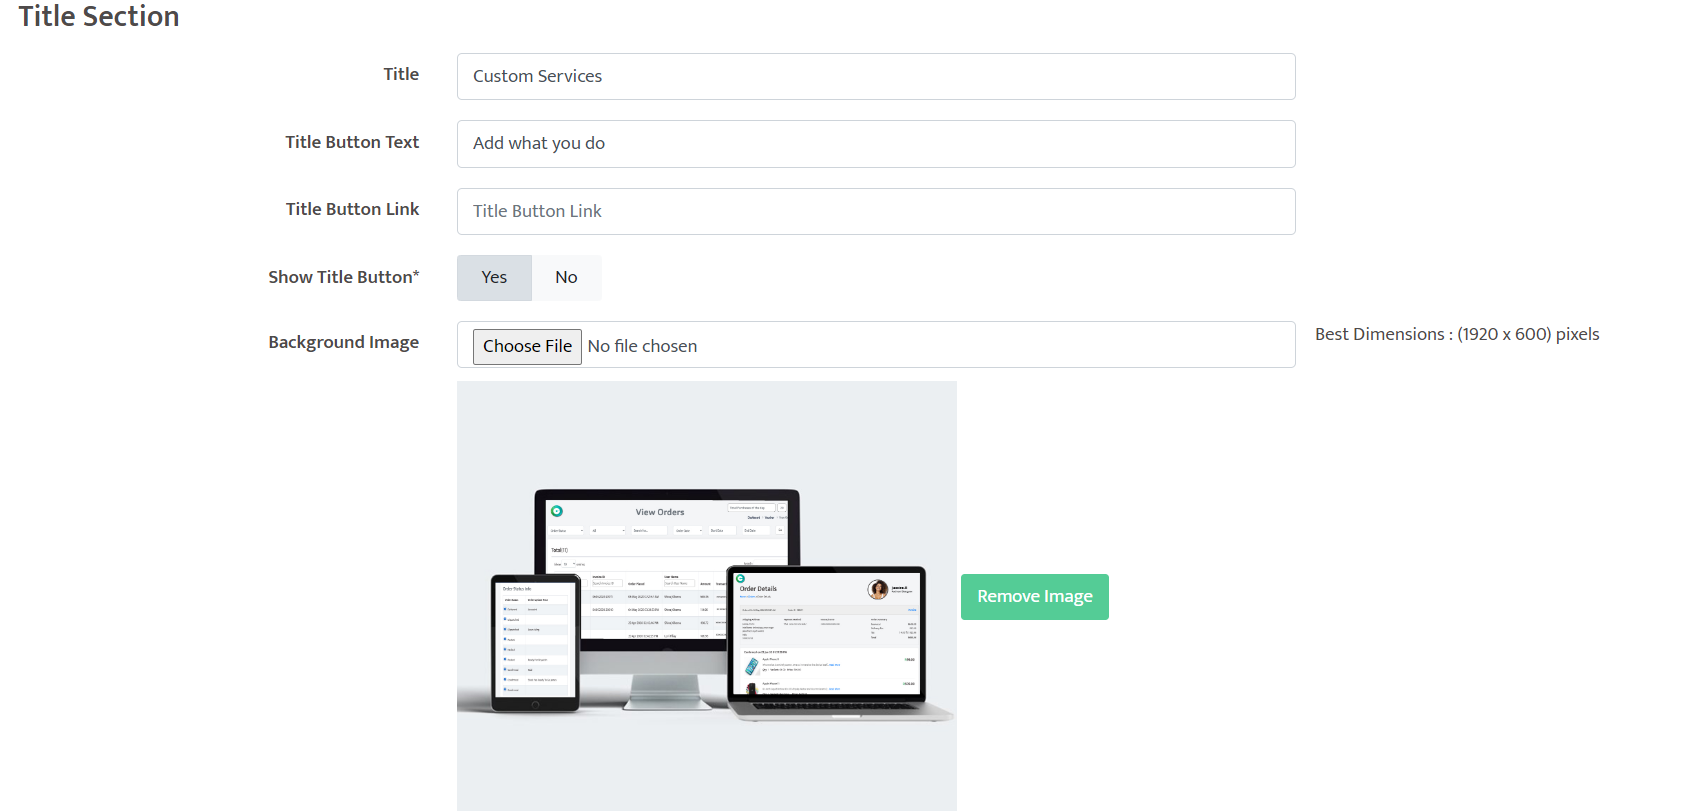
Add a title for the top banner of your website.
You can also add a Link Button under the title to link to any another website or page you choose.
You will add that link in the field below called Title Button Link.
You can choose whether to show the title button by selection YES or NO.
You add the top banner image here, by clicking choose file, then select an image you have saved.
For the best possible resolution and size of the image, to fit well on desktop, tablet and mobile platforms make sure the dimensions are 1920 x 600 pixels.
You can add a heading and description of your services.
Add the relevant Meta tags and keywords for this section to further improve web ranking and on search engines on Google.
ADDING A CATEGORY TO YOUR WEBSITE
Select the Components Tab,
Scroll down to Categories and click on Add Category from the dropdown menu.
In this area, you will be able to provide your category with a title and banner, name your category and provide a brief description. You will have the option to add a thumbnail icon and image to go at the top of the category page.
Add the relevant Meta tags and keywords for this section to further improve web ranking and on search engines on Google.
Once you have finished inputting the information, click on the green Submit button at the bottom to update the information.
Select the Components Tab,
Scroll down to Categories and click on View All Categories from the dropdown menu.
Here you will be able to make sure that your category has been added. You are also able to click on the pencil icon next to the added category to edit it. Clicking on the cross will delete this category.
To view the category you have just created, go onto your website.
Hover over categories on the navigation bar.
Click refresh, for the changes to reflect on the website.
Then hover over categories again, to view the category you created.
Click on one of the categories to view the selected category's page.
You will see the place for the category title, the other categories listed on the side and also the space where products or services, assigned to your category will show.
ADDING A SERVICE TO YOUR WEBSITE
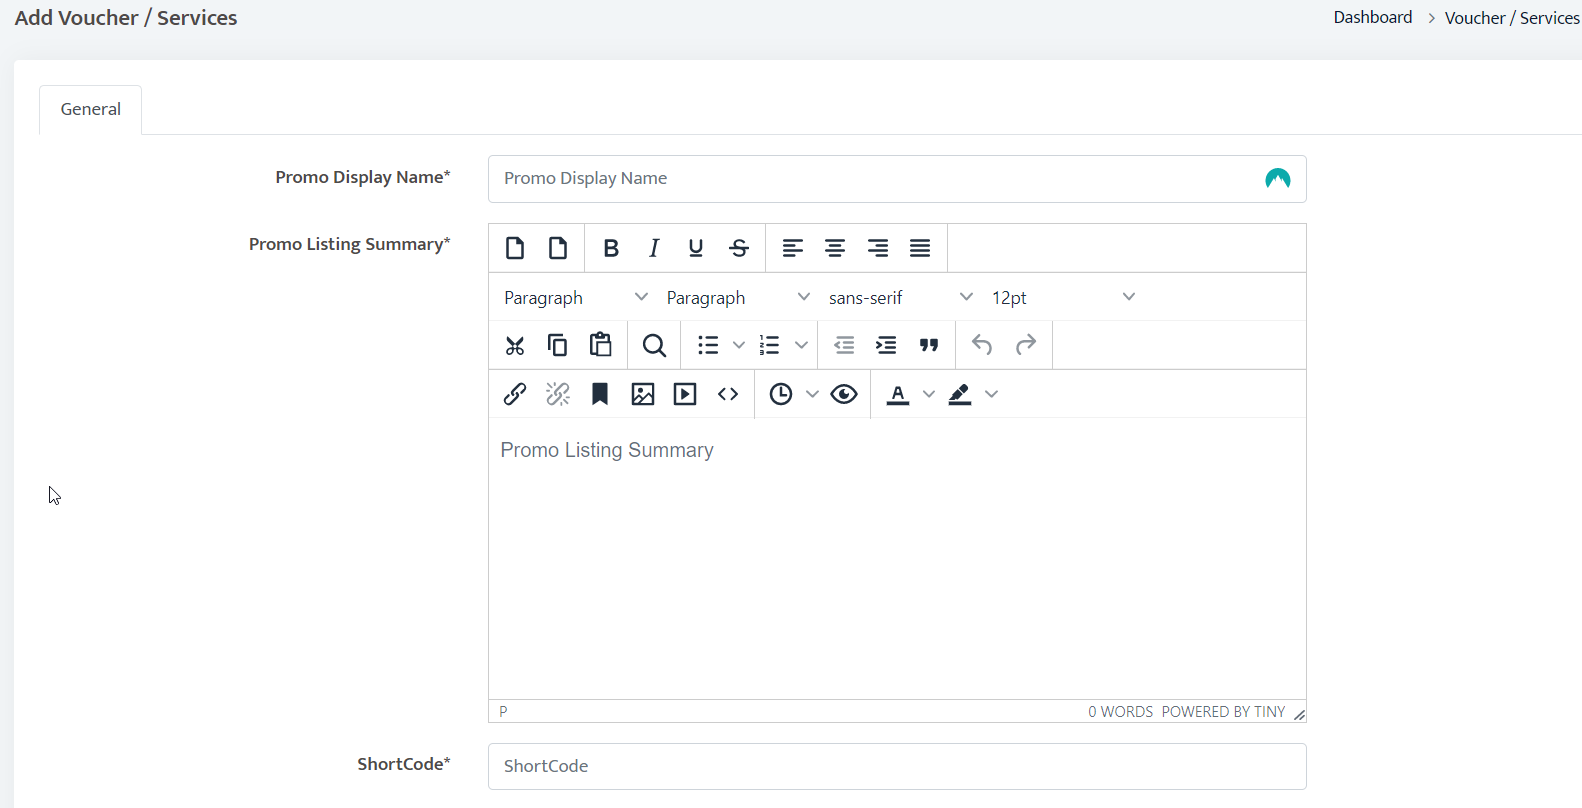
Under Components, select voucher/services and choose Add voucher/service from the dropdown menu.
Here you can add your service title and a short description of the service offering.
Insert a short code for the service.
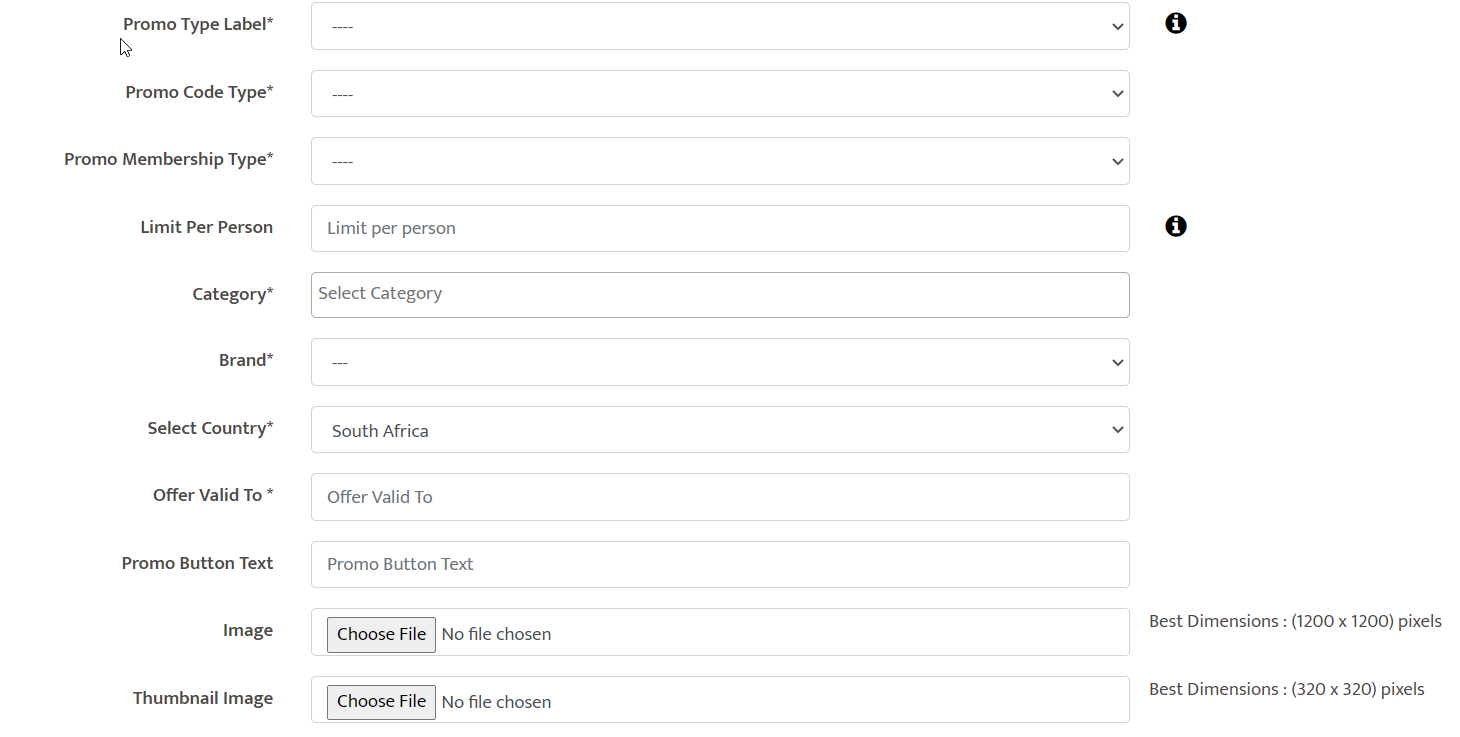
The promo type label in this instance will be, service.
Under service support number you will input the contact telephone number.
Create a service request message which will be sent to your customers when they request a service from you.
This message will include a service support number for easy reference and follow up.
Select a price for the service and the number allowed per customer.
Select the category that the service relates to.
Stipulate the country of validity and the date of expiry. This period can always be extended.
Specify what you would like the call to action to be on the button displayed on your website. Add a thumbnail image and an image to depict your service.
For the best possible resolution and size of the image, to fit well on desktop, tablet and mobile platforms make sure the dimensions are 1200 X 1200 pixels for both images.
In this area, you can activate or deactivate the service.
Remember to include terms and conditions for your services.
Add the relevant Meta tags and keywords for this section to further improve web ranking and on search engines on Google.
Click the green submit button at the bottom to save your changes.

Under Components, select voucher/services and choose view all services tab on the dropdown menu.
In this area, you will be able to confirm that your service information was captured correctly. You can also edit and delete a service on this page.
To determine how your customers will view the service on your website:
Visit your website,
Select the services tab,
Select the service you are interested in,
Click on the make payment button,
Choose your payment option and complete the purchase,
You will receive a notification pop-up thanking you for your request.
The message includes a service request number for easy reference and follow-up as well as a service contact number.
Your customer can view their service history by clicking on your name in the top right-hand corner and scrolling down to service history.
To view the service sale on your dashboard:
Select the Component Tab,
Scroll down to vouchers/services and select service sales from the dropdown menu.
In this area, you will be able to view the service sales and perform the following actions: complete the sale or cancel it.
SERVICE / APPOINTMENT BOOKINGS
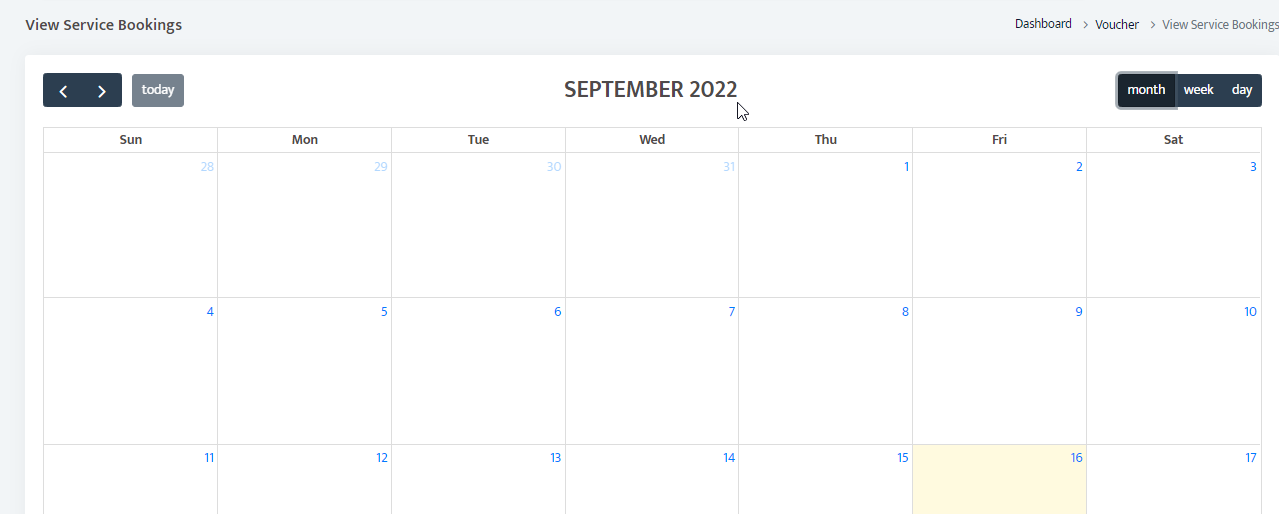
Under the Components Tab, on Voucher / Services, select service bookings:
This will take you to a tab where your clients / Customers are able to pick a time and day in which they require the service. Here you can manage your bookings accordingly.

Under the Configuration Tab, scroll right to the bottom and select Cart / Booking Settings:
Select Service Booking Settings, and ensure that the Service booking is switched on. This enables your customers to make appointments and booking with the selected slots you may have created.
PLANS

Under Component , on Plans, you will be able to create plan packages for your services or products :
View and edit plans that you have already created.
Add Plans : Add Plan Name, description, plan price, No. of months plan will last per payment and choose whether the plan is active or inactive.
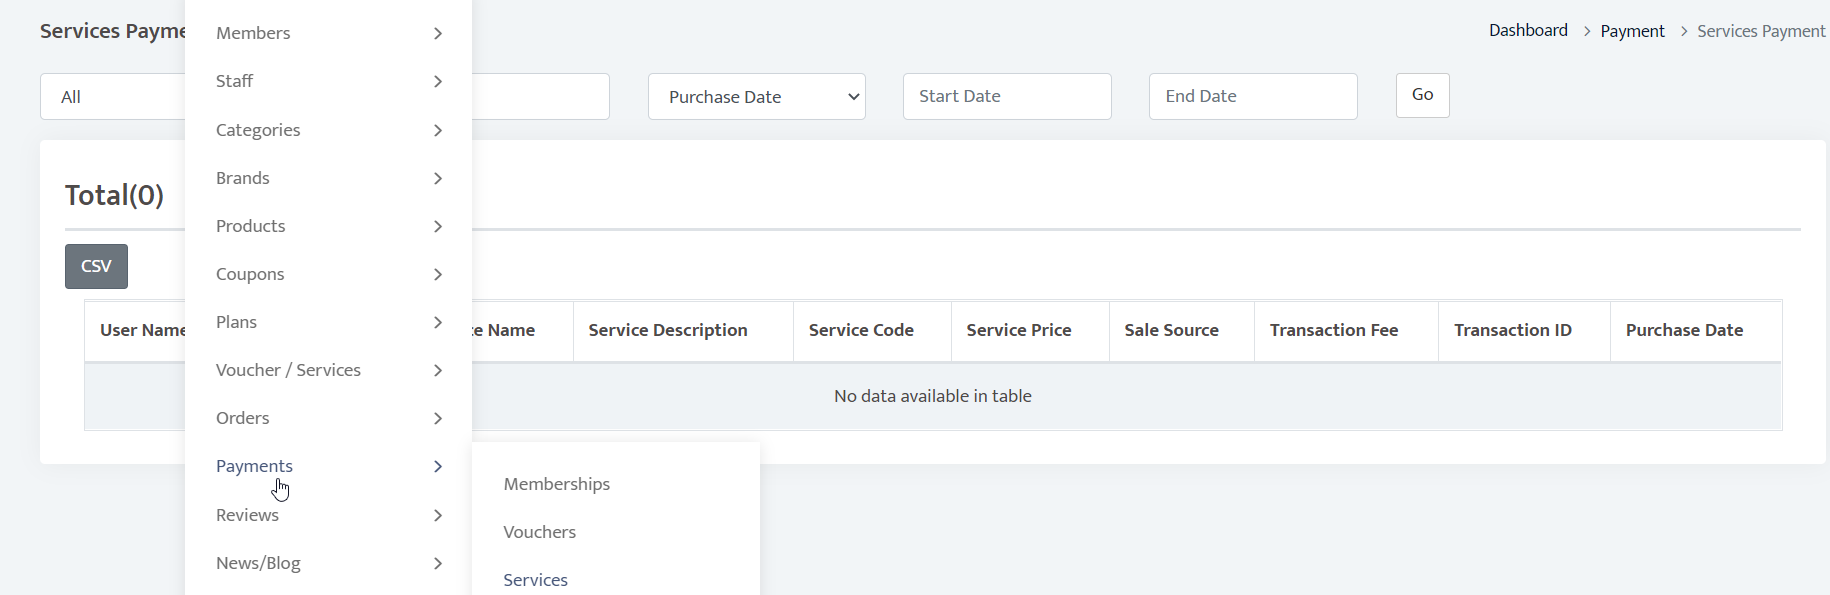
PAYMENTS

Under components on Payments, you can view your services payment history, which of your services were purchased etc.
NOW YOU ARE A PRO DEVELOPER
FOLLOW, LIKE AND SHARE