

DISCOUNT VOUCHER SECTION
Here you will display your vouchers (if your business offers vouchers)
Add a heading for the above header caption
Add a title for the voucher section and a short description of the vouchers.
Here add the background banner image for the voucher section.
For the best possible resolution and size of the image, to fit well on desktop, tablet and mobile platforms make sure the dimensions are 1920 x 700 pixels.
Choose to show this voucher section by clicking YES or No.
VOUCHERS PAGE

Select Content, Page Content and choose Vouchers from the dropdown menu,
Add a title for the top banner of your website.
You add the top banner image here, by clicking choose file, then select an image you have saved.
For the best possible resolution and size of the image, to fit well on desktop, tablet and mobile platforms make sure the dimensions are 1920 x 600 pixels.
Add the relevant Meta tags and keywords for this section to further improve web ranking and on search engines on Google.
ADDING A VOUCHER TO YOUR WEBSITE
It is important to stipulate the country of validity as well as when the voucher expires.
Determine what call to action you want on the button displayed on your website.
Here you will be able to allocate a thumbnail image and an image to the voucher.
For the best possible resolution and size of the image, to fit well on desktop, tablet and mobile platforms make sure the dimensions are 1200 X 1200 pixels for both images.
Remember to provide terms and conditions for the Voucher.
Select whether you want this voucher status as active or inactive.
Add the relevant Meta tags and keywords for this section to further improve web ranking and on search engines on Google.
When you are done, remember to hit the green submit button at the bottom to update the changes.
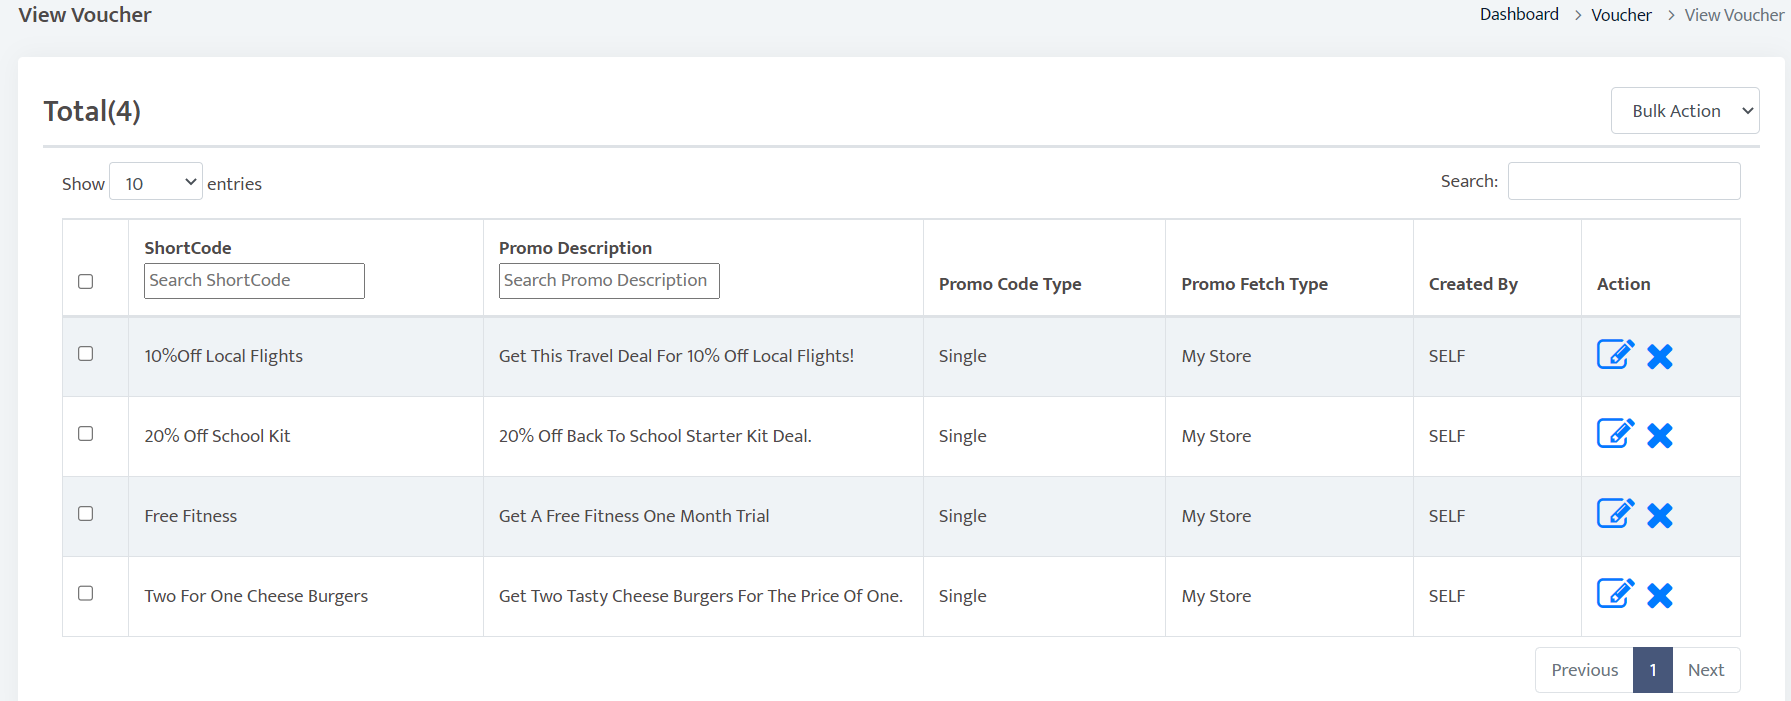
Under Components, select Vouchers/Services.
Choose view all vouchers/services on the dropdown menu.
You will be able to determine whether your voucher was successfully added and that the correct number of promo codes have been allocated. You will also be able to either edit the voucher by clicking on the pencil to the left or delete the voucher by pressing the cross.
To see how your customer will view the voucher on your website:
Visit your website,
Select the vouchers tab at the top and find your newly added voucher.
HOW DOES A CUSTOMER PURCHASE A VOUCHER?
Visit your website,
Select the Vouchers Tab at the top,
The available vouchers will appear on the screen,
Select the buy now button on the voucher that you want to purchase,
You will be given an option to make a payment,
Click on the make payment button,
Select your payment method and process the payment,
A pop up confirming your payment will appear on the screen,
Your voucher code will be displayed on that pop-up.
To view the voucher purchase from your partner dashboard:
Log in to your partner dashboard,
Select the Components Tab,
Scroll down to Vouchers and choose voucher sales from the dropdown menu.
In this area, you will be able to view the vouchers that have been purchased. You can see when these vouchers were purchased and the voucher codes that were allocated to these purchases.
PLANS
Under Component , on Plans, you will be able to create plan packages for your services or products :
View and edit plans that you have already created.
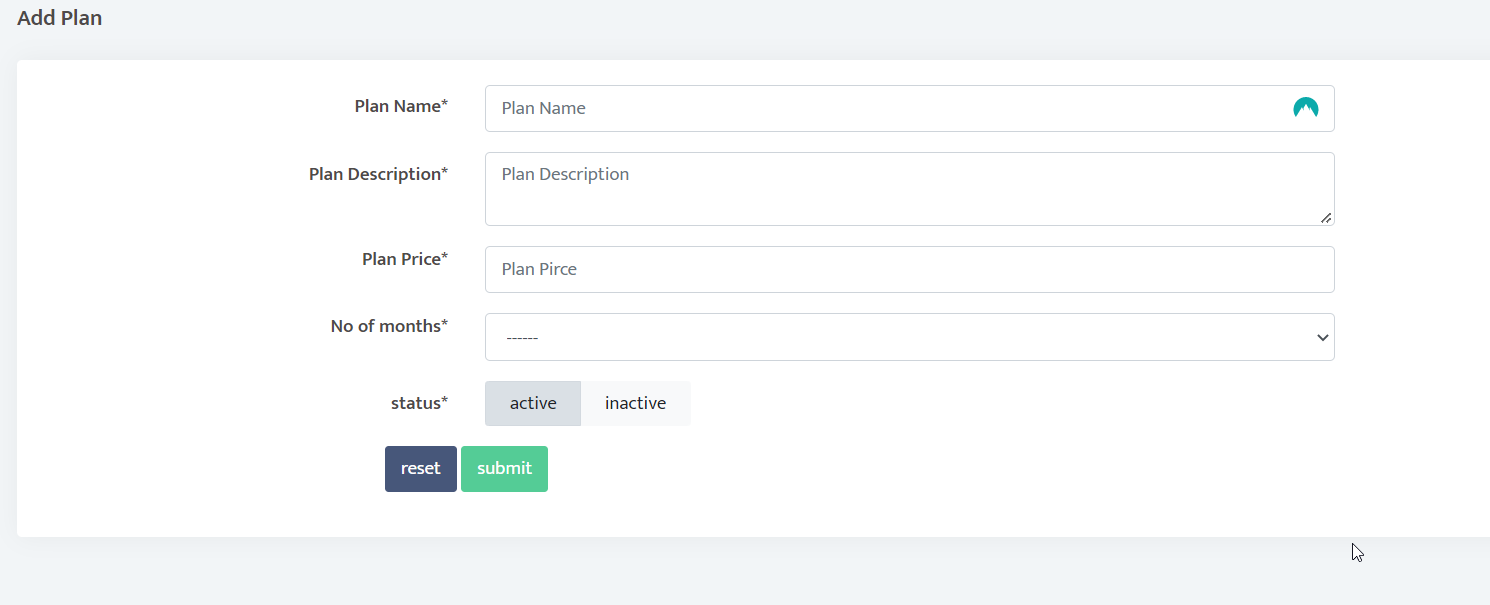
Add Plans : Add Plan Name, description, plan price, No. of months plan will last per payment and choose whether the plan is active or inactive.
MEMBERS
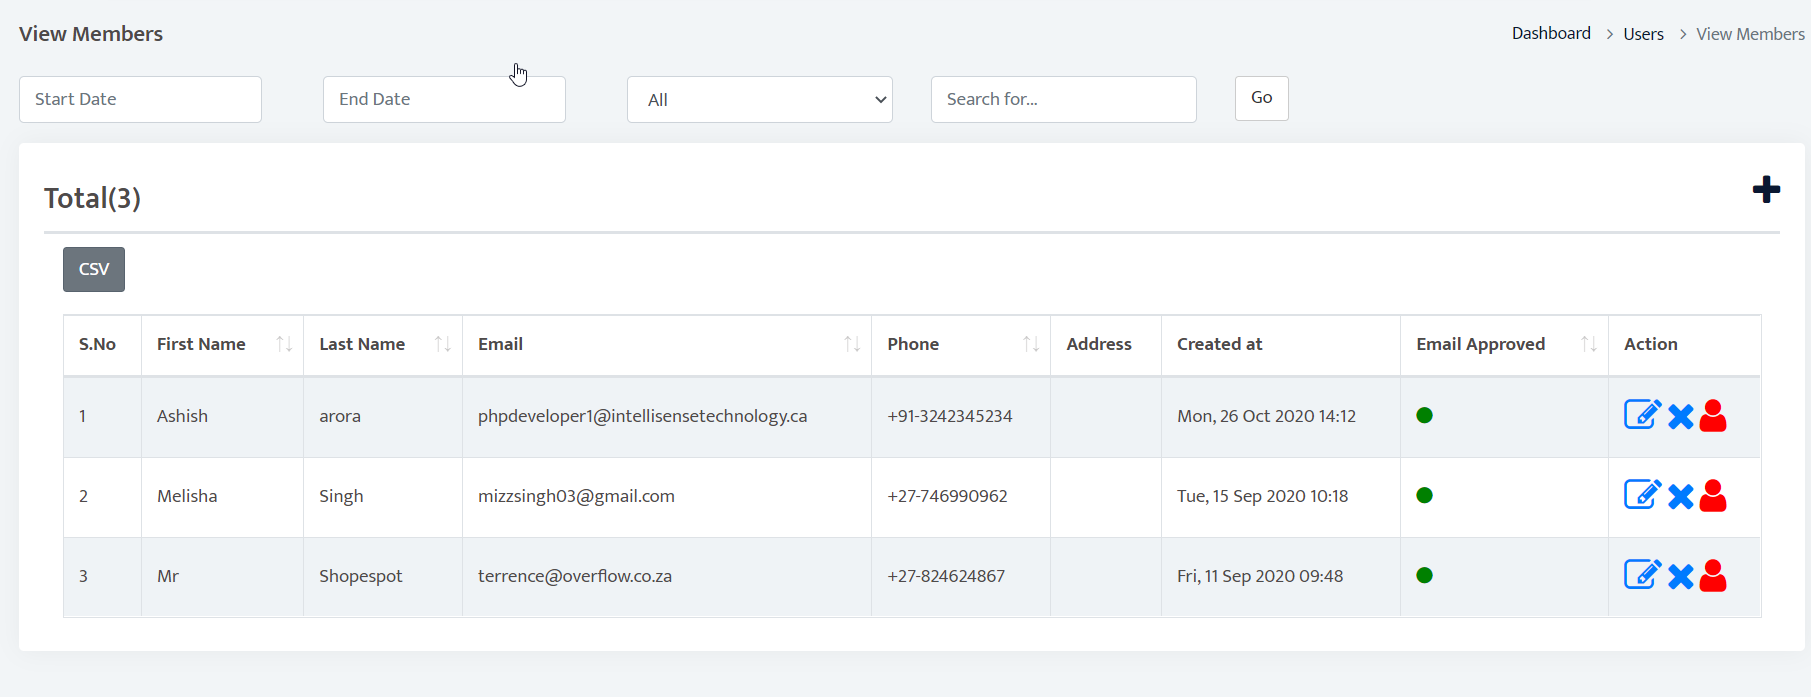
Under Components on Members you can manage your memberships :
View All Memberships
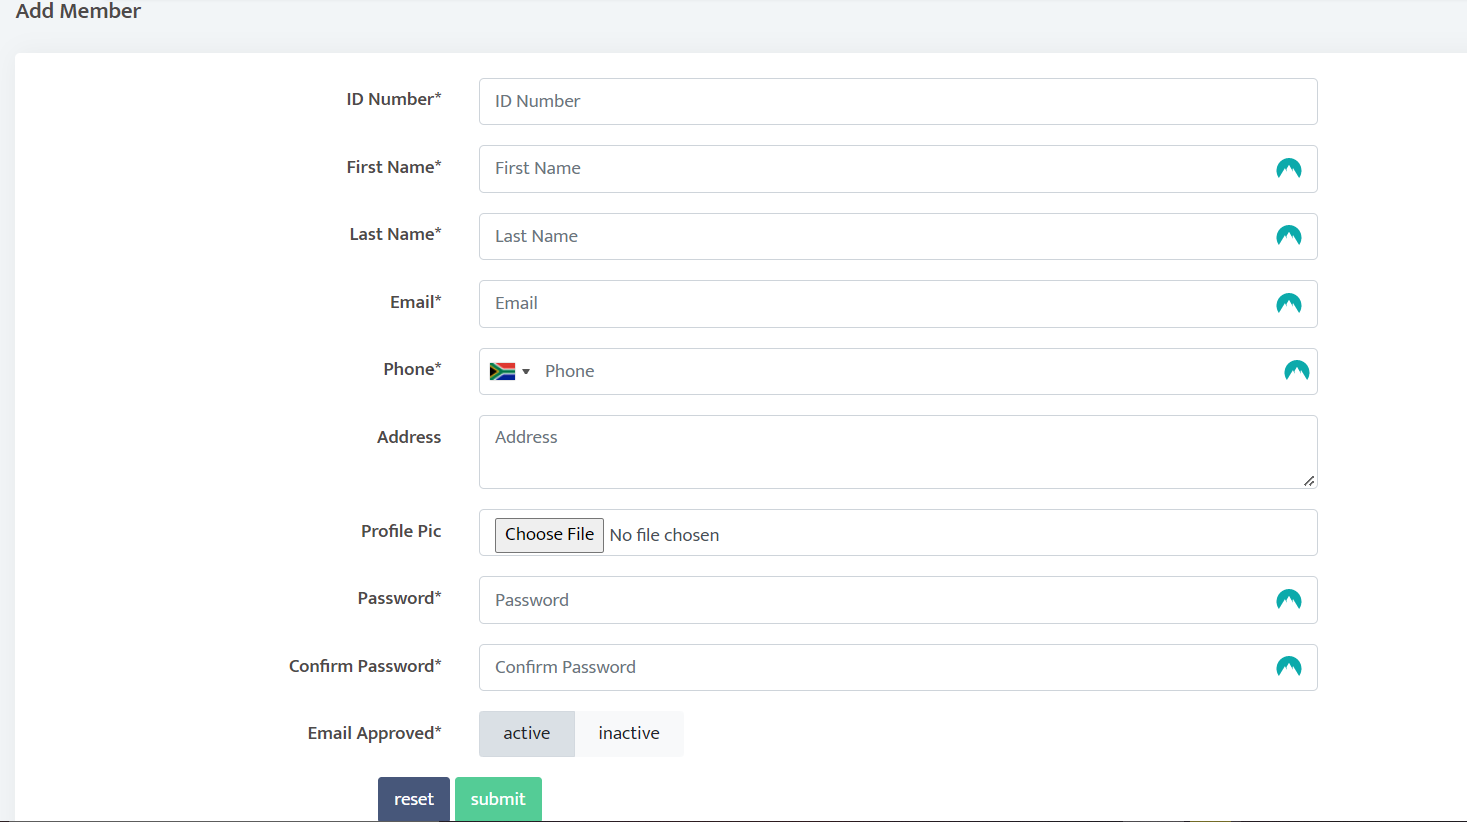
Add Members (Add in all their personal details)
Upload CSV (data of member information)
NOW YOU ARE A PRO DEVELOPER
FOLLOW, LIKE AND SHARE