

FEATURED PRODUCTS
Here you can advertise your latest product specials or showcase your best products.
You can edit the title here, and choose whether to show this section by selection YES or NO.
Choose whether to show the services section by clicking YES or NO.
PRODUCTS PAGE
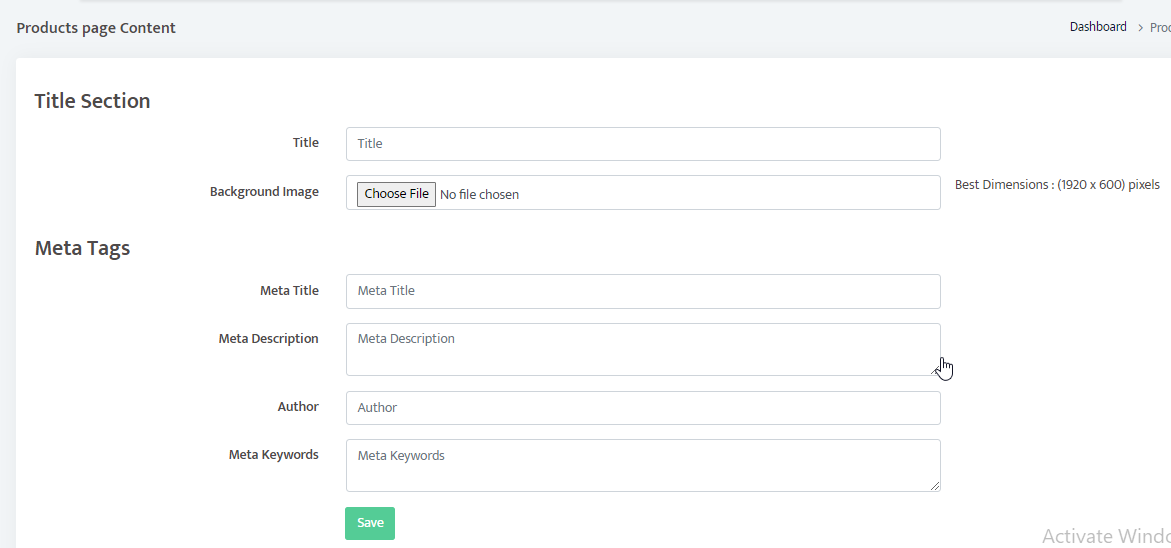
Choose Products from the dropdown menu,
Add a title for the top banner of your website.
You add the top banner image here, by clicking choose file, then select an image you have saved.
For the best possible resolution and size of the image, to fit well on desktop, tablet and mobile platforms make sure the dimensions are 1920 x 600 pixels.
Add the relevant Meta tags and keywords for this section to further improve web ranking and on search engines on Google.
ADDING A CATEGORY TO YOUR WEBSITE
Select the Components Tab,
Scroll down to Categories and click on Add Category from the dropdown menu.
In this area, you will be able to provide your category with a title and banner, name your category and provide a brief description. You will have the option to add a thumbnail icon and image to go at the top of the category page.
Add the relevant Meta tags and keywords for this section to further improve web ranking and on search engines on Google.
Once you have finished inputting the information, click on the green Submit button at the bottom to update the information.
Select the Components Tab,
Scroll down to Categories and click on View All Categories from the dropdown menu.
Here you will be able to make sure that your category has been added. You are also able to click on the pencil icon next to the added category to edit it. Clicking on the cross will delete this category.
To view the category you have just created, go onto your website.
Hover over categories on the navigation bar.
Click refresh, for the changes to reflect on the website.
Then hover over categories again, to view the category you created.
Click on one of the categories to view the selected category's page.
You will see the place for the category title, the other categories listed on the side and also the space where products or services, assigned to your category will show.
ADDING A BRAND TO YOUR WEBSITE
Under Components Tab, select Brands
Choose Add Brand from the dropdown menu.
In this area, you will be able to provide your Brand with a title and banner, name your Brand and provide a brief description thereof. You will have the option to add a thumbnail icon and image to the Brand.
Add the relevant Meta tags and keywords for this section to further improve web ranking and on search engines on Google.
Once you have finished inputting the information, click on the green Submit button at the bottom to update the information.
Under Components, select Brands
Choose View All Brands from the dropdown menu.
Here you will be able to make sure that your Brand has been added. You are also able to click on the pencil icon next to the added Brand to edit it. Clicking on the cross will delete this Brand.
To view the brand you have just created, go onto your website.
Hover over brands on the navigation bar.
Click refresh, for the changes to reflect on the website.
Then hover over brands again, to view the category you created.
Click on one of the brands to view the selected brands page.
You will see the place for the brand title, the other brands listed on the side and also the space where products or services, assigned under your brand will show.
ADDING A PRODUCT TO YOUR WEBSITE
Under Components, select Products
Choose Add Product from the dropdown menu.
This section will allow you to set all the info for your product.
You can select the category you want the product to fall under.
There is fields to add a product name, the product brand and to provide a brief description of the product.
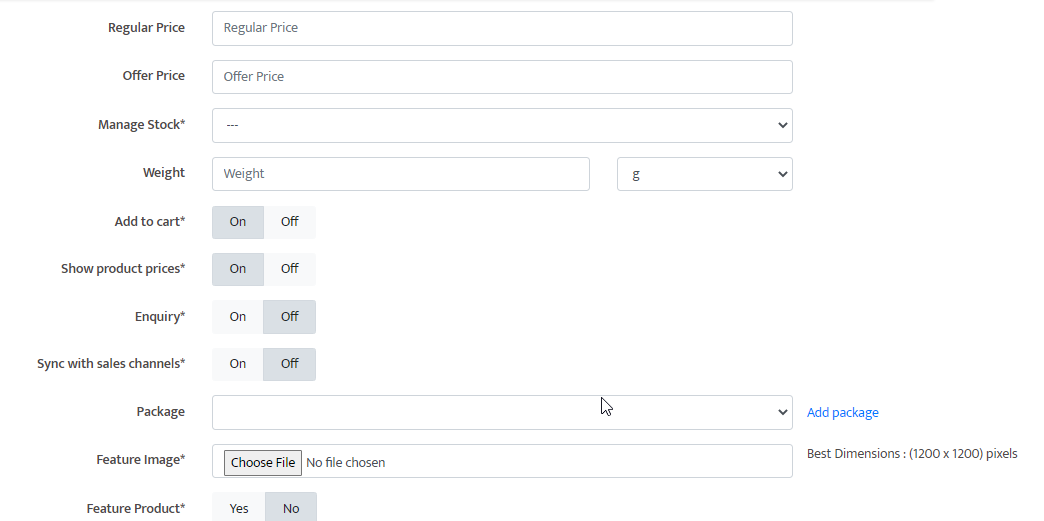
You can then set the regular and offer prices of the product. This will be for discounted specials, if you want it to just show one price, add the same price for both.
You can choose to manage and show the stock amount of your product.
You will have the option to add an image of your product.
You can choose yes or no to feature the product on the homepage, this will allow for the selected product to show under the featured products tab on the homepage.
You can then drag additional images to showcase the product.
Click onto the variation button, to add any additional add ons.
Press the blue plus button to add another add on.
Add the relevant Meta tags and keywords for this section to further improve web ranking and on search engines on Google.
Once you have finished inputting the information, click on the green Submit button at the bottom to update the information.
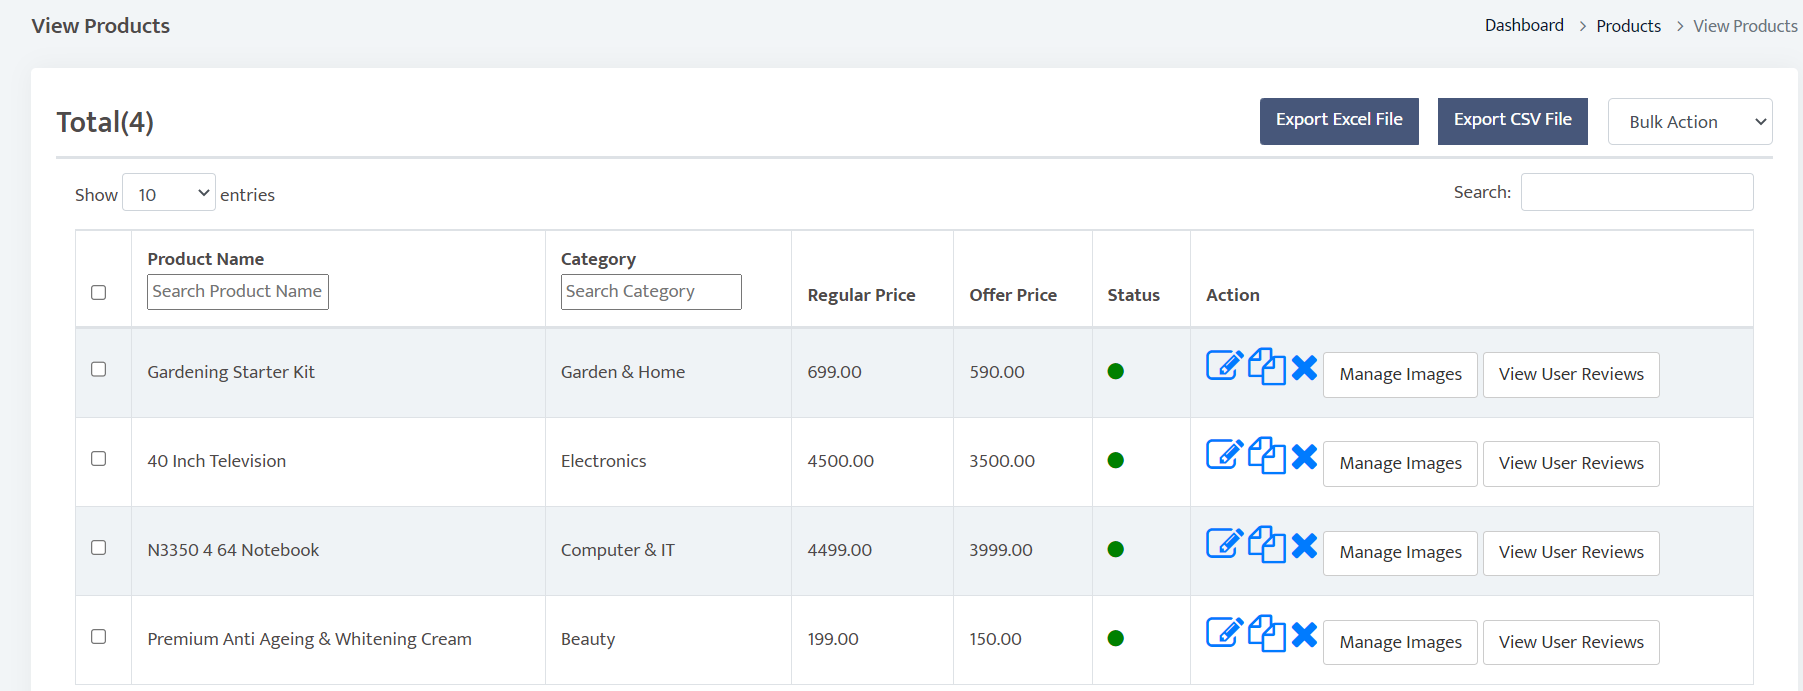
Under Components, select Products.
Choose View All Products from the dropdown menu.
Here you will be able to make sure that your product has been added.
Click on the manage images button to view and edit all images added to the gallery.
You are also able to click on the pencil icon next to the added Product to edit it. Clicking on the cross will delete this Product.
To view the product you have just created, go onto your website.
Hover over categories on the navigation bar.
Click on the category that the created product has been put into.
You will see the products in that category below, click on the product you've just created.
Now you can view all the product info you set such as prices, quantity, variations, add ons, the description or any reviews for the product.
ADDING DISCOUNT COUPONS TO YOUR WEBSITE
Select the Components Tab,
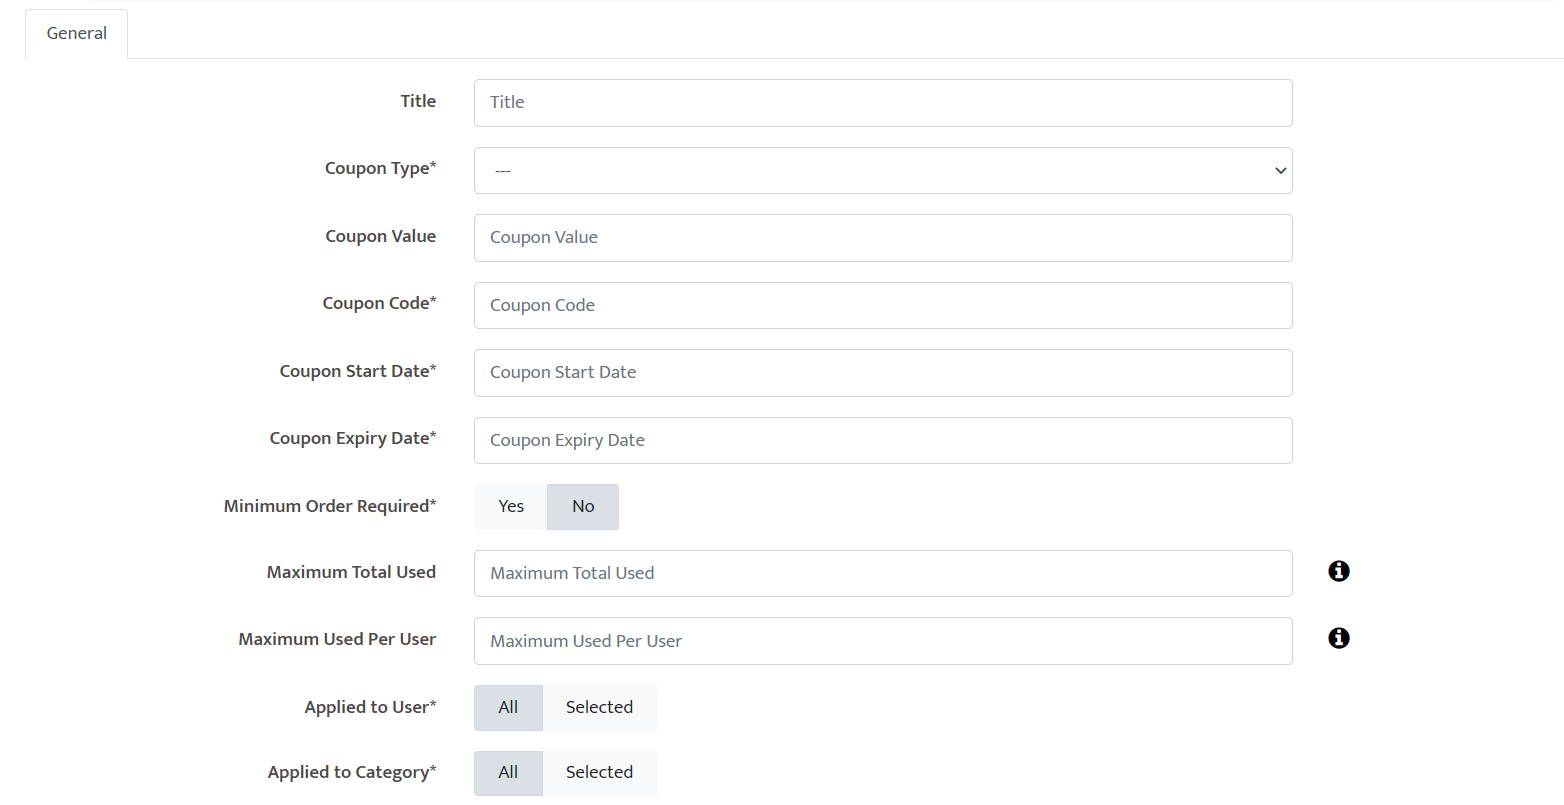
Scroll down to Coupons and choose Add Coupons from the dropdown menu.
Here you will be able to give the coupon a name.
Determine whether it is a flat rate or percentage offer coupon.
Stipulate the validity of the coupon.
Allocate a coupon code.
Set the start date of the coupon, set the expiry date of the coupon
The amounts to which the voucher can be allocated and how many are allowed per customer.
In this area, you can also specify where the vouchers are allocated, whether it is to a user, a category, brand, or product.
Remember to allocate terms and conditions to your coupons.
Once complete click on the green submit button at the bottom to implement the changes.
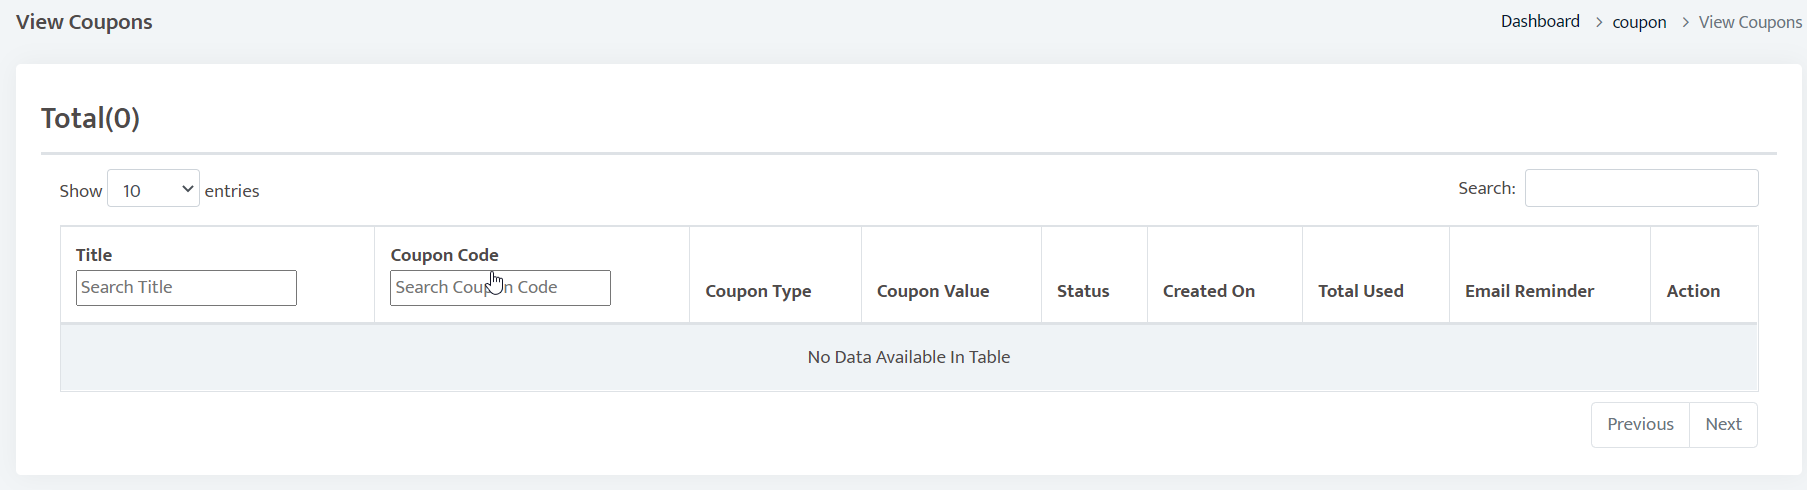
Select the Components Tab,
Scroll down to Coupons and choose to view all coupons from the dropdown menu.
Here you can see that the coupon was added successfully. There is also the option of either editing the coupon by clicking on the pencil to the left of the coupon description or deleting the coupon by clicking on the cross.
To view how this will be seen by your customers:
• Visit your website,
• Select a product to purchase,
• Add it to cart,
• Select the icon of the cart at the top right of the screen,
• Your order summary will appear,
• Scroll down to the area that reads Have promo code,
• Input the coupon code and click on the apply button.
Your discount will now appear in the breakdown of the amount that is due.
ORDER FLOW
Visit your website
If you are shopping by brand you will click on the Brands Tab at the top of the screen,
Select the Brand you wish to purchase a product from,
Click on the product,
The detail of the product will open, click add to cart,
A pop-up will appear to let you know the product was successfully added to your cart, click the OK button,
Click on the icon of the card at the top right-hand corner of your screen,
Your cart will open, and you will be able to view the products in the cart,
You will have a breakdown of your purchase on the screen, price, delivery or collection option and a place to insert a promo code if it is relevant to your purchase,
Click on the proceed to buy button,
The next screen will give you an option to choose a method of payment,
Select the relevant method of payment and input the requested information,
A pop-up confirmation will appear on the screen letting you know your payment was successful and your order has been placed.
TO VIEW THE ORDER ON YOUR PARTNER DASHBOARD:
A message will appear notifying you that a new order has arrived,
Select the click here highlighted words on this message,
The summary of the order will now be displayed on your screen,
To expand on this order, click the plus sign to the left of the order number,
A dropdown will appear which shows you the detail of the order,
Click on the eye icon to action the order,
You will be able to view the status of the order here,
You can change the status at any time,
Remember to press the green update button to the right of the screen when any changes are made to the status,
When you are ready, you can select the invoice button to the top right of the screen to generate an invoice for the sale.
On the website through which your customer is placing the order, they will have an option to write a review on their order summary page. These reviews can be seen on the dashboard:
Select the Components Tab,
Scroll down to Products and choose to view all products from the dropdown menu,
Next to each product you will find an area that allows you to edit or delete the product, manage the image, or view the user reviews.
You have successfully completed a transaction from order to delivery.
TAX SETTINGS
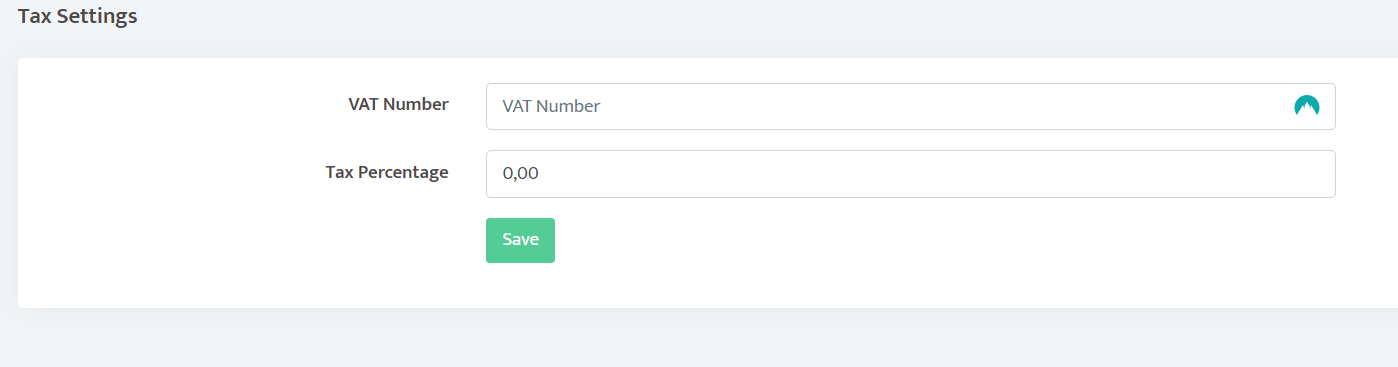
Here you can add tax settings for point of sale.
Add the VAT Number
Add the Tax Percentage
SHIPPING
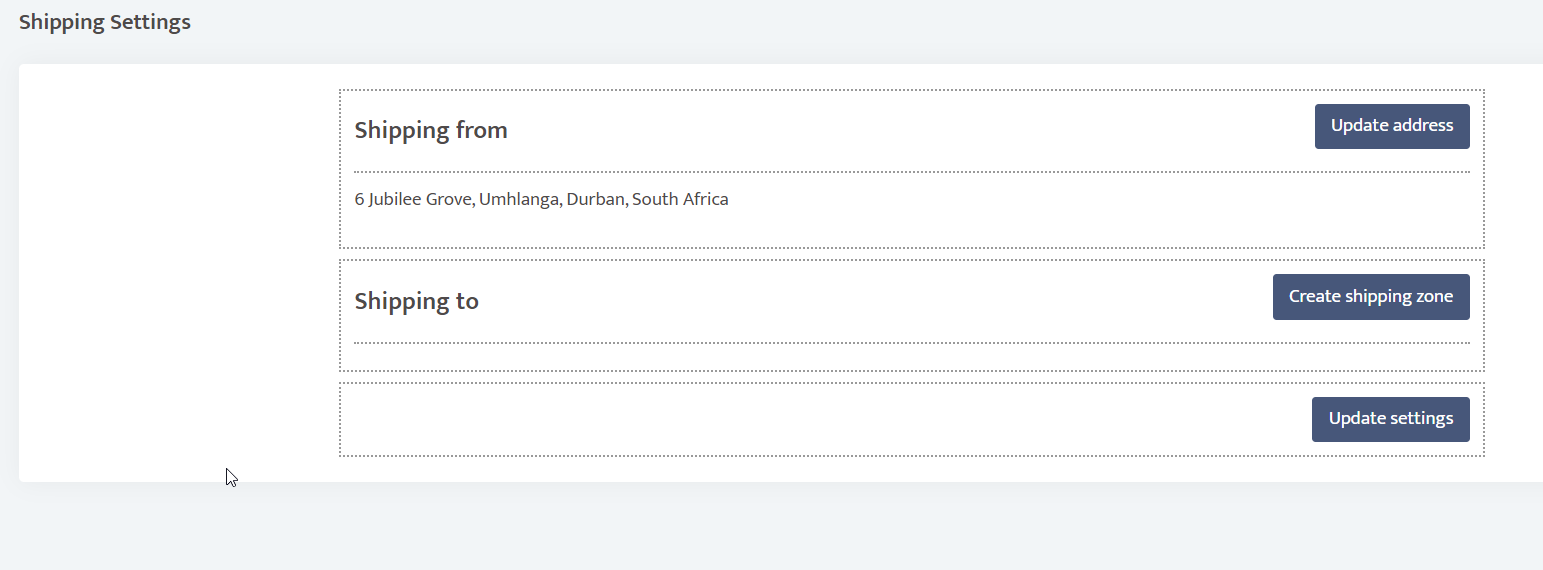
MANAGE SHIPPING
Here you can edit your Shipping options:
Update the shipping address
Create a shipping zone, add a zone name and pick a region.
Click update to update the changes.
...
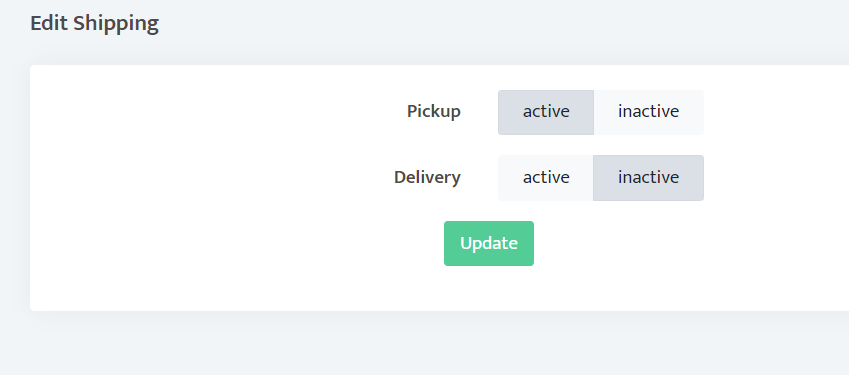
SHIPPING SETTINGS
Here you can edit your Shipping settings:
Set Pickup option to active or inactive
Set Delivery option to active or inactive
Click update to update the changes.
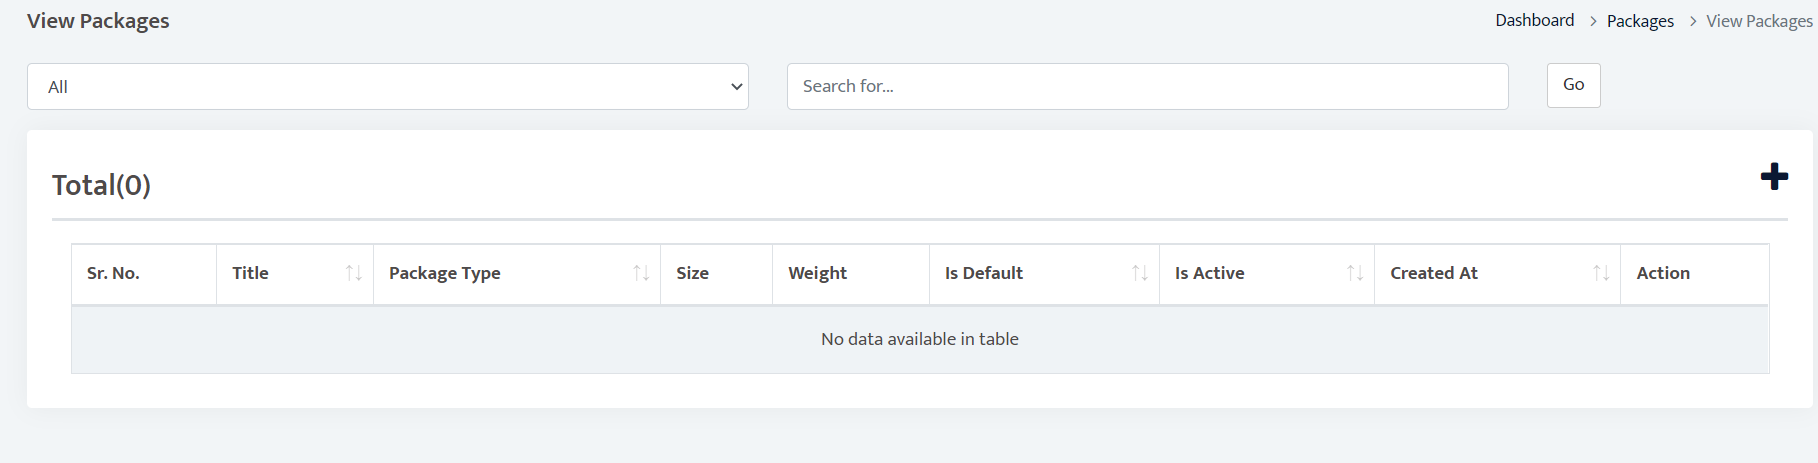
PACKAGES
Here you can view and add packages
Click add package:
Add a title for the package
Choose the package type
Add the length, width, height, size unit, weight and weight unit
You can also set a package to default package and set as active.
Click submit to update changes.
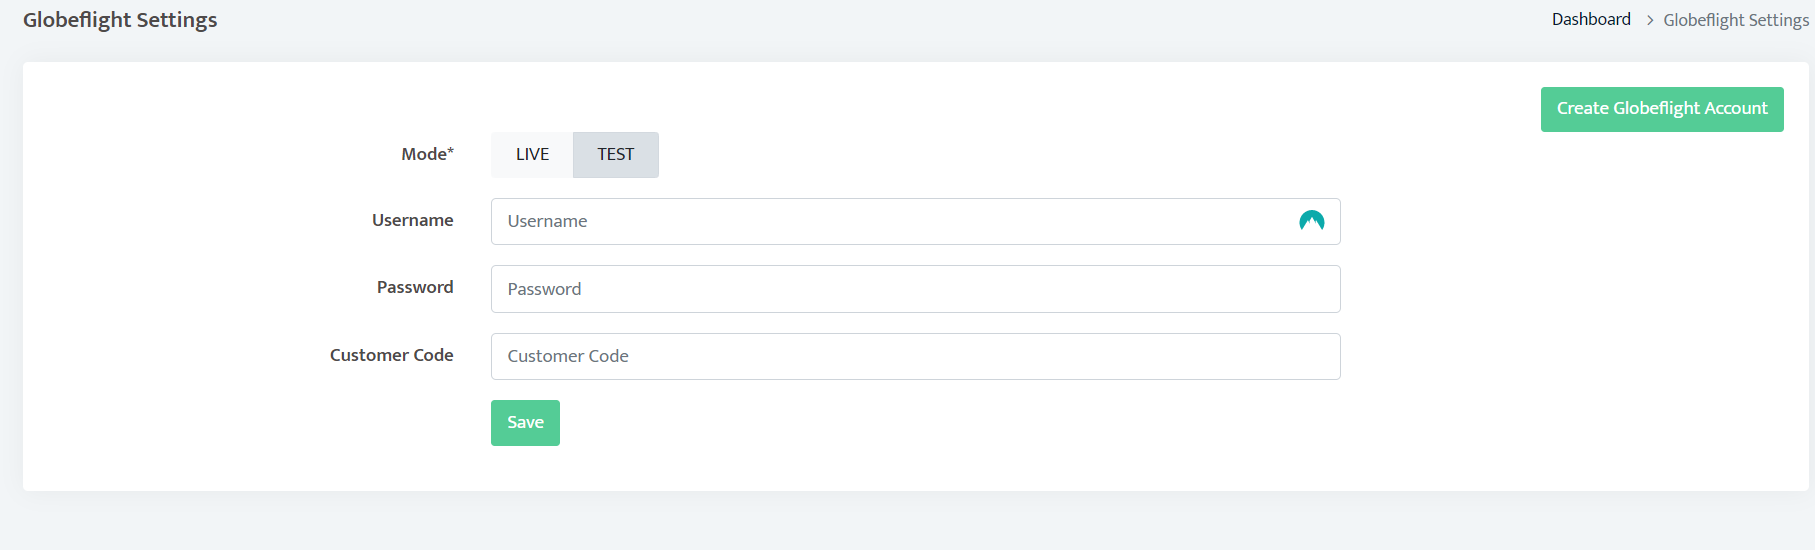
GLOBEFLIGHT
Here you can set your Globeflight settings:
Set mode to live or test
Add your Globeflight username and password
Add your Globeflight Customer Code
Clive save to update the changes.
INVENTORY
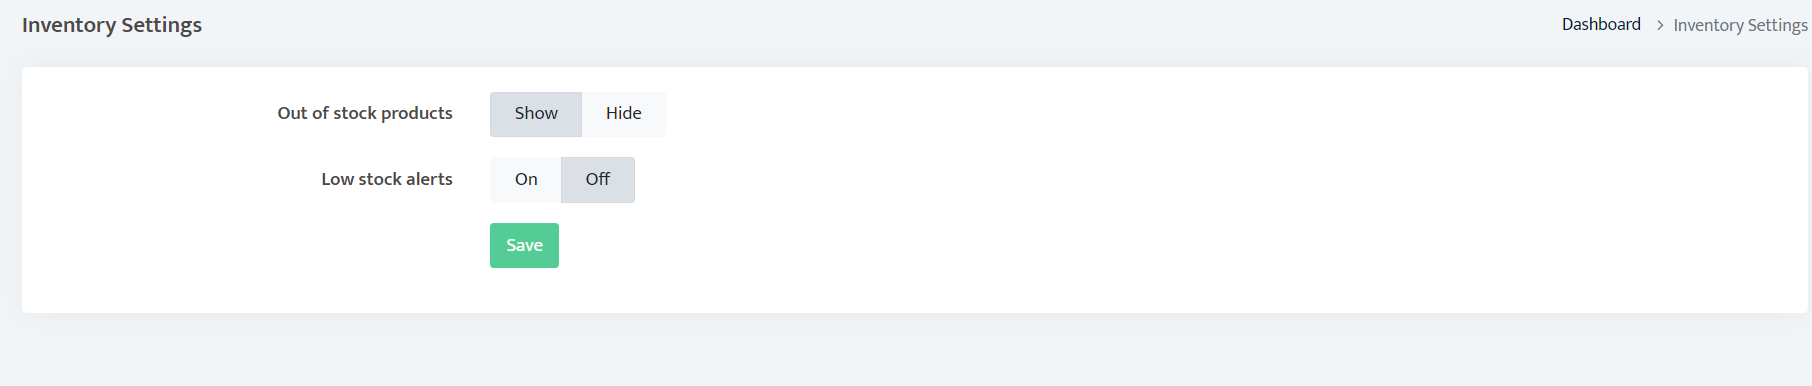
Here you can control you Inventory settings:
Set Out of stock products to show or hide them.
Set Low stock alerts on or off.
Click save to update all changes.
CART
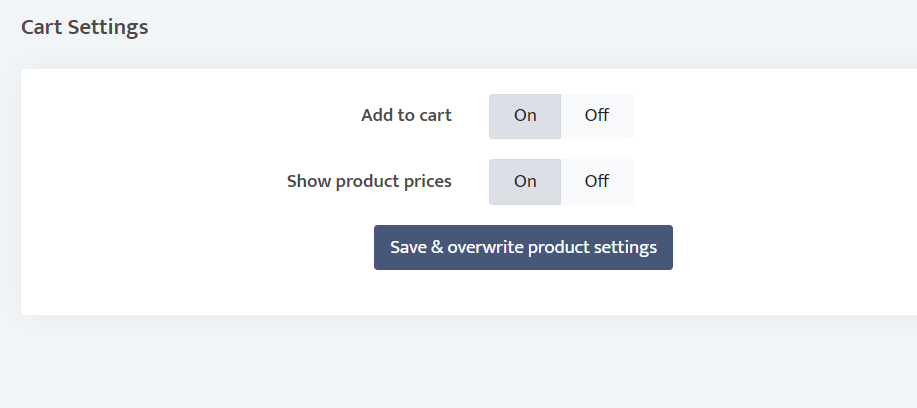
Here you can control you Cart settings:
Set the Add to cart option on or off
Set show product prices to on or off to hide them.
Click save to update all changes or save & overwrite product settings to overwrite the original settings.
NOW YOU ARE A PRO DEVELOPER
FOLLOW, LIKE AND SHARE